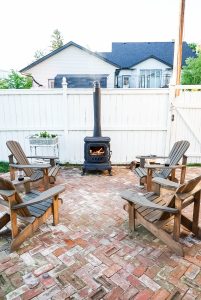
DIY Outdoor Wood Burning Stove Fireplace
A great lounge area and dining space are wonderful to have in those summertime months and the addition of an outdoor wood-burning fireplace or stove can be the perfect addition.Use this six step DIY guide to make yours!
Yield: 1 fireplace
Cost: $200+
Equipment
- 1 Painters Tape
- 1 Newspaper or Painters Paper
- 1 120 Grit Sandpaper
- 1 Paper Towel
Materials
- 1 unit wood burning stove black
- 1 piece 3 foot piece of 6"dia stove pipe black
- 1 piece 6” dia stove pipe elbow black
- 1 piece Custom-built steel piping for the base piece
- 6 cans Rust-oleum High Heat spray paint in Satin Black finish
Instructions
- Measure the stack hole and have your local welding shop custom build an attachable piece of steel to use on the top of the stove.

- Attach the 3’ stove pipe to the custom steel pipe fitting and elbow for venting.
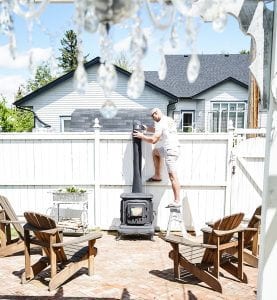
- Tape off any areas that aren't to be painted, using painter's tape and a paper roll or newspaper.
- Clean off any loose rust and any flaking parts of the piece using sandpaper.
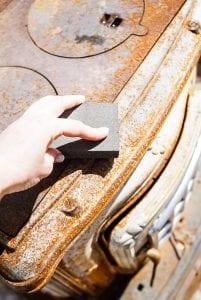
- Wipe the area clean using a damp cloth and allow it to dry completely before beginning to paint the area.
- Begin spray painting. Hold the can approximately 6-12” away from the piece when spraying to avoid drips.

- Allow to dry completely and repeat the painting process until you achieve the desired appearance.