This post may contain affiliate links. Please read our full Disclosure Policy.
Dried apple slices are beautiful, delicious, and so easy to make — the perfect mix of Scandinavian simplicity and timeless Christmas tradition. Their sweet scent and rustic look make them a staple in my home every holiday season.

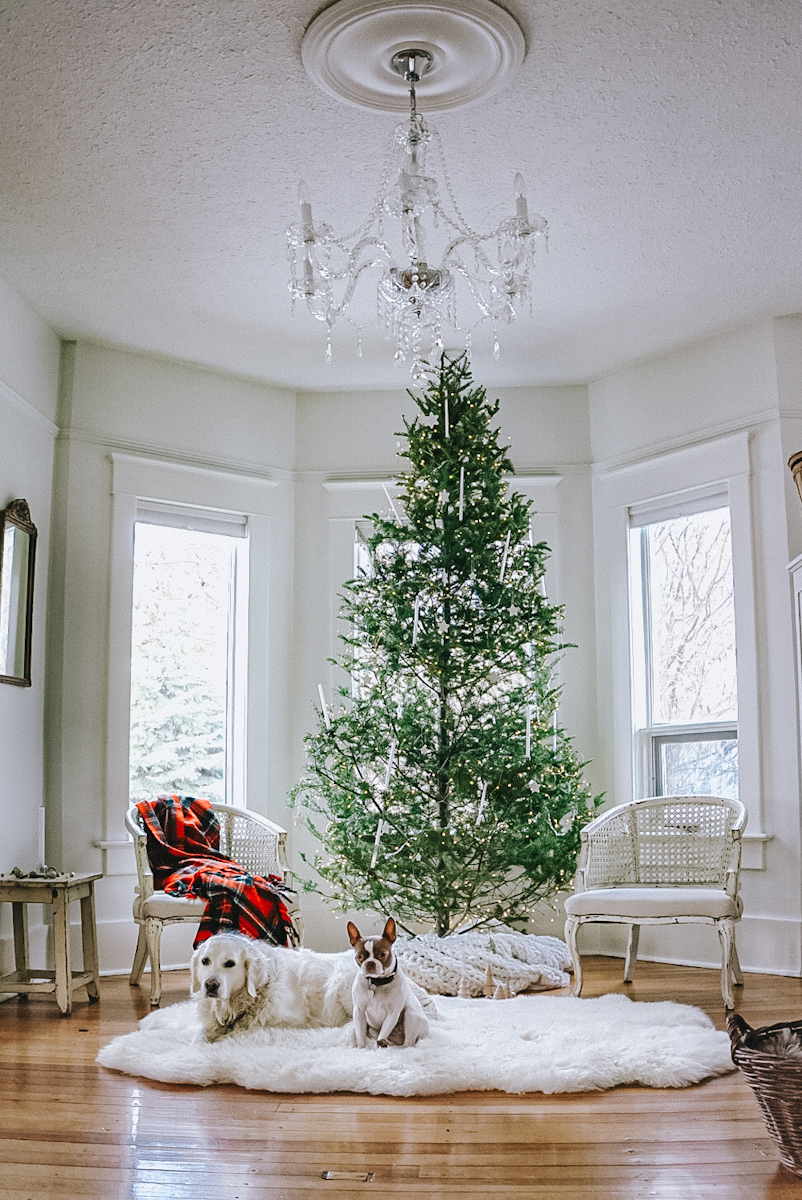
There’s something about the simple beauty of dried apple slices that instantly makes me feel like Christmas is here. The warm scent of apples and cinnamon drifting through the kitchen, the soft golden glow of dried fruit hanging from a garland — it all brings back such a sense of nostalgia.
Every year, I find myself coming back to this little tradition. Drying apples has become one of those slow, intentional holiday projects that just feels good for the soul. There’s no rush, no fuss — just the cozy satisfaction of creating something natural and beautiful with your own hands.
Whether I’m stringing them with dried orange slices for a rustic garland, tucking a few onto wrapped gifts, or using them to decorate our minimal Christmas tree, they add the perfect touch of handmade charm to the season.
Before You Begin
Before you get started, here are a few quick things to keep in mind:
- Choose firm, fresh apples. You’ll get the best results with crisp apples that aren’t bruised or overly soft.
- Decide how you’ll use them. If you plan to eat your dried apple slices, you can add a light cinnamon-sugar coating before baking. For décor, keep them plain for a more natural look.
- Low and slow is key. Drying apples takes time! Set aside a few hours where you can keep an eye on them.

Now, let’s walk through exactly how to make dried apple slices and all the beautiful ways you can use them.
How to Make Dried Apple Slices
Making dried apple slices at home is so simple — you only need a few tools, some fresh apples, and a little patience. Once you’ve made a batch, you’ll be hooked on how easy (and delicious) they are!
Tools and Supplies
- Sharp knife or mandoline slicer
- Large baking sheets
- Parchment paper
- Cooling rack or wire rack
- Oven (or dehydrator)
- Twine or ribbon (if using for décor)

Ingredients
- 3–4 medium apples (any variety you prefer)
- Optional: Lemon juice (to prevent browning)
- Optional: Cinnamon and sugar for flavor
Step-by-Step Tutorial: Oven Method
- Preheat your oven to 175°F (80°C).
- Wash and dry your apples thoroughly.
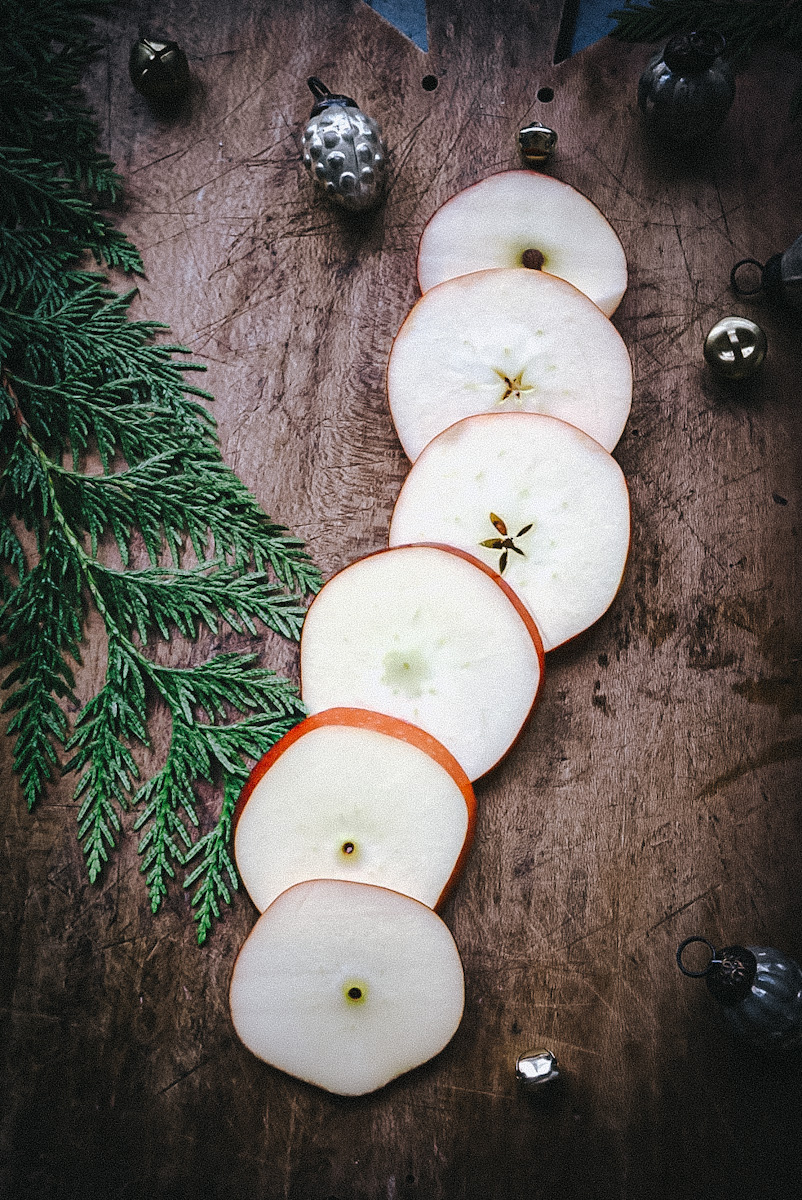
- Slice apples crosswise into thin, even rounds (about ⅛ inch thick). You can leave the cores for a rustic look or remove them for cleaner circles.
- Optional: Soak slices in a bowl of lemon water for 5–10 minutes to help prevent browning. Pat dry gently.
- Arrange slices in a single layer on parchment-lined baking sheets.
- Optional: Sprinkle with a light dusting of cinnamon and sugar for a hint of flavor.
- Bake for 2–3 hours, flipping every 30 minutes. Keep an eye on them — thinner slices will dry faster!
- Once the slices are dry and crisp around the edges, remove them from the oven.
- Cool completely before using or storing.


Dehydrator Method
If you have a food dehydrator, this is one of the easiest and most reliable ways to make dried apple slices. It takes a little longer than the oven method, but the results are incredibly consistent — perfectly even, golden, and crisp every time.
- Wash, dry, and slice apples about ⅛ inch thick, just as you would for the oven method.
- Optional: Dip slices in lemon water to prevent browning, then pat dry.
- Arrange slices in a single layer on dehydrator trays, leaving space between each piece for airflow.
- Set your dehydrator to 135°F (57°C).
- Dry for 6–8 hours, checking occasionally. You’ll know they’re done when the slices are dry to the touch but still slightly pliable.
- Allow slices to cool completely before storing or decorating.

This slow, gentle process locks in flavor and preserves the apples’ beautiful natural color. I love to start a batch in the morning, all day long, the house smells like apple pie and cinnamon all rolled into one!
Tips and Tricks for Dried Apple Slices
- Always use fresh, firm apples for best results.
- If your apples brown too quickly, your oven is too hot — lower the temperature slightly.
- For chewier slices (great for snacks), shorten the drying time by about 30 minutes.
- Blot off excess moisture before baking to help them dry evenly.
- Rotate your trays every 30 minutes for consistent results.
If you’re doing lots of holiday baking this season, you’ll also love my rosemary parmesan bread — it pairs perfectly with a simmer pot full of dried apples and oranges on the stove!
Storing and Preserving Dried Apple Slices
When properly dried and stored, dried apple slices can last up to a year!
For best results:
- Store them in an airtight container or glass jar.
- Keep them in a cool, dark place away from moisture.
- If using for décor, you can reuse them year after year.
If you’ve added sugar or plan to eat them, refrigerate and enjoy within a few weeks.
Other Drying Methods
If you don’t want to use the oven, there are two other great ways to make dried apple slices:
Dehydrator Method
Set your dehydrator to 135°F and dry for 6–8 hours, checking occasionally. This method prevents browning and creates a consistent texture.
Air Drying
You can also air-dry apples by hanging them in a warm, dry place. Thread slices onto a string and let them dry naturally for several days. This method works beautifully if your home has low humidity — and looks lovely as part of your winter décor.
Uses for Dried Apple Slices
Now for the fun part — all the ways you can use your dried apple slices around your home!
Festive Apple Garlands or Ornaments
Nothing says cozy, old-fashioned Christmas like a string of dried apple slices. Hang them across your mantel, drape them on your tree, or layer them down the center of your holiday table.

When placed near twinkle lights or sunlight, dried apple slices take on a soft, amber glow — almost like stained glass! I love mixing them with dried orange garlands and popcorn garlands for a nostalgic, handmade look.
If you’re keeping your décor minimal this year, you might also love my minimal Christmas tree ideas. Simple, natural, and easy to style with your dried apples!
Snack or Cocktail Garnish
Dried apple slices aren’t just for decoration — they’re completely edible and delicious! They make a healthy snack or the prettiest garnish for fall cocktails and warm cider.
For a little extra sweetness, lightly dust your slices with cinnamon and sugar before drying. You can even dip them in dark chocolate once cooled for a cozy treat!

They also make a perfect addition to your next holiday butter board or on top of a cranberry walnut bread platter when hosting friends.
Potpourri and Simmer Pots
One of my favorite ways to use dried apple slices is in potpourri or simmer pots. Add them to a stovetop pot with cinnamon sticks, star anise, and cloves for the most wonderful, cozy aroma that fills your whole home.
You can also mix them into a bowl of dried pinecones, oranges, and greenery as part of your natural Christmas décor. It’s such a simple way to bring warmth and scent into your home naturally.
Gift Tags or Wrapping Decor
Dried apple slices make beautiful natural accents for gift wrapping. Tie one to the top of a package with a sprig of evergreen and a little linen ribbon for that perfect handmade touch.

They pair beautifully with my simple clay Christmas ornaments and DIY wood slice ornaments for a cohesive, earthy look under the tree.
Frequently Asked Questions
How long do dried apple slices last?
When stored in an airtight container, dried apple slices will last about 6–12 months.
Can you eat dried apple slices?
Absolutely! They’re a healthy, naturally sweet snack packed with fiber and antioxidants.
Why did my apples turn brown?
A little browning is normal, but soaking slices in lemon water before drying helps them stay light and golden.
Can I dry apples with the skin on?
Yes! The peel adds a beautiful texture and color — and it’s full of nutrients, too.
More Holiday Inspiration and Crafts
If you love projects like this, you’ll adore some of my other natural and vintage-inspired Christmas ideas:
- DIY Dried Orange Garland
- Simple Clay Christmas Ornaments
- Minimal Christmas Tree Ideas
- Popcorn Garland Tutorial
- Simple Christmas Décor Ideas
Or head over to my B Vintage Style Christmas Market to browse my favorite cozy finds for the season!
want to save this recipe?
Enter your email & I’ll send it to your inbox. Plus, get great new recipes from me every week!
By submitting this form, you consent to receive emails from B Vintage Style.
Ingredients
- 3–4 medium apples (Honeycrisp, Gala, or Fuji work well)
Optional
- 2 tbsp lemon juice (to prevent browning)
- 1 tsp cinnamon
- 1 tbsp sugar
Instructions
Oven Method
- Preheat your oven to 175°F (80°C).
- Wash and dry the apples thoroughly.
- Slice apples crosswise into thin, even rounds — about ⅛ inch thick. You can leave the cores for a rustic look or remove them for cleaner rings.
- Optional: Soak slices in a bowl of lemon water (1 part lemon juice to 3 parts water) for 5–10 minutes to prevent browning. Pat dry gently.
- Arrange slices in a single layer on parchment-lined baking sheets.
- Optional: Lightly sprinkle with cinnamon and sugar for a warm, festive flavor.
- Bake for 2–3 hours, flipping every 30 minutes. Watch closely toward the end — thinner slices will dry faster!
- Once slices are dry and crisp around the edges, remove from oven and cool completely before storing or decorating.
Dehydrator Method
- Slice and prep apples as above.
- Arrange slices on dehydrator trays in a single layer.
- Set dehydrator to 135°F (57°C) and dry for 6–8 hours, checking occasionally.
- Once slices are dry and slightly pliable, remove and cool completely before storing.
Notes
Deb’s Tips For Drying Apple Slices
- Use firm, fresh apples — soft or mealy ones won’t dry evenly.
- For a sweet snack, dip half of each slice in dark chocolate once cooled.
- If decorating, thread the slices with twine, ribbon, or jute for a beautiful, natural garland.
- Try mixing with dried orange slices or cranberries for extra holiday color!
Storage Tips
- Store in an airtight container or glass jar for up to 1 year if using for décor.
- For snacking, store in the fridge and enjoy within 2–3 weeks.
- Keep away from moisture and sunlight to prevent softening or mold.