This post may contain affiliate links. Please read our full Disclosure Policy.
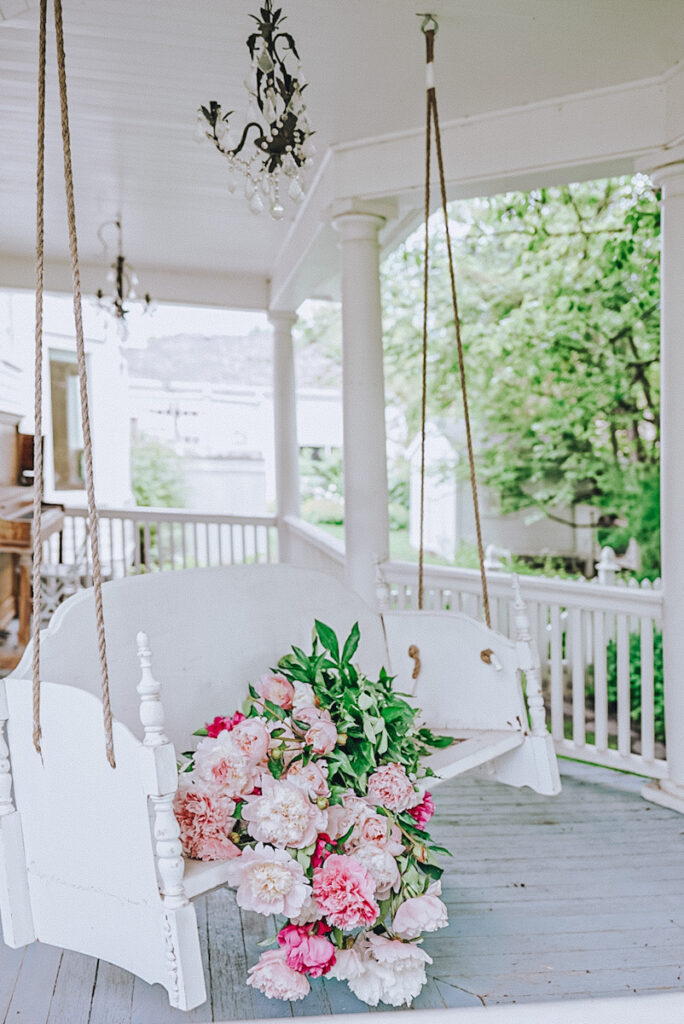
A DIY porch swing bed from old headboard pieces transformed our front porch from an empty deck into the coziest corner of our entire Victorian home. If you have ever dreamed of relaxing on a beautiful swinging bench with a good book and a cup of coffee, this step-by-step guide will show you exactly how to build one.
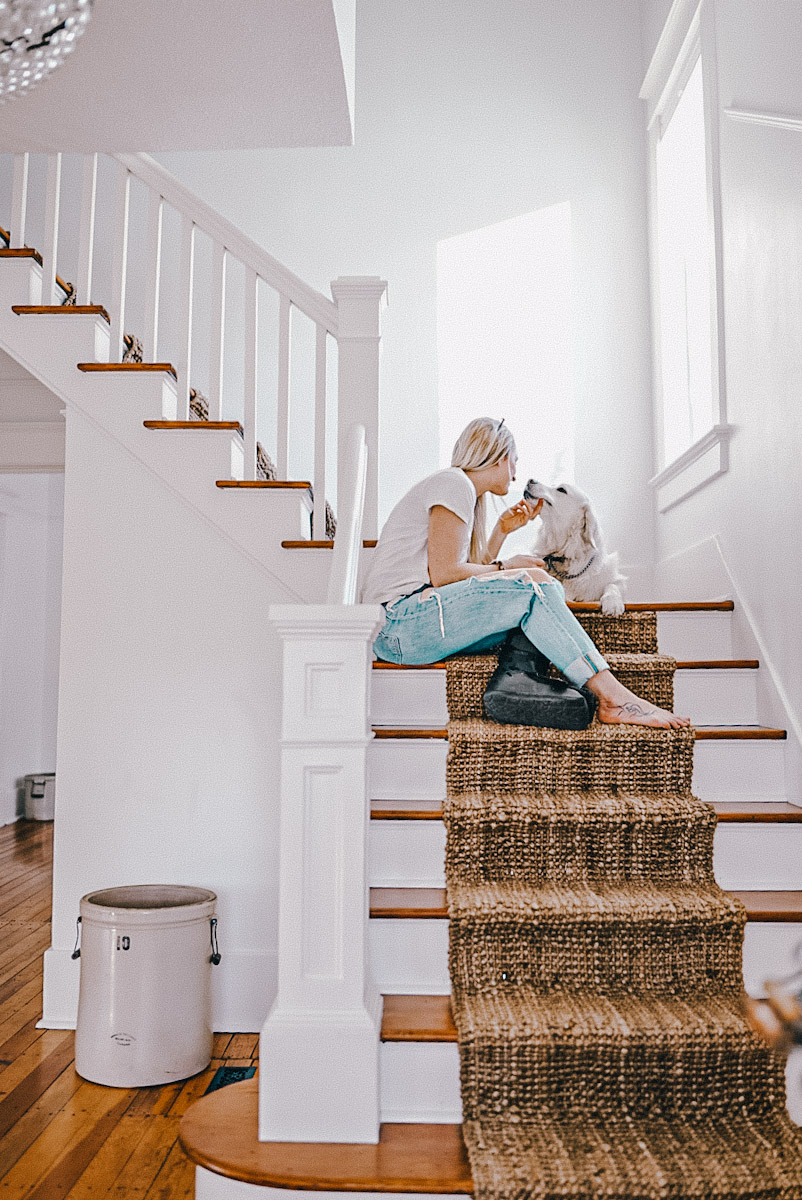
I have always loved the look of a grand front porch, especially on our 1903 Queen Anne Victorian. When we first moved in, I knew the large gazebo area on our front deck needed something special.
It needed to be a space where our family would actually spend time, but another standard patio table just did not feel right. When we were gifted a beautiful antique headboard and footboard that belonged to my husband’s great aunt, the vision finally came together.
I knew immediately that we were going to upcycle this family heirloom into a stunning DIY porch swing bed from an old headboard. It was a fairly big project, but the reward of having this gorgeous swing for years to come was well worth the effort.
If you love the idea of Vintage Simplicity and repurposing old furniture, I hope this inspires you to get the drill out and make your own. Let’s dive into how we built this beautiful outdoor swing!
Why Build a DIY Porch Swing Bed From Old Headboard?
Building a DIY porch swing bed from an old headboard is the perfect way to blend history with functionality. Instead of buying a mass-produced outdoor bench, upcycling an antique bed frame gives your porch a custom, collected-over-time feel.
When we tackle Victorian home renovation projects, my goal is always to honor the age of the house. Using salvaged materials helps maintain that authentic character.
This project is also incredibly cost-effective. By using a repurposed bed frame and a solid wood door for the seat, we saved hundreds of dollars compared to buying a pre-made swing bed.
Materials Needed for Your Porch Swing Bed
Before you begin building your DIY porch swing bed from an old headboard, you will need to gather your materials. Having everything prepped and ready will make the building process much smoother.
Here is exactly what we used to build our upcycled porch swing:
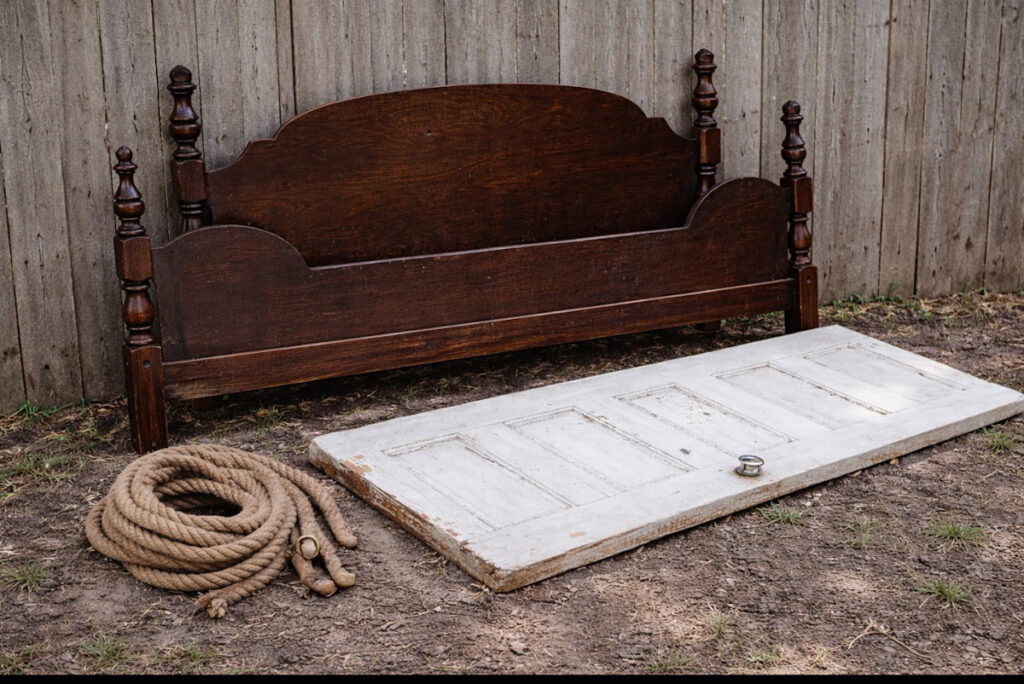
- Antique Headboard and Footboard: This will serve as the back and the side arms of your swing.
- Solid Wood Door: We used a heavy, solid wood door for the seat of the swing. It must be solid wood to support the weight!
- 2×4 Board: This is essential for bracing the bottom of the seat.
- 2-Inch Wood Screws: For assembling the frame securely.
- Heavy-Duty Jute Rope: We used half-inch thick rope to hang the swing and add a rustic touch.
- Two 3-Inch O-Rings: Heavy-duty metal rings for hanging the rope from the ceiling joists.
- White Duck Tape: A simple trick to keep the rope from slipping.
- Tools: A drill, saw, measuring tape, and a stud finder.
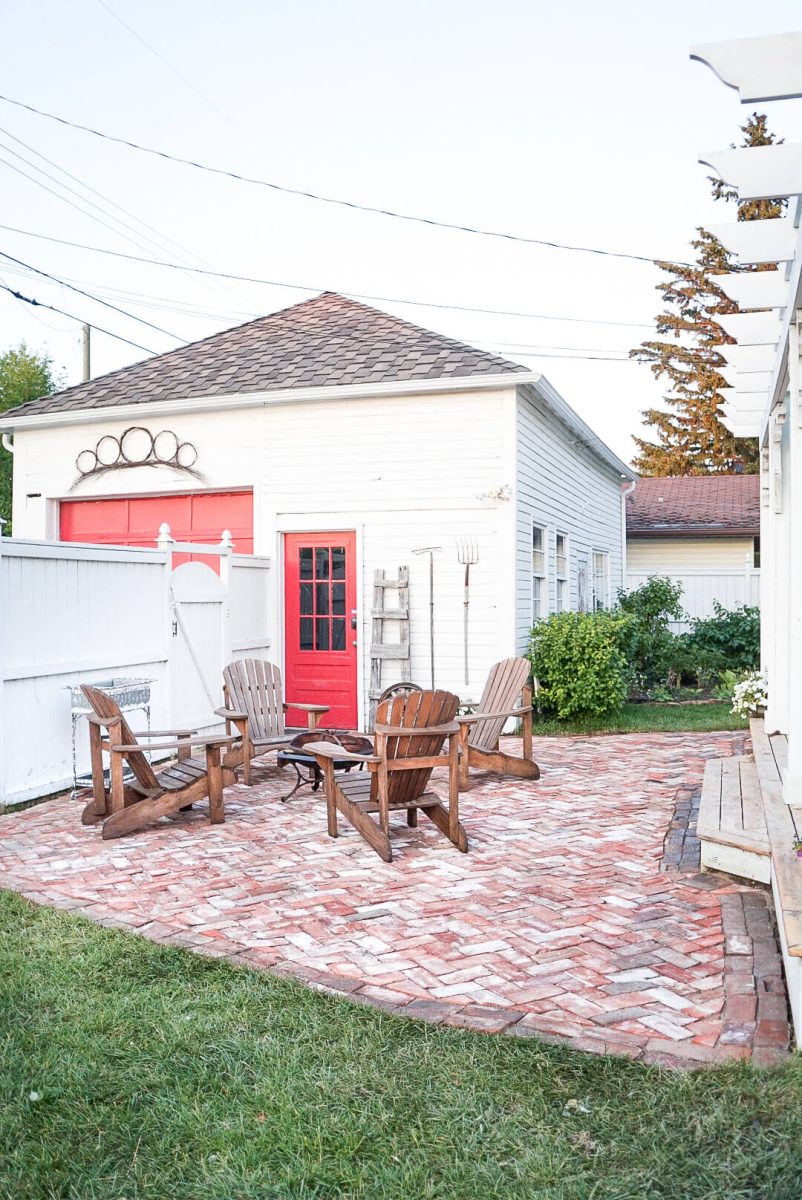
If you are looking for more ways to upgrade your outdoor spaces, you might also love our tutorial on how to build a DIY salvaged brick patio.
Step-by-Step Instructions: Building the Frame
Building this DIY porch swing bed from an old headboard was actually easier than I expected. The key is taking accurate measurements before you make any cuts.
Step 1: Measure and Cut the Seat
Begin by determining how wide you want your swing to be. We decided to make our sideboards (cut from the footboard) 20 inches deep, and the door seat 17 inches deep.
Cutting the footboard and the door will be based entirely on your desired dimensions and the size of your original bed frame. Measure carefully and cut both the footboard and the solid wood door to your chosen width.
Step 2: Measure the Headboard
Next, measure the size of the headboard to establish the total seat length. You will want to measure in approximately 2 inches on each side of the headboard.
This ensures that the side arms (made from the footboard) will have a solid spot to attach to the back. Mark these measurements on your door seat and cut it to the appropriate length.
Step 3: Drill the Rope Holes
Your DIY porch swing bed from an old headboard will be suspended using thick jute rope fed through holes in the side arms.
Because we used half-inch rope, we drilled holes slightly larger than that. To reduce the chance of the wood splintering, drill halfway through from the top, and then finish the hole from the bottom once the pilot bit pokes through.
The location of these holes will determine how the swing hangs and balances! I highly recommend testing the balance before drilling the final holes.
Assembling Your Upcycled Porch Swing
Now that your pieces are cut and prepped, it is time to assemble your DIY porch swing bed from an old headboard. This is when you really start to see the project come to life!
Step 4: Attach the Arms to the Back
Place the arms (the pieces you cut from the footboard) on the front side of the headboard. Using your 2-inch wood screws, attach the arms by drilling through the back of the headboard directly into the arm pieces.
Repeat this process for the opposite side until both arms are securely fastened to the backrest.
Step 5: Secure the Seat
Next, attach the solid wood door seat by drilling screws through the side arms and into the edges of the door.
You will also need to screw through the back of the headboard into the back edge of the seat to stabilize it completely.
Step 6: Add the Support Beam
Because the screws and the door alone will not be strong enough to hold the weight of multiple people, you must add a support beam.
We attached a vertical 2×4 board underneath the center of the seat to brace the door. This step is crucial for the safety and longevity of your DIY porch swing bed from an old headboard.
If you love tackling these types of builds, check out our guide on how to make an outdoor wood burning stove fireplace for another great backyard project!
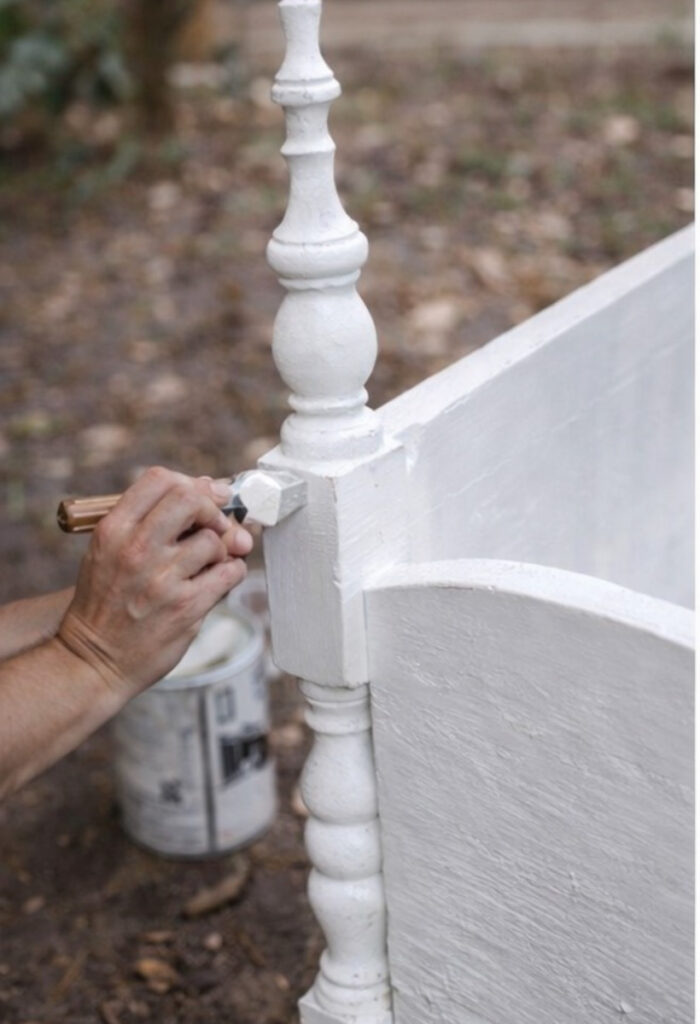
Adding Decorative Details and Paint
Because our DIY porch swing bed from an old headboard was made from a repurposed bed frame, there were a few large areas where the original side rails used to attach.
Instead of just filling them with wood putty, I decided to add some vintage character. I used an amazing paper clay product from Iron Orchid Designs to make detailed, vintage-style moulds to cover the holes.
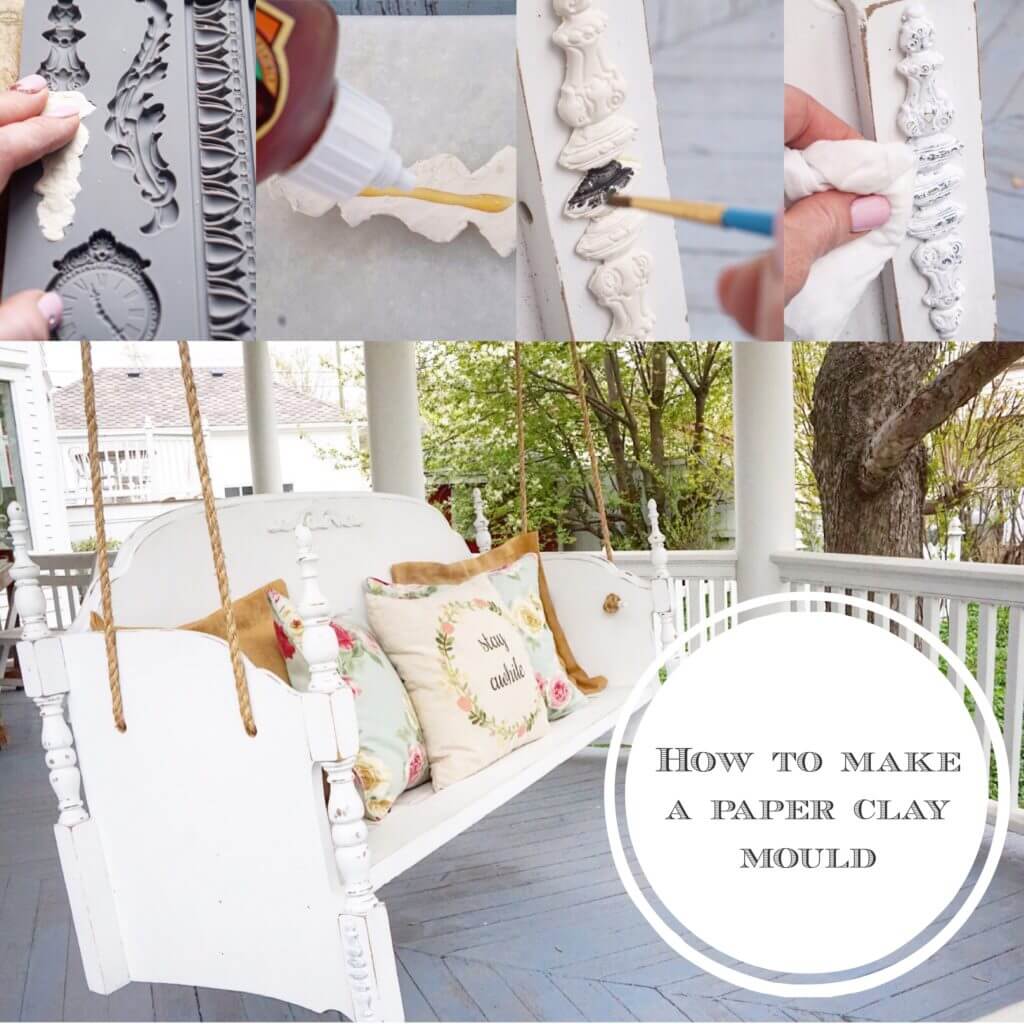
I am so happy with how these clay details turned out! They look like original hand-carved wood appliques.
After the clay dried, I painted the entire swing to protect it from the elements and give it a cohesive look. If you are painting outdoor furniture, always make sure to use an exterior-grade paint or seal it with a high-quality topcoat.
Hanging your DIY porch swing bed from an old headboard requires careful attention to safety. You must ensure it is anchored into solid structural supports.
How to Hang Your Porch Swing Bed
Step 7: Locate the Ceiling Joists
You will need to find the perfect location to hang the swing on your porch. Make absolutely sure that when you attach the heavy-duty O-rings to the porch roof, you are drilling directly into a solid wooden beam or joist.
A high-quality stud finder is the best way to determine this. Never hang a swing from just the beadboard or plywood ceiling!
Step 8: Thread the Jute Rope
Thread it through the ring, bring it back down to the second hole on that side of the swing, and tie it off securely underneath.
Step 9: Secure the Rope
One last trick to note: no matter how well you place your holes, the swing may slide slightly on the rope and not sit exactly at the angle you want.
To stop the rope from sliding through the O-ring, we wrapped a little white duck tape tightly around the rope just below the metal ring. Secure the tape only when the bench is sitting at your desired angle. It works perfectly!
Styling Your Cozy Fall Front Porch
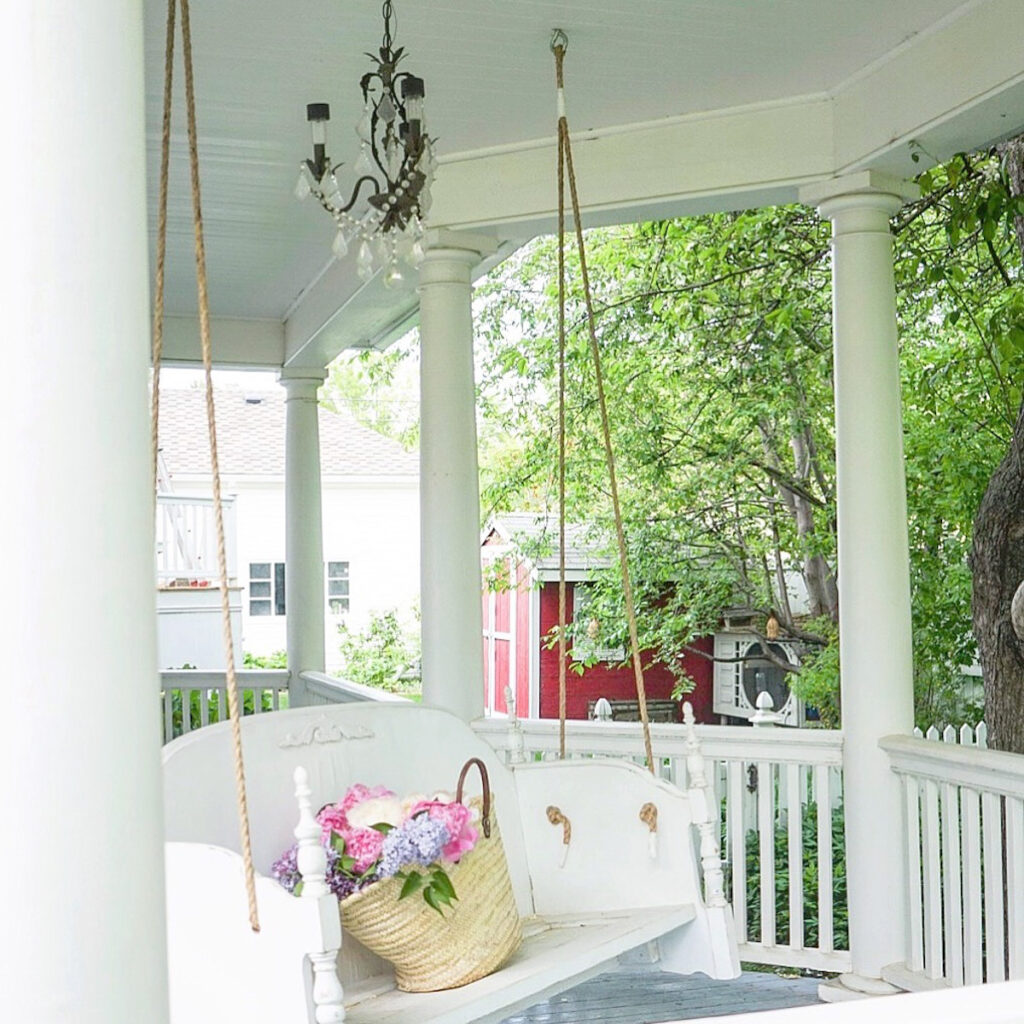
Once your DIY porch swing bed from an old headboard is hung, the best part begins—styling it!
A porch swing is the ultimate canvas for seasonal decorating. During the autumn months, this swing becomes the focal point of our fall front porch ideas.

I love layering the swing with cozy, textured throw blankets and vintage-inspired linen pillows. Surrounding the base of the swing with heirloom pumpkins, dried hydrangeas, and rustic lanterns creates a beautiful, welcoming entrance.
If you want to create a similar look, I highly recommend using natural elements. You can read more about my favorite natural fall decor ideas to see how I incorporate foraged stems and vintage finds into our outdoor spaces.
Enjoying Your Vintage Simplicity Outdoor Space
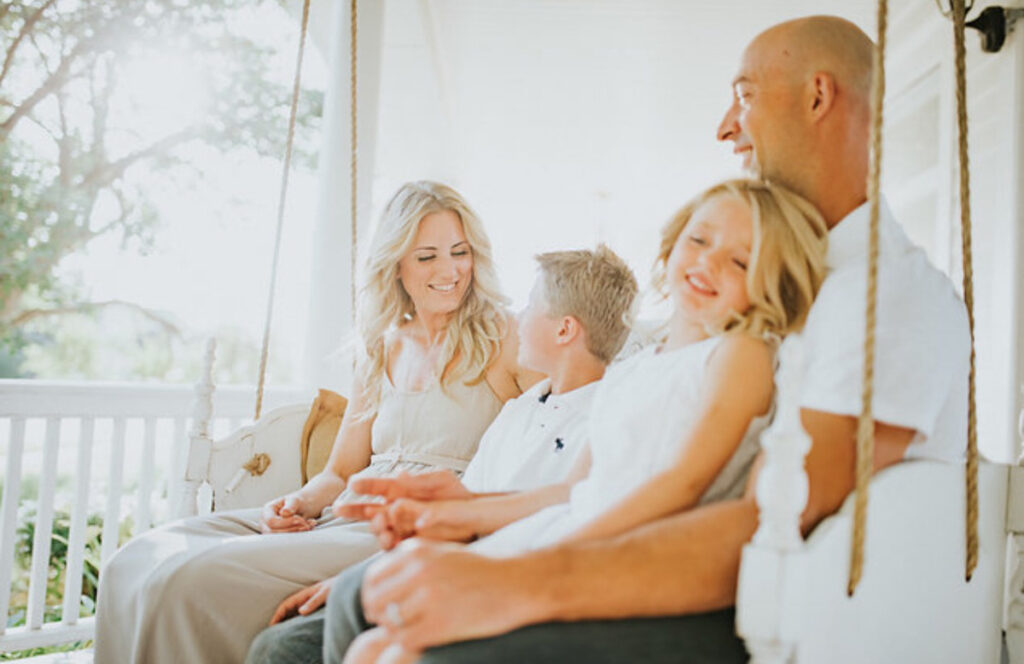
Building this DIY porch swing bed from an old headboard transformed our front porch from an empty deck into our family’s favorite gathering spot.
Whether we are sipping morning coffee, watching the kids play in the yard, or enjoying a quiet summer evening, this swing gets used every single day. It perfectly embodies the idea of Vintage Simplicity, creating a home that is beautiful, intentional, and meant to be lived in.
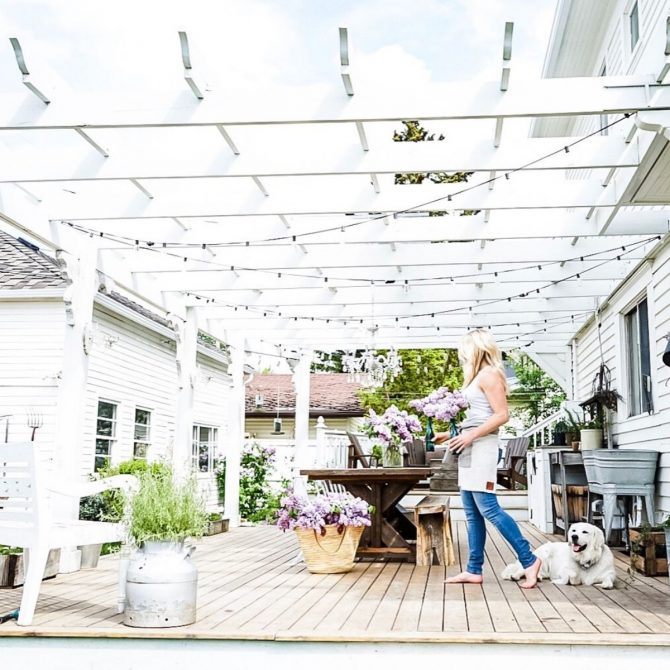
If you are looking to completely transform your backyard this year, you might also want to read our tips on creating a small outdoor kitchen to complete your outdoor oasis.

The only thing left to do now is to fill up the wine glasses, kick back, and relax on your beautiful new swing.
Have you ever upcycled an old piece of furniture for your garden or patio? I would love to hear about your projects! Please let me know your thoughts on this DIY porch swing bed from an old headboard in the comments below.
Your Questions
No, you absolutely must use a solid wood door for the seat of your DIY porch swing bed from an old headboard. A hollow core door will not support the weight of people sitting on it and will eventually crack or break. If you cannot find a solid wood door, you can build a seat frame using 2x4s and sturdy plywood or wooden slats.
The weight capacity depends entirely on the structural integrity of your porch ceiling joists, the strength of the rope or chain you use, and the heavy-duty hardware. Always use hardware rated for heavy loads (at least 500-800 lbs) and ensure you are drilling directly into solid ceiling joists, not just the decorative ceiling boards.
Because your DIY porch swing bed from an old headboard will be exposed to temperature changes and humidity, you should use a high-quality exterior paint. If you prefer the look of chalk paint or milk paint for that vintage feel, you must seal it with a durable, exterior-grade polyurethane or polycrylic topcoat to protect it from the elements.
You can absolutely use chains instead of jute rope! Chains are incredibly durable and offer a slightly more industrial or classic farmhouse look. If you use chains, make sure they are heavy-duty and rated for outdoor use to prevent rusting.
More Easy DIY Projects You’ll Love
If you enjoyed this upcycled furniture project, you might love some of these other vintage-inspired DIYs from the blog:
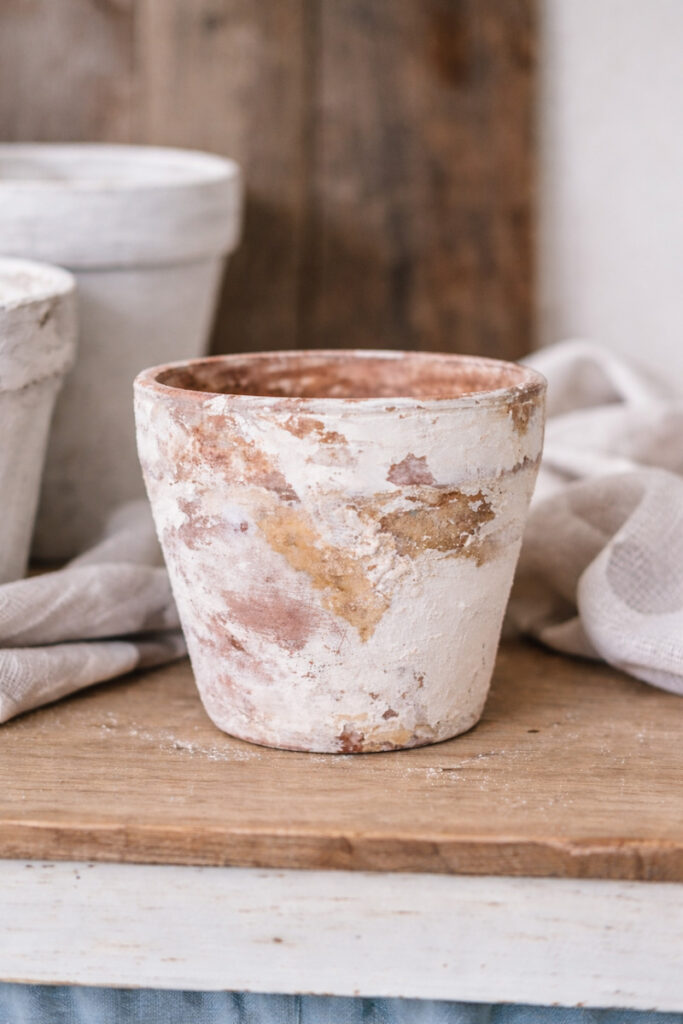


- DIY Aged Terra Cotta Pots | Easy Vintage Look (French-Style)
- DIY Antique Brass Chandelier Tutorial
- DIY Vintage Farmhouse Kitchen Hutch
- Easiest Ways To Age Metal
want to save this recipe?
Enter your email & I’ll send it to your inbox. Plus, get great new recipes from me every week!
By submitting this form, you consent to receive emails from B Vintage Style.

Easy DIY Porch Swing Bed From Old Headboard
Equipment
- Drill and drill bits
- Circular saw or table saw
- Measuring Tape
- Stud Finder
Materials
- 1 Antique headboard and footboard
- 1 Solid wood door (for the seat)
- 1 2×4 wooden board (for bracing)
- 50 2-inch wood screws
- 30 feet heavy-duty half-inch jute rope
- 2 Heavy-duty 3-inch metal O-rings
- White duck tape
- Exterior paint or chalk paint and sealer
Instructions
- Measure and Cut: Determine the desired width and depth of your swing. Cut the footboard in half to create the two side arms. Cut the solid wood door to match the length of the headboard (minus about 2 inches on each side for the arms to attach).
- Drill Rope Holes: Drill holes slightly larger than your jute rope through the front and back of each side arm piece. Test the balance before drilling the final holes.
- Attach the Arms: Place the side arms against the front of the headboard. Using 2-inch wood screws, drill through the back of the headboard directly into the arm pieces to secure them.
- Secure the Seat: Slide the solid wood door seat into place. Drill screws through the side arms into the edges of the door, and through the back of the headboard into the back edge of the seat.
- Add the Support Beam: Attach a vertical 2×4 board underneath the center of the solid wood door seat to brace it and support the weight of multiple people.
- Paint and Seal: Fill any unwanted holes with wood putty or decorative clay moulds. Paint the entire swing with exterior-grade paint or seal it with a high-quality topcoat.
- Hang the Swing: Use a stud finder to locate solid ceiling joists on your porch. Secure the heavy-duty O-rings into the joists. Thread the jute rope through the arm holes, tie strong knots underneath, and loop the rope through the ceiling O-rings.
- Secure the Rope: Wrap a small piece of white duck tape tightly around the rope just below the O-ring to prevent the swing from sliding and losing its angle.