This post may contain affiliate links. Please read our full Disclosure Policy.
Have you ever thought about building a secret magical garden? Whether you’re an aspiring green thumb or just looking for a creative project to brighten your outdoor space, creating a magical garden is an exciting adventure that lets you unleash your imagination and connect with nature.

As a young girl, I remember my grandmother’s garden at the back of the farmhouse; it seemed like a secret garden. It was always full of beautiful flowers and seemed magical to a young girl. I would play in the secret garden and pretend it was full of fairies and magic! It sparked so much creativity for me back then, as there is something so beautiful about the thought of a secret garden, and I never lost the idea of having one of my own.
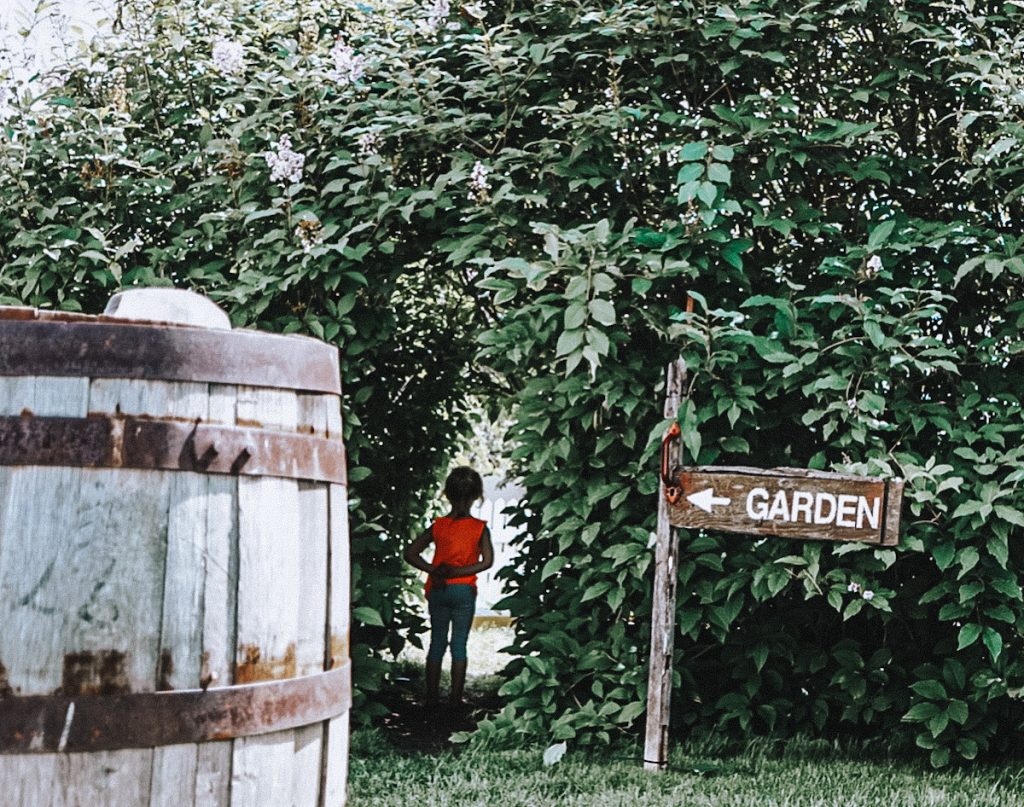
When I moved into my home, I envisioned having a garden outside the bay window that I could look at and watch grow from inside. The large lilac bushes that grew there would make the perfect natural arch for the entrance and make it hard to find, thus making it my secret garden! I fenced off the area and built large garden boxes for veggies and flowers!
The Magic of a Secret Garden
Creating a magical garden is a beautiful way to express creativity and bring joy to your outdoor space. By designing an enchanting and special garden, you can make a peaceful retreat to relax, unwind, and connect with nature. Plus, a magical garden can attract beautiful butterflies, singing birds, and other friendly wildlife, making your backyard a lively and fascinating place to explore. So, whether you’re dreaming up a fairy garden or adding twinkling lights and colorful flowers, creating a magical garden is a fun and rewarding project for anyone who loves nature and a touch of whimsy!
How To Create a Magical Garden
1. Choose Your Garden Space
Find a spot in your yard with adequate sunlight and enough room for your garden. Consider the area’s size and shape to determine your magical garden’s layout. Start with a space with “good bones,” you will be halfway there! Remember, you don’t have any rules here, so you can make your layout as charming or quirky as you wish!
I found an area on my property where the secret garden entrance could come through a large hedge, thus making it magical without doing too much work! We cut the hedge back, making a large walkway directly through the hedge. It turned out beautiful.
When deciding the type of garden beds for your magical garden, consider whether you prefer raised planter boxes or in-ground planting areas.
The key to either option is proper preparation and maintenance. Take the time to lay down weed barriers like fabric or newspaper to minimize weed growth.
If opting for wooden garden boxes, follow this detailed tutorial to construct durable and attractive raised beds. Alternatively, explore weaving willow beds for a unique and natural-looking option.
2. Plan Your Dream Design
Sketch out a rough design of your garden, including where you’ll place flower beds, pathways, seating areas, and any special features like a water fountain or fairy garden. Think about the overall theme and atmosphere you want to create.
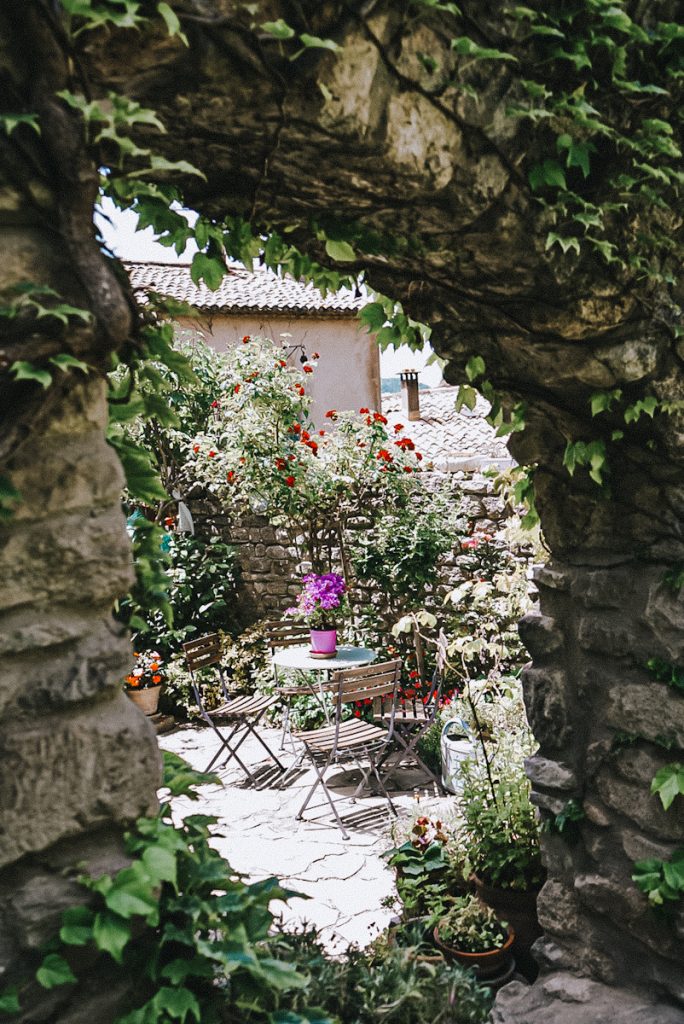
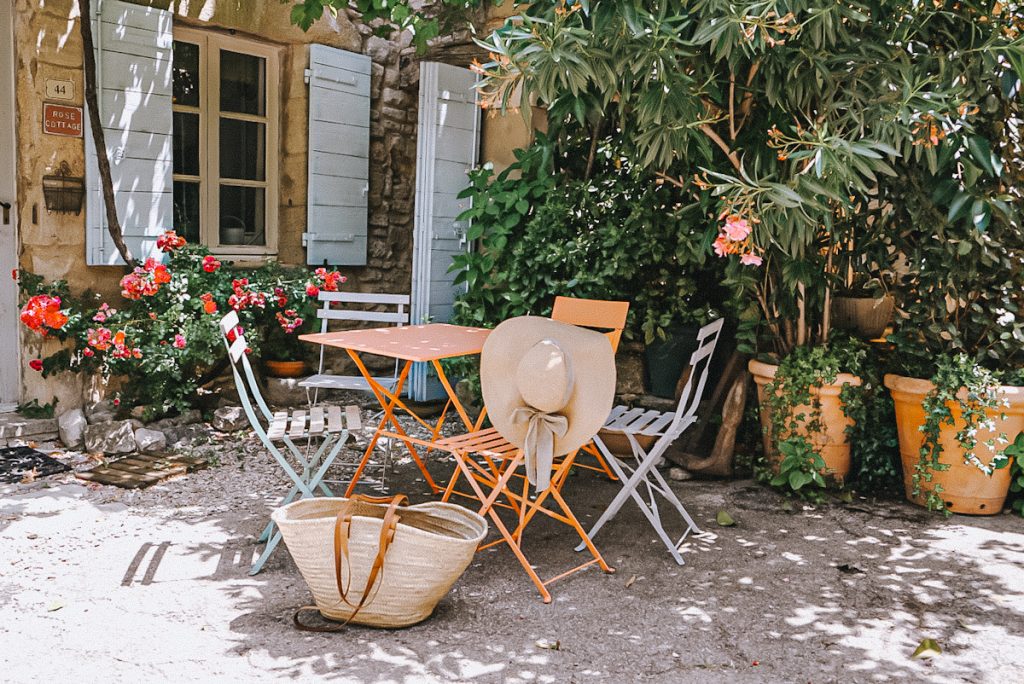
I stumbled across this stunning garden while I was on vacation in southern France. It was so beautiful that it inspired me to create my own garden plans.
3. Add Texture In The Garden
A well-designed garden is more than just plants; it’s about creating drama and contrast. A symphony of textures and materials can captivate the eye and add depth to your outdoor space.
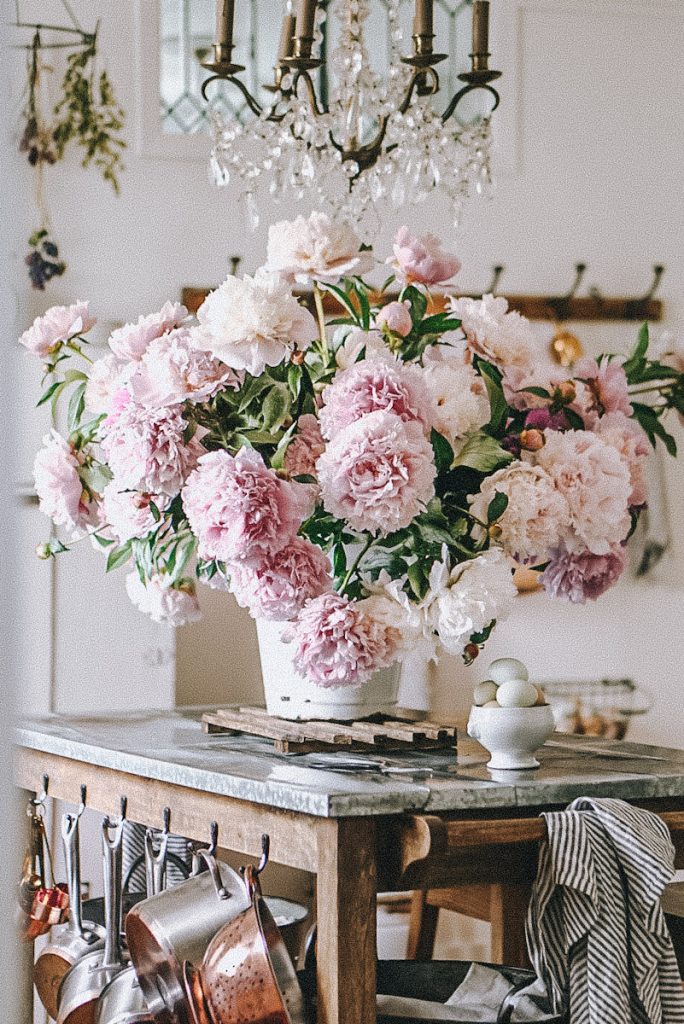
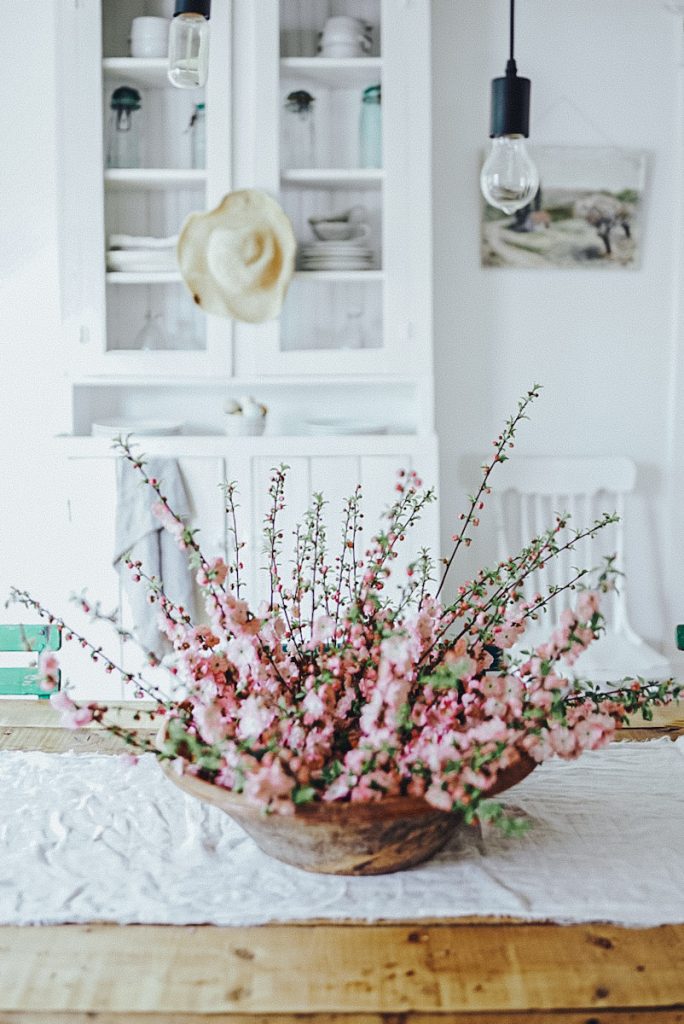
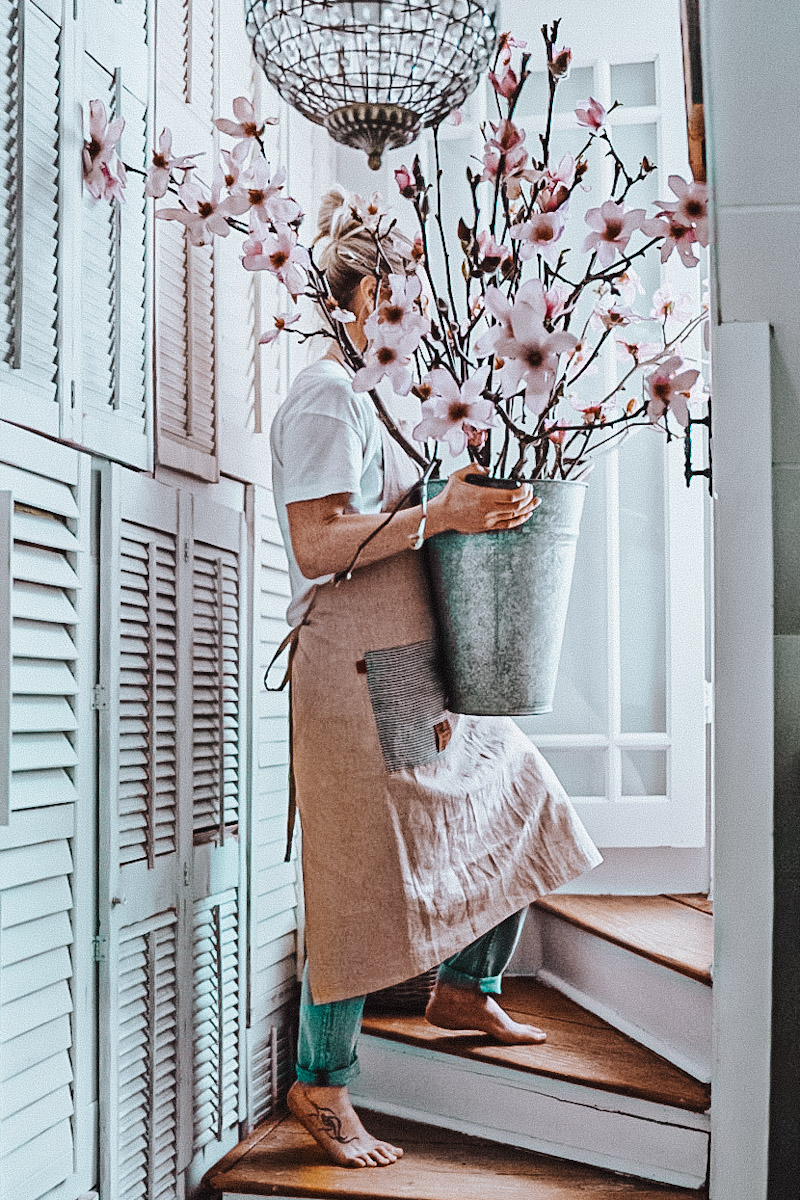
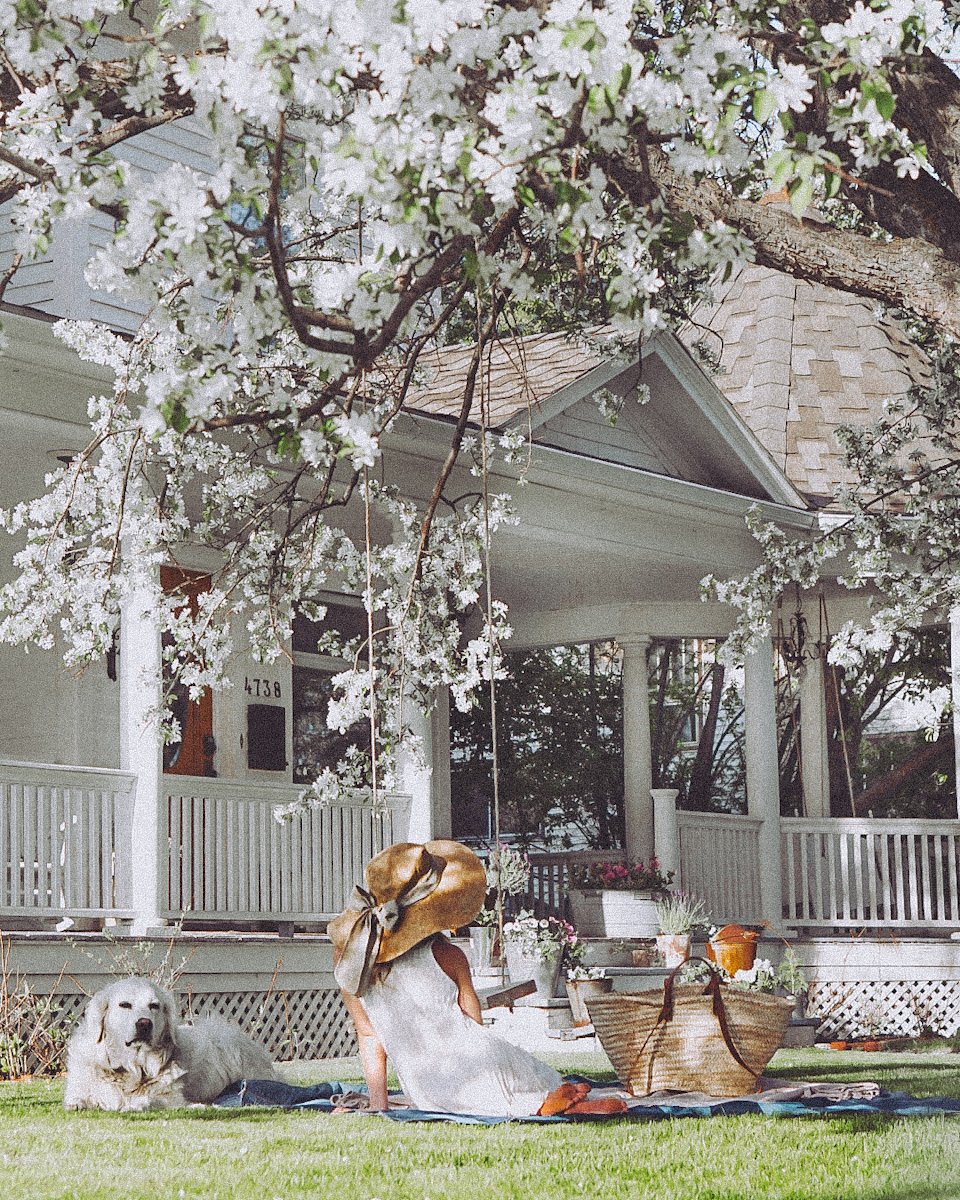
- Mix Up Plant Textures: Don’t be afraid to mix a blend of plants with different leaf shapes and textures. Pair delicate ferns with bold, broad-leafed hostas or fuzzy lamb’s ear with spiky ornamental grasses. Try to also think of plants, shrubs, vines, and flowers (peonies) that the birds and butterflies can enjoy, like some beautiful flowers blooming in early spring!
- Incorporate Hardscape Elements: Introduce materials like stone, gravel, wood, or even galvanized metal into your garden design. Use gravel pathways to contrast with lush greenery, or incorporate a stone wall as a backdrop for softer plants.
- Play with Contrasting Colors: Experiment with how colors interact with different textures. For example, pair smooth, dark river rocks with vibrant green moss or juxtapose rough, weathered wood with glossy-leaved shrubs.
- Utilize Different Heights and Shapes: Layer plants and hardscape elements of varying heights to create visual interest. Tall, vertical structures like trellises or statues can add dimension to low-growing ground covers.
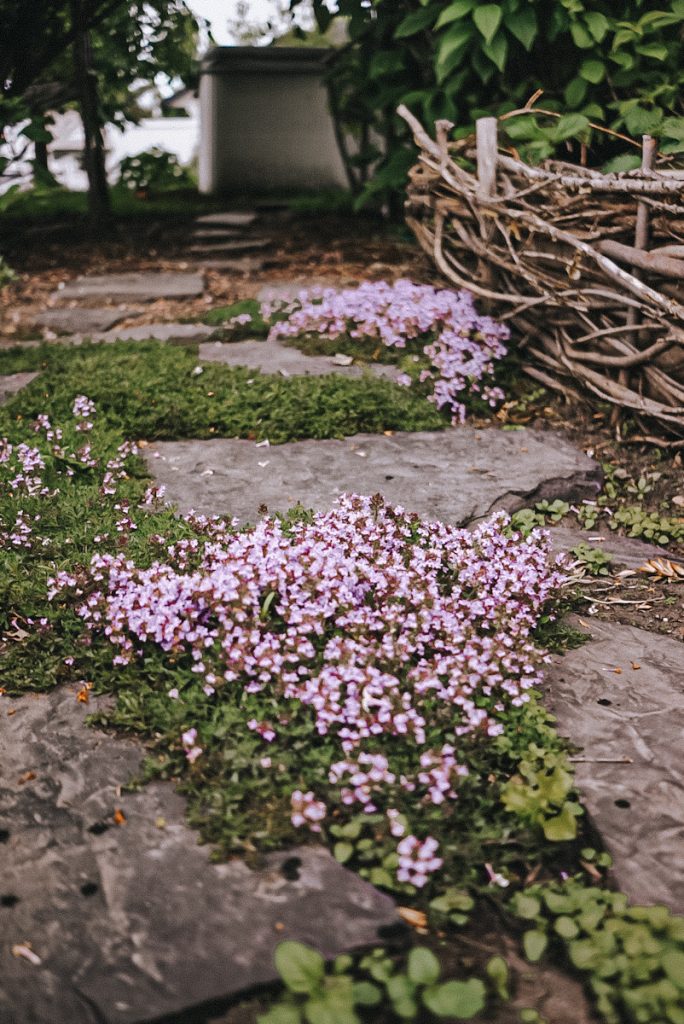
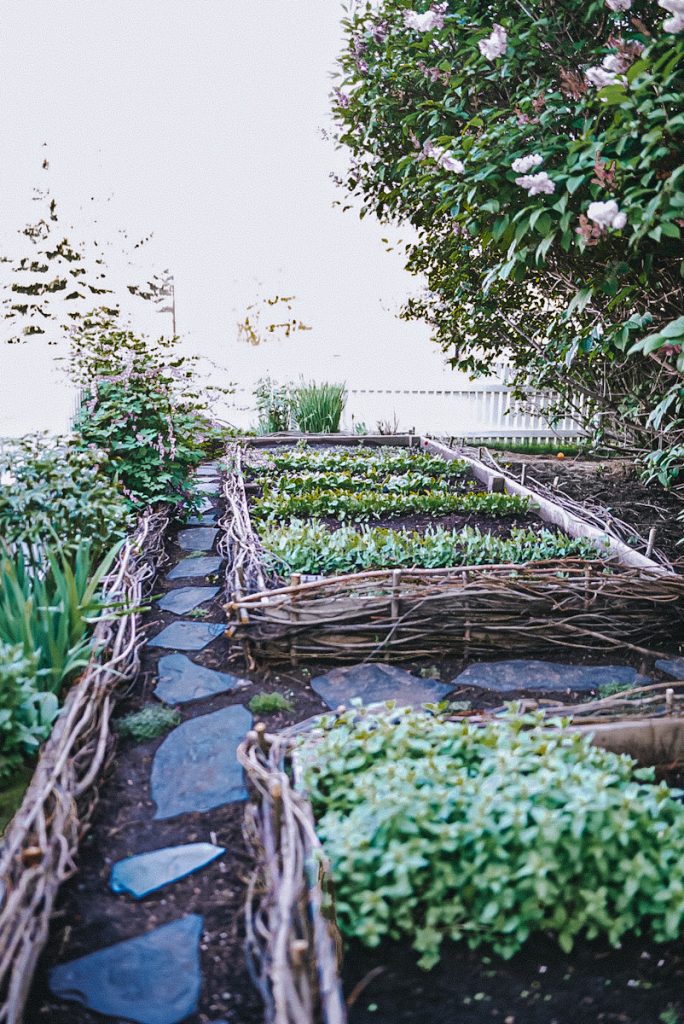
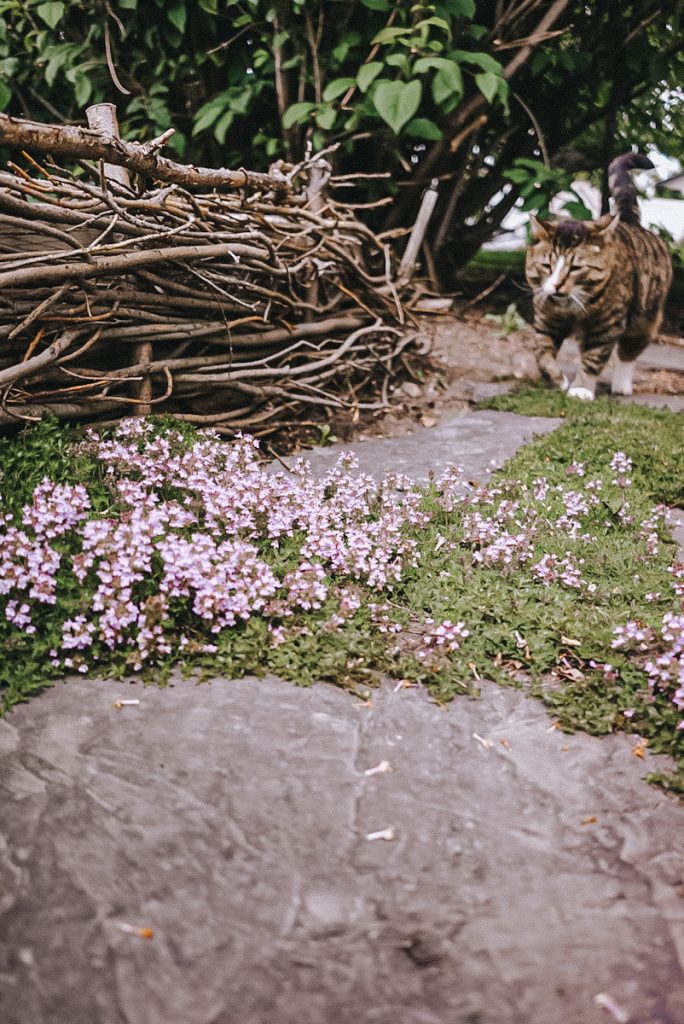
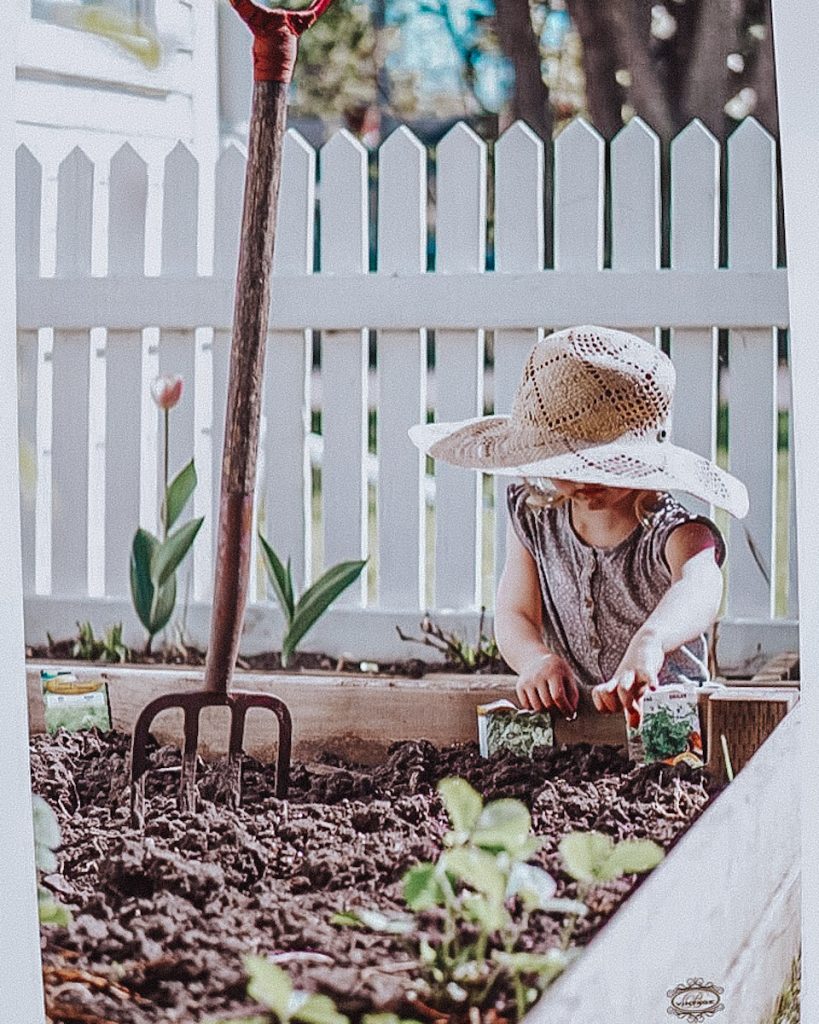
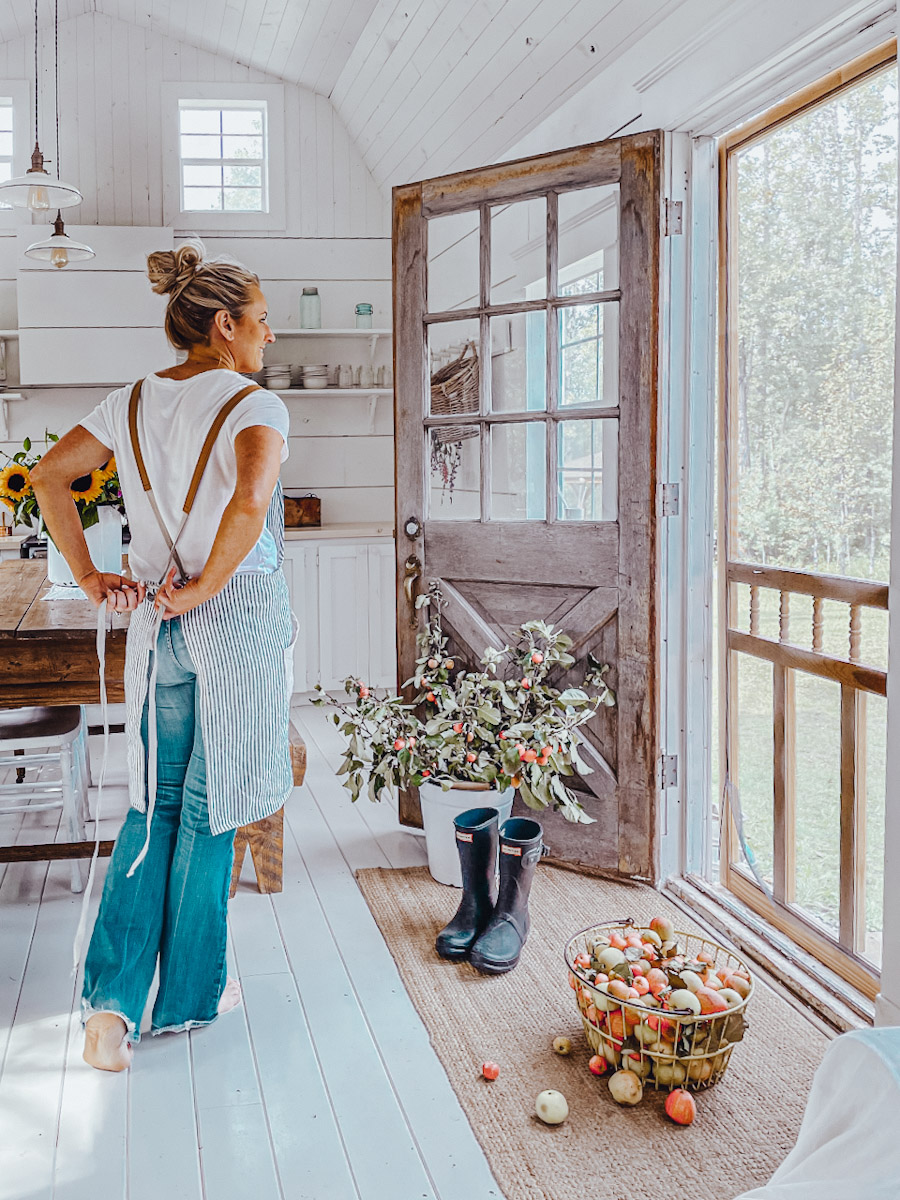
I built two wattle fence garden boxes and a large border of woven boxes around the outside edge of my secret garden. The smaller box is for strawberries and herbs, and the larger box is half for veggies, and half is for picking flowers! The border that surrounds them is full of beautiful, easy-to-grow flowers, mainly perennials.
4. Add A Path To Wander
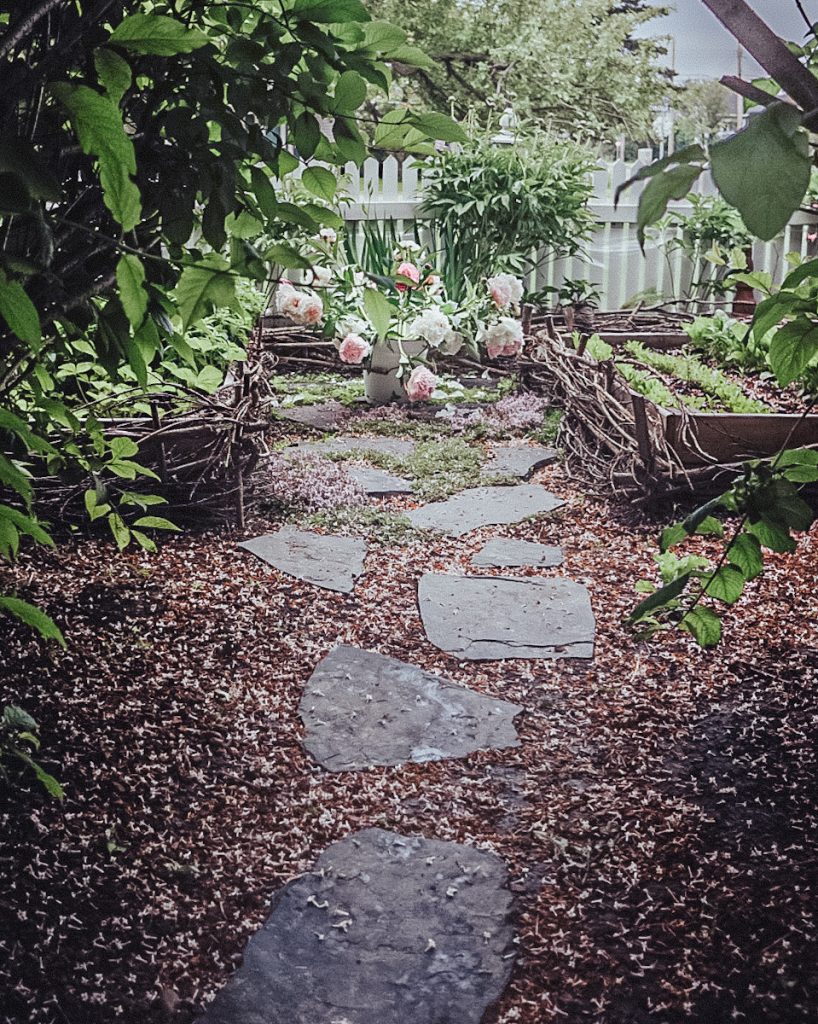
When you plan your space, you want to leave enough room to build beautiful paths throughout your garden. These can be made out of mix-and-match-sized rundle stones or bricks, like mine, or by creating a pattern from same-sized cubes, large or small.
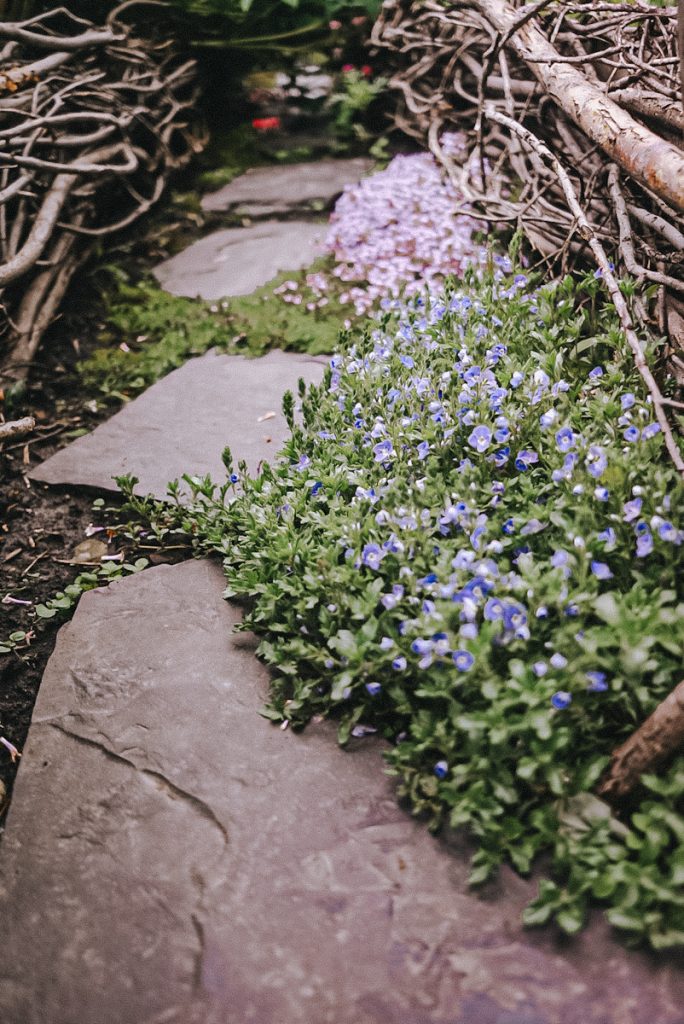
Winding pathways made from natural stone or weathered brick help to guide visitors through the garden, offering beautiful twists and turns for them to explore. These paths are lovely when they are lined with fragrant herbs like lavender or thyme, releasing their aromatic scent with every step.
Get my FREE GUIDE to Starting Your Garden!
This amazing four-page Free Gardening Guide will walk you through what to plant next and even give you a garden planting template to use!
5. Cozy Seating Areas
Add some cozy seating in the garden greenery to make a beautiful space to enjoy. This can be as simple as adding a weathered wooden bench under a flowering tree or a pair of Adirondack chairs beside a quaint stone wall to help invite relaxation and contemplation. You could even place a small French bistro table and chairs to enjoy an afternoon cup of tea!
6. Introduce Magical Lighting
As the sun sets, the garden transforms into a magical realm illuminated by softly glowing lanterns, twinkling string lights that sway gently overhead, and strategically placed uplights that highlight key features. Delicate fairy lights can be wrapped around trees, while solar stake lights along the path can add a warm and inviting glow, enhancing the enchanting atmosphere of a magical garden.
Here are a few lighting options that I would recommend. You can also visit my B Vintage Style online Shop for more gardening supplies and decor.

7. Incorporate Nature
Bird feeders, butterfly bushes, and small habitats attract a variety of wildlife and will add vitality and a sense of connection to nature.
My daughter also added a small fairy garden a few years ago and it was so sweet for her to visit.
Lastly, don’t work too hard on your garden! You don’t want it to feel too formal or overly tidy. Have it be a place to explore or discover, not a place to feel too formal! After all, that’s what a secret, magical garden is about!
Make sure you add this post to your Pinterest so you can return to it for inspiration.

Readers Asked
Everyone will have a different idea of what makes a magical garden, but there are a few elements that can be added to your garden to make it feel a bit more magical. Focus on creating a peaceful, whimsical garden with flowers, winding pathways, and cozy seating areas. Include fairy lights, stone elements, and bird feeders to attract wildlife and enchant your outdoor space.
I don’t have all of these in my garden, but a few of the most common elements include:
Beautiful flowers
Winding stone pathways
Cozy seating areas
Fairy lights or string lights
Bird feeders or baths
Fountains
Stone sculptures
Herb and vegetables
More Garden Inspiration
- Starting a Garden: Tips for Beginners
- 11 Easy To Grow Early Spring Flowers
- How to Create Beautiful Peony Flower Arrangements


I have never seen this before and I love it!!! I find the willow to be so unique and it is beautiful as well. Thanks for the tutorial:)
Love love loved this! Hope to have a garden sometime this year and this is a great start. Working with a completely blank slate in a brand new build, so really want to try and add some old world charm even if just to a garden!
Wonderful Gracie! Yes it’s actually easier to achieve then one would think! Good luck and send me a message with a picture once your done!
I don’t have a willow tree. Where did you source your willow?
If you are local to Alberta, you can find it out west closer to the mountains and you are able to get a permit to cut some. Otherwise, I would think you should find a local farmer who may have some in a marshy area? I am not sure if you can purchase it as you need so much for the beds.
I’ve dreamed of having a secret garden since I was a little girl. We currently live on a 5000 square foot lot so there’s not a lot of space, but I’m working on making a pretty tropical garden with the space we have. Your space is beautiful and an inspiration!
Thank you so much! The tropical garden sounds amazing!