This post may contain affiliate links. Please read our full Disclosure Policy.
Raised planter garden boxes are a popular trend and really, they are so easy to build! Let us guide you thru this easy DIY tutorial so you can build your own raised garden beds.Garden boxes can be ANY Size! Let’s take a look at the general guideline for building a rectangular garden box, but you can adjust for any space you have available.

Original Tutorial and Images by Brittany Dawn
Materials for Raised Planter Bed
- 8 posts – We recommend using 4” x 4″ posts for lots of support.
- 6 planks- 2” x 10” planks that are 12’ long (or the length of the garden box you are wanting).
- 6 planks – 2″ x 10″ planks that are 4′ long (or the desired width of the garden box)
- 2 planks – 1″ x 10″ planks that are approximately 11′ long. These will be used for the bench seat on the long sides of the garden box.
- 2 planks – 1″ x 10″ planks that are approximately 5′ long. These will be used for the bench seat on the short sides of the garden box.
- 3″ long screws
- Thick plastic for lining
- Staple Gun and Staples
- Cardboard
- Dirt
- Compost
- Paint, Stain or Polyurethane
Tools Require for Raised Planter Bed
We don’t believe that you should run out and buy a bunch of tools when you are starting out DIY’ing. Try to use the tools you already have and invest when you are ready. Some of these tools can be rented for a very reasonable price as well.
- Hand saw, Circular Saw, or Sliding Compound Saw. Britt used a hand saw and circular saw for many of her first projects. One Christmas her husband bought her a Sliding Compound Saw and it does make projects so much easier!
- Drill
- Measuring Tape
- Staple Gun
- Sharp Knife (for cutting plastic)
- Paint Brush and Roller
- Stain or Solid Stain for sealing wood if needed.
Deciding on the Size of your garden Planter Box
This tutorial will walk you thru building a 4 foot wide by 12 foot long, by 30” tall raised planter garden box. You can adjust any of these dimension. The reason the width has been selected at 4 feet is because this allows you too easily reach the middle of the garden box while planting, weeding or harvesting your garden. The height of this box is designed to limit bending over, but is still easy to work in.
This tutorial includes adding a bench that you can sit on while you work in the garden.
A downside to a taller garden box is that it can be harder to mix up the dirt. You will probably have to climb in the box when you really need to mix up the dirt in the Spring.
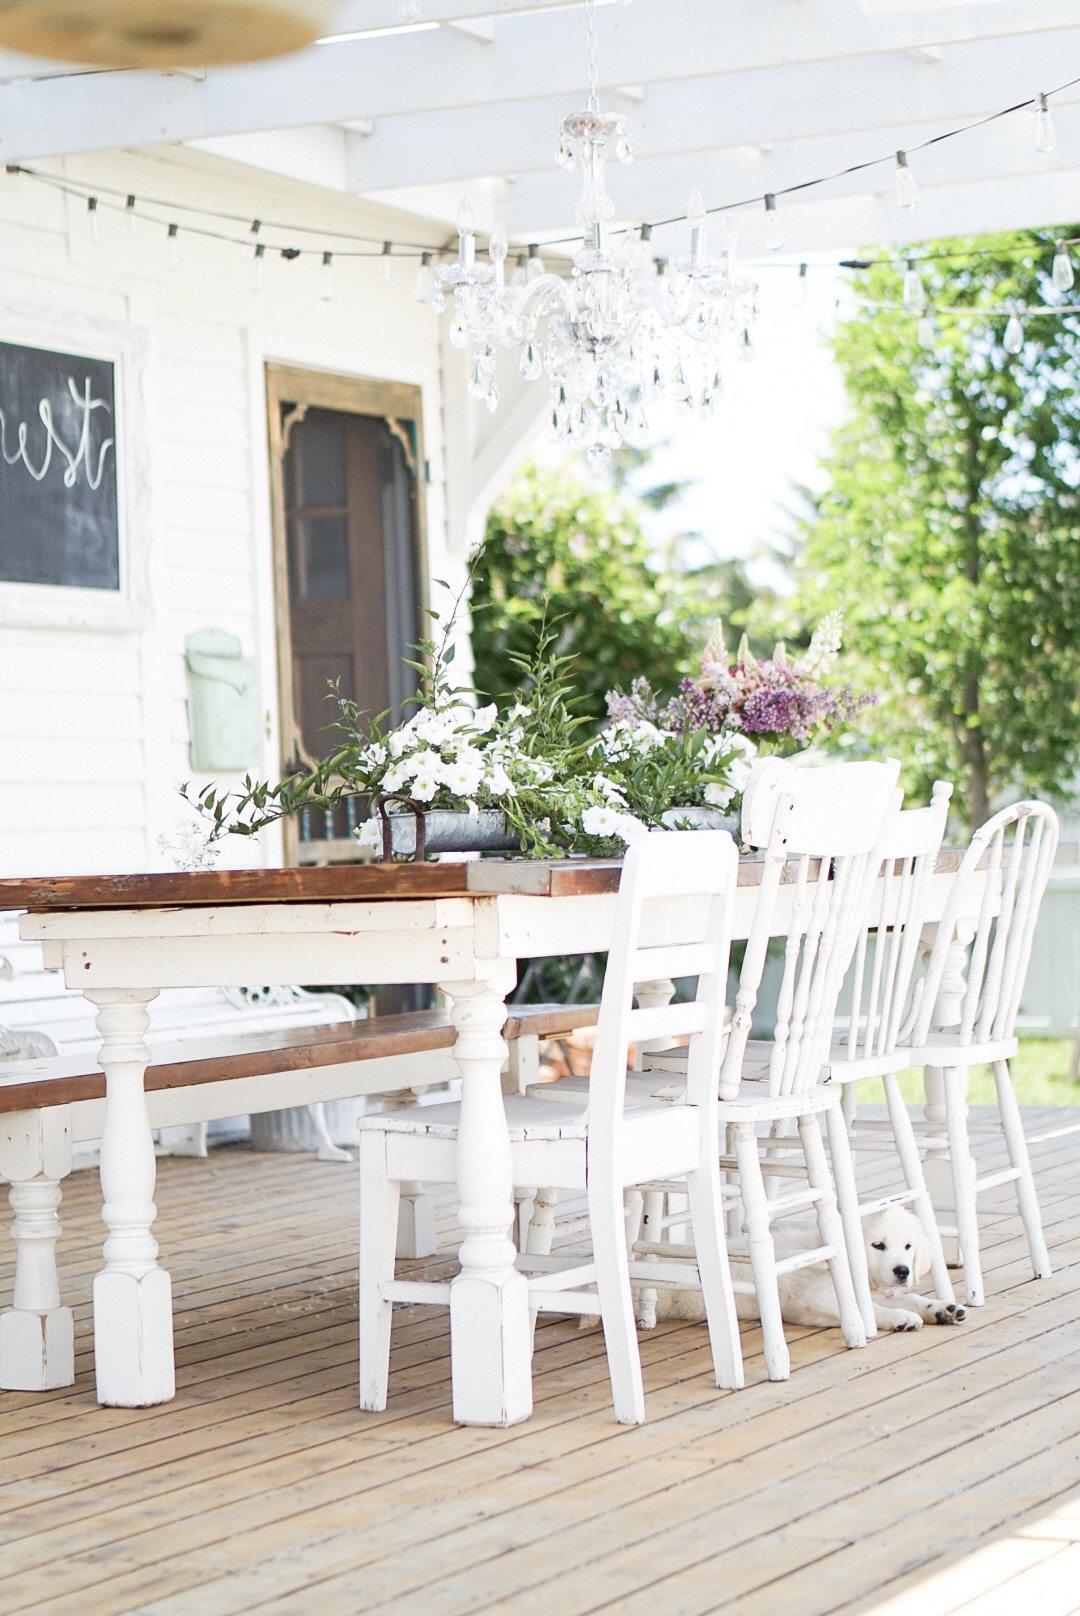
The image below shows where the 5 raised planters are at Britt’s home.

We love fresh cut flowers straight from the garden. HERE is a list of our favourite gardening plants and flowers.
Deciding Which Wood Options To Build A Raised Planter Box
There are a few options for materials you can use to build your raised planter bed. We recommend using cedar or untreated wood. While using untreated wood may mean that you have to paint or stain the exterior, we do not like the idea of treated lumber leaching into our food. Britt’s garden boxes are still standing after 6 years with only 1 coat of solid stain on them.
Step By Step Wood Planter Box Tutorial
1. Lay out 3 of the 2”x10” by 12 foot long planks tight together. Measure the overall width of the 3 planks. This will determine the length of the 4”x4” posts.

2. Cut 8 – 4” x 4” posts to the measurement you got from step one (it should be approximately 28″)
3. Cut 6 of the 2” x 10” planks down to 4 feet long. These will be the short sides of your garden box.
4. Lay down 2 of the 4” x 4” posts on the ground 12’ apart. Place the 3 – 12 foot long planks on top of the posts and screw the planks into the posts. 5. Place a third and fourth 4” x 4” posts approximately 4 feet from the ends. Screw planks into the post. This will help brace the long span of the planks.

6. Repeat steps 4 and 5 once again to form the other side of the box.
7. Next, stand the 2 sides up that you have built. Begin attaching the 4’ long planks to the corner posts.Start with the bottom plank and work up.

8. Repeat step 7 for the other end to form your raised planter bed.
*** Ideally when you are finished the top of the corner posts and the tops of the planks will be flush and this is why…
We like to add a seat to the top of the garden box.
9. On the Long side measure from the centre of the 4″ x 4″ post on one end to the centre of the 4″ x 4″ post on the opposite end.
10. Attach the 1″ x 10″ plank. The plank can only sit on half of the corner post because the bench seat on the short end will also need to rest on this corner post. Make sure the plank is resting fully on the 4″ x 4” posts in the centre and screw the plank down onto the posts and the centre support posts.You want the bench seat to have approximately a 4″-6″ overhang.

11. Measure the distance from the outside edges of the bench seats you installed on the long sides.Cut one of the 1″ x 10″ planks to this length. Screw this plank onto the corner posts.

12. Repeat step 11 on the opposite side. DO NOT assume each end is the same width!Screw this final plank on and you not have a completed Raised Planter Box!!
Our friend Emily has also done a great tutorial on making a smaller planter box! Head over to see the tutorial on Handmade Farmhouse!
Lining your Garden Box
It is HIGHLY recommend lining your garden box with a thick plastic. The plastic will:
1. Help protect the wood from rotting.
2. Help prevent grass and weeds from growing into the garden box. Use a staple gun to attach the liner to the posts and planks. DO NOT line the bottom of the box with plastic!
Line the bottom of the garden box with a thick layer of cardboard. This will drastically help limit the amount of weeds that grow in your garden box.
Feeling motivated to make more than just these garden boxes? Check out Jor Decor’s DIY Flower Planter Box Tutorial!
Finishing Your DIY Garden Box
If you used untreated wood, we recommend using a solid stain or regular stain to protect the outside of the garden box. You are only painting or staining the outside of the boxes.

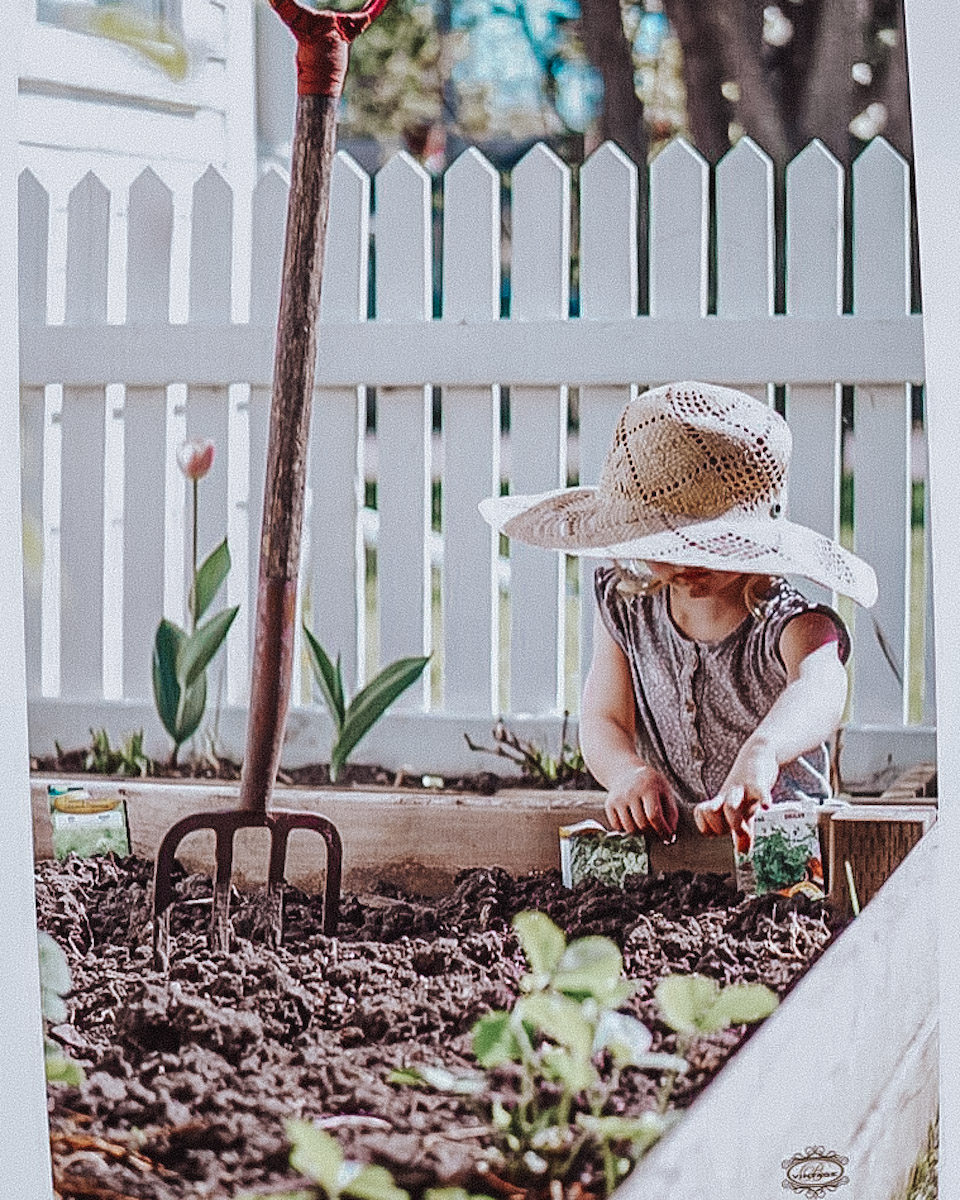
Now that you have gone thru the effort to build your garden box, invest in some good quality black dirt. You don’t want to start off with nutrient deficient soil. We also recommend adding some form of manure or compost to the garden box as well! Just make sure to check the correct ratio for the compost mixture as it can burn or kill your seed if you add to much. Adding about a 10% compost mixture prior to planting will really give your garden a boost each year!
*** You can also hammer in simple nails to the side of your garden boxes to hang garden tools from.
Build as many garden boxes as space allows. When spacing out the garden boxes make sure to leave room for walking and working between! Also make sure to leave room for the lawn mower to get between as well.
Now that you have an idea for your Garden Boxes check out all of the veggies that we love to plant in our gardens!
Happy Gardening!!
Check out another DIY Garden Box design by our friend Karlee Bowman