This post may contain affiliate links. Please read our full Disclosure Policy.
When planting flowers in pots, there are a few key elements to keep in mind for the most successful flower season possible. Even as a beginner, if you follow the right guidelines, you will have big, beautiful blooms and a beautiful patio in no time!
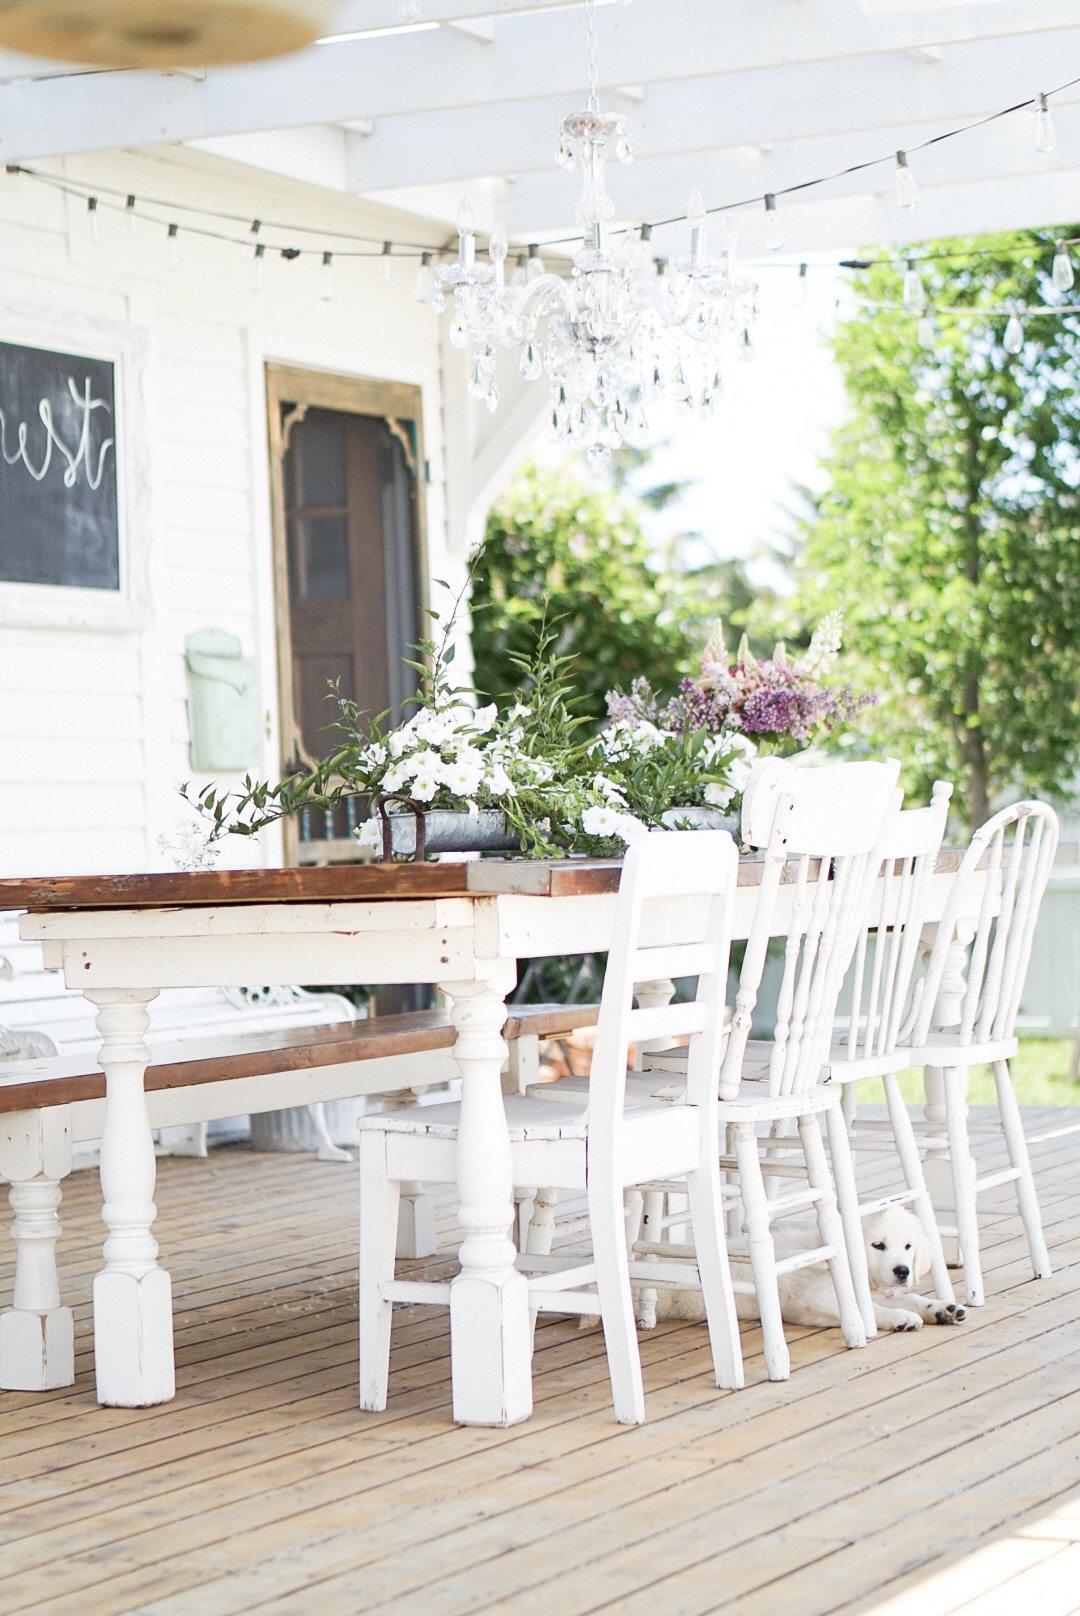
For many years, I have loved a full patio and garden of flowers, plants, and edible herbs. When done correctly, this type of gardening is almost foolproof. I have put together my best tips and tricks for you to have a thriving container garden this year.

The Best Flowers to Plant in Pots
It is important to understand the basics of soil, fertilizer, and drainage, as well as the types of flowers that will work best! After you have made your flower pots, you can get to the fun part—decorating your outdoor space!
A few things to consider when choosing the best flowers for your pots is
- Color Choices. Do you want to keep a neutral palette in your flower pots, or do you want to create a more dramatic feel by mixing bold, beautiful colors?
- Size Variations. Make sure the tallest plant or flower is central and then decrease the height as you work your way out.
- Textures – Will you stick to one flower type per pot or mix in a variety of textures.
It is also important to choose flowers that grow well in similar growing conditions, such as sun exposure, soil types, and drainage.
Container Gardening Favorites
- Petunias – Full Sun, Hardy, and Easy to Grow. Any petunia will give you a big bang for your buck! Wave petunias will give you height and also cascade down the side of your flower pots.
- Pansies – Full Sun, Part Sun, Hardy. The Pansy is a favorite for flower pots and containers as it is so easy to grow and will continue to bloom for the whole season! This bold-colored beauty is a great option when planting flower pots.
- Geraniums – Full Sun, Bold Colour, Easy to Grow. Geraniums can be grown both indoors and outdoors which makes these big beauties a great option to start early and add to your flower pots. They are extremely easy to grow and add both height and bright color to your pots and containers.

- Potato Vine—Full Sun, Part Sun, Hardy, All Season. There are a few different variations of this beautiful vine, but when it comes to filling your pot, very few others can do it like the Potato Vine. It can both climb and cascade and will continue to grow right through to the fall!
- Begonia – Full Sun, Part Sun, Shade, Easy to Grow. Begonias are wonderful in flower pots for a pop of color and fullness. These beautiful flowers come in a large variety of colors and are a great addition to any flower container.
- Dahlia – Full Sun, Bold Colour. These sun-loving flowers make a big impact when included in flower pots! You will want a fairly wide pot as Dahlias get extremely bushy and boast big beautiful blooms!
For a complete list of what I love to use in my pots every season, read my 5 Step Guide to an Outdoor Patio
Flower Pot Drainage
Ensuring that your flower pot has proper drainage is so important. For instance, if your pot is overwatered and unable to drain, it will cause your plants and flowers to have root rot. There are a few methods that you can use to make sure your post has the proper drainage.

1. Drainage Holes in your Flower Pot
The number of drainage holes your planter or flower pot will need depends on the size of the container. Just be sure to have at least one drainage hole. Using a 1/4 ” bit and drill, place a hole approximately every 4 inches on the container. Holes larger than 1/4 inch in diameter will allow too much soil or dirt to escape. A hammer and 1/4″ nail will work for this too. The bottom line is that you make your holes large enough to allow water to pass through, but they shouldn’t be too large that the soil or potting mix can escape through them.
2. Soil Texture and Porosity
It is also just as important that your soil has the right texture and porosity. Soil that is too thick will hold excessive water, have poor drainage, or water not flowing through. Soil that is too sandy or loose may have excessive drainage or too much water moving through and being lost. You can change the consistency of the soil by adding compost mixture to loose soil or by adding sand to thick soil! Using a premixed potting soil would also be a great option as it is already the right consistency.
Looking for some perennial flowers that are easy to grow? Here are some Easy Flowers to Grow for Beginners
3. Add a Layer of Drainage Material
Adding a layer of rocks, clay pellets, or granite pebbles to the bottom of your flower pot will also help to provide additional drainage. Drainage material like clay pellets can also allow the soil to ‘wick’ moisture up to the plants above and prolong your time in between watering.

4. Size and Shape of the Flower Pot
Choose a planter that is proportional to the size of the flowers you will be planting, however, it’s better to even be on the larger size to be safe.
Preparing the Soil for Planting in Pots
The right soil will make your flower planting experience so much smoother! The route to healthy soil may be a lot of trial and error, so pre-mixed potting soil can save you a lot of headaches as it offers a lot of nutrients and holds water well in a small space. It doesn’t hurt to add fertilizer or compost to your potting mix, though.
A good rule of thumb when it comes to adding compost is to add no more than 10% to your potting mixture. Studies have found that the best fertilizer ratio for flowering plants is 3-1-2. (That’s 3% Nitrogen, 1% phosphorus & 2% potassium.) Look for something close to this and you should be all set! Giving your flowers a little fertilizer boost every few weeks is a great idea!

Shop beautiful flower pots

Not seeing what you like? Try making these DIY aged terracotta pots instead!
Planting Flowers in Pots for Beginners
Materials
- Flower Pot or Planter
- Drainage Material
- Potting Soil Mixture
- Flowers and Plants
Instructions
Prepare the Flower Pot
- Prep the Flower Pot – Give your flower pots a wipe down with disinfectant soap or soak pots in a bleach solution. If you have any concrete, ceramic, or terracotta pots, you can use a hard bristled brush to scrub the inside and ensure the debris and minerals from the previous season are removed.
- Add Drainage—Add rocks, gravel, terracotta pellets, or some other drainage material to the bottom of the flower pot. You will want enough to cover the base of the pot.
- Add Soil for the Plant. – Fill the flower pot approximately 3/4 full with a potting mix or soil of your choice.

- Choose the Placement of Your Flowers— It is a good idea to arrange your plants and flowers in the desired placement prior to planting them. This way, you can be sure to have enough plants to achieve the desired color or texture pattern. Also, be aware of the height and variations of the plants as you prepare this layout.
Plant The Flowers
- Plant the Flowers—Once you are satisfied with how your layout and flowers look in the pots, it is time to get planting! Start with the largest plants first, usually placed in the middle or back of the pot, and work your way out from there.

- Water and Fertilize Your Flower Pots—Be sure to give your plants and flowers a big drink of fertilized water as soon as you plant them! This will give them a boost right from the beginning and get them started on their way!
- Deadheading and Pruning Flowers— Depending on what types of flowers you decide to go with, deadheading and pruning will ensure that your plants and flowers keep blooming all summer long and right into the fall! Reading the plant labels will give you a good idea of which ones will require deadheading and pruning on an ongoing basis.

Gardening Must-Haves


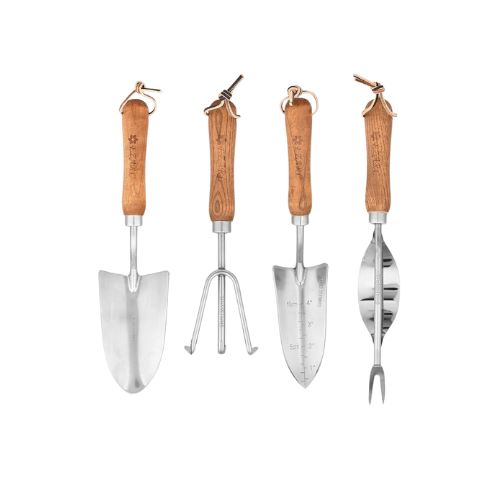

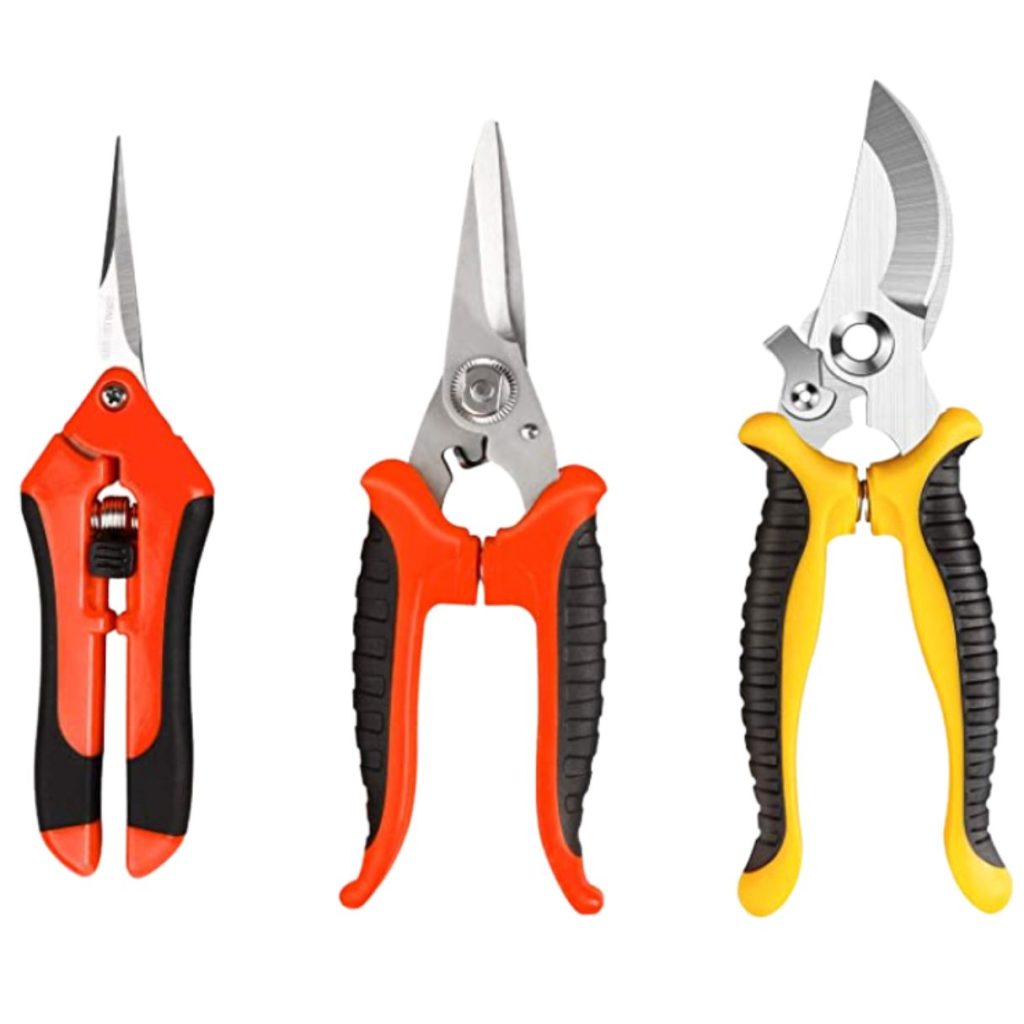
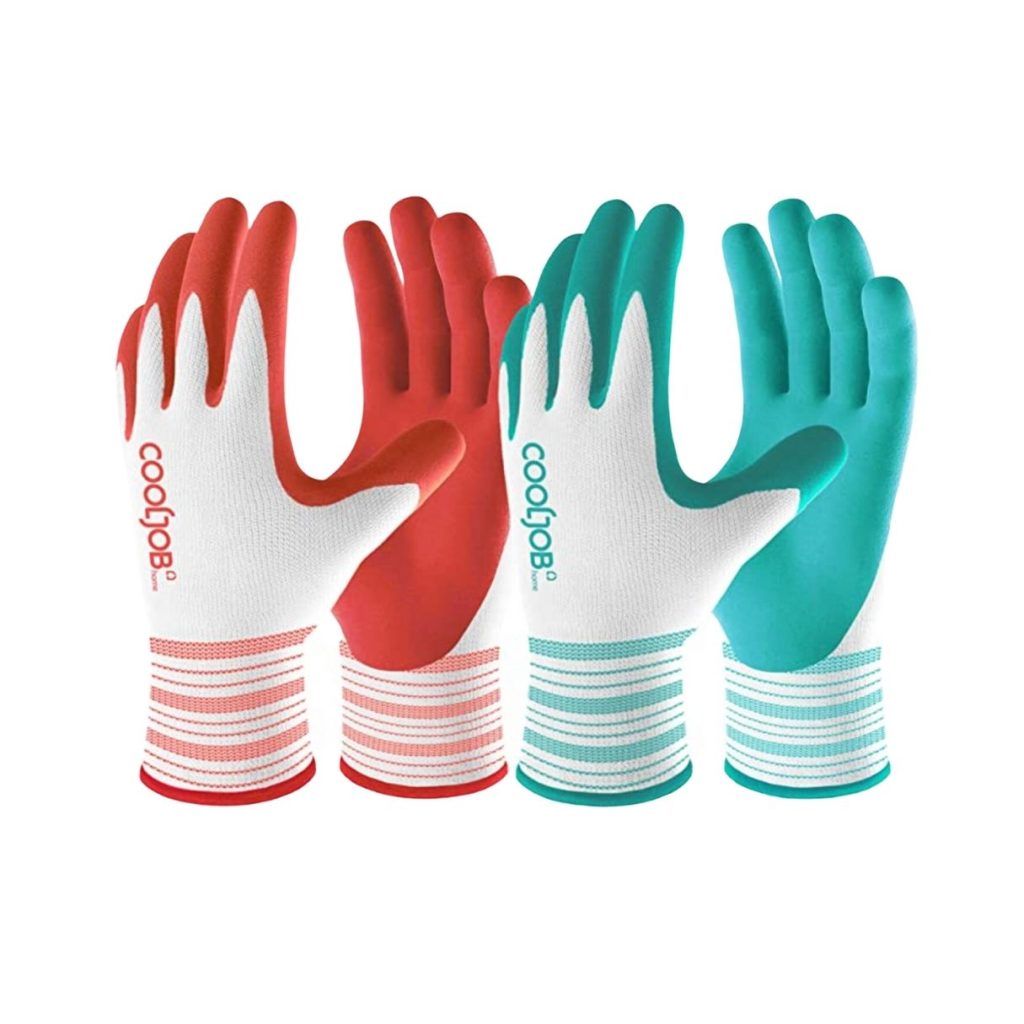
You can find some amazing options for gardening tools and supplies in the Garden Market, too.
Tips for Planting Flower Pots
- Watering your flower pots will be entirely dependent on the type of flowers you choose and the sun exposure that your pot gets, but remember that you will always need to water more than a garden or flowerbed.
- Fill the bottom third of large flower pots or planters with lightweight plastics, such as cut-up pool noodles or leftover containers that the flowers came in, to keep them light enough to move.
- Remember to feed them regularly! Fertilizer is essential to big, beautiful blooming pots, so put together a scheduled routine for your flower pots, and you will have beautiful blooming pots all season long.
I hope you found this 7 Step Guide to Planting Flower Pots useful! If you follow these steps and guidelines, you will have beautiful flower pots all season long! Please let me know what you think in the comments below and share this post with your friends and family who are putting together flower pots too!
I would also love to see the flower pots you put together so please share them with me by tagging me in your social posts over on Instagram!
Reader Questions
Balancing the size of your flower pots to the spread of the plants once they are full-grown is important to understand when deciding how many plants to add to your pots! You want to ensure no one plant outgrows or overwhelms the others in the container. Checking the plant labels when you select your flowers will help you understand the size, height, and spread of each variation. This process will give you an idea of how many plants should be in your pot depending on the size of the container.
want to save this recipe?
Enter your email & I’ll send it to your inbox. Plus, get great new recipes from me every week!
By submitting this form, you consent to receive emails from B Vintage Style.

How To Plant Flowers in Pots and Containers
Equipment
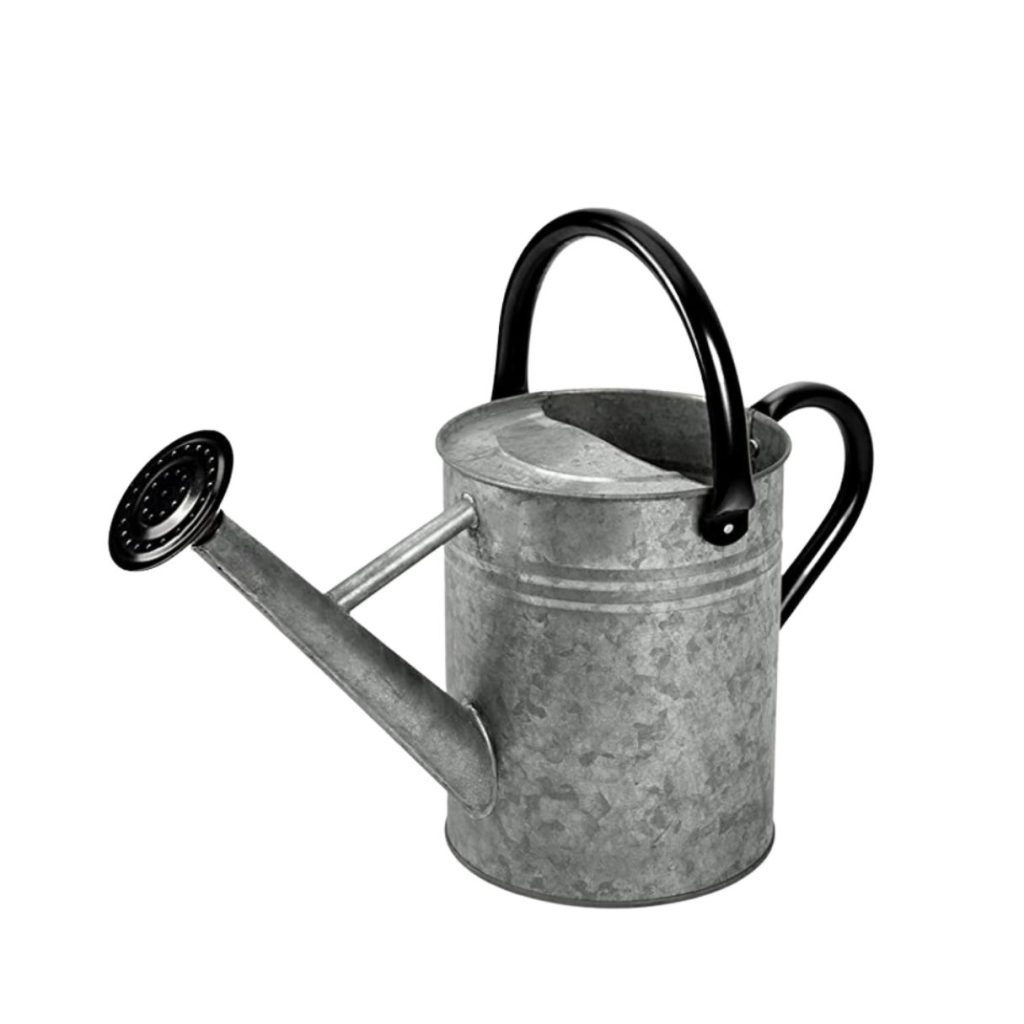
- Gardening Trowel or Hand Shovel
- Watering Can
- Flower Fertilizer
Materials
- Flower Pot or Planter
- Drainage Material – Gravel Clay Pellets, Rocks
- Potting Soil Mixture
- Flowers and Plants
Instructions
- Prep the Flower Pot – Give your flower pots a wipe down with disinfectant soap or soak pots in a bleach solution. If you have any concrete, ceramic, or terracotta pots, you can use a hard bristled brush to scrub the inside and insure the debris and minerals from the previous season are removed.
- Add Drainage – Add rocks, gravel, terracotta pellets, or some other drainage material to the bottom of the flower pot. You will want enough that the base of the pot is covered.
- Add Soil for the Plants – Fill the flower pot approximately 3/4 full with potting mix or soil of your choice.
- Choose the Placement of your Flowers – It is a good idea to layout your plants and flowers in the placement you are wanting prior to planting them. This way, you can be sure to have enough plants to achieve the color or texture pattern you are wanting to go with. Also, be aware of the height and variations of the plants as you are prepping this layout.
- Plant the Flowers – Once you are satisfied with how your layout and flowers look in the pots, it is time to get planting! Start with the largest plants first (this plant is usually placed in the middle or back of the pot) and work your way out from there.
- Water and Fertilizer your Flower Pots – Be sure to give your plants and flowers a big drink of fertilized water as soon as you have them planted! This will give them a boost right from the beginning and get them started on their way!
- Deadheading and Pruning Flowers – Now that you have your flower pot all planted and well on its way to being a big, beautiful outdoor focal point, you may have to do some aftercare! Depending on what types of flowers you decided to go with, deadheading and pruning will insure that your plants and flowers keep blooming all summer long and right into the fall! Reading the labels of your plants will give you a good idea of which ones will require deadheading and pruning on an ongoing basis.
Pin for later

One Comment