This post may contain affiliate links. Please read our full Disclosure Policy.
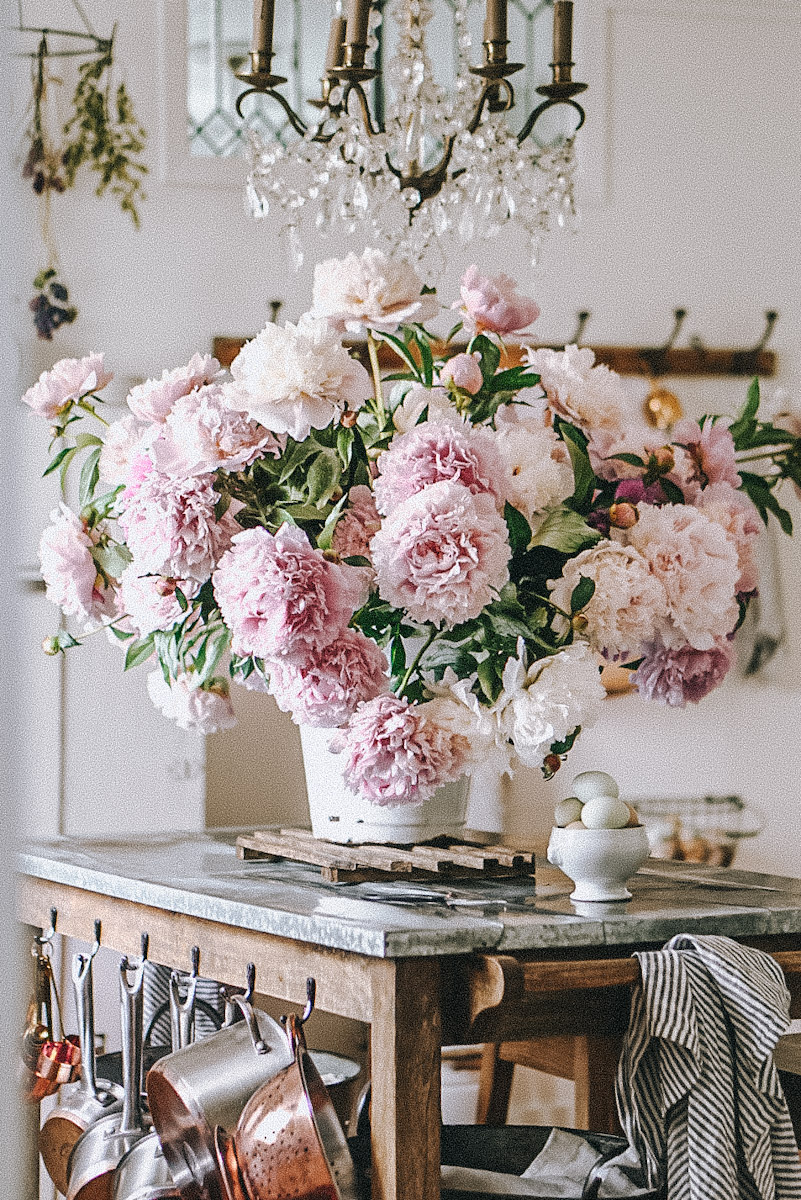
Learning how to preserve flowers can be a wonderful way to extend the life of special blooms and enjoy nature’s beauty long after the season has passed.
Preserving flowers is something I started experimenting with years ago. Even as a child, I remember picking small daisies and pansies from my mom’s or grandmother’s gardens and pressing them between Kleenex tissues and large books.
Now, I preserve flowers mostly out of a deep desire to hang on to the beauty of the spring and summer season, and my beautiful garden blooms. Whether it’s a small bunch from the yard or a handful of wildflowers from a walk, it’s just too hard to watch them wilt without at least trying to make them last.
Over time, there are a few tried-and-true ways to save favorite blooms—some passed down through generations and others discovered through trial and error. In this post, I’ll walk you through four of my favorite ways to preserve flowers: air drying, pressing, using a dehydrator, and silica gel. I’ve used all of these methods in my home, and each one gives you a slightly different outcome.
Why Preserve Flowers
To me, preserving flowers is about more than just keeping pretty petals around. It’s a way to:
- Hold onto special memories (like the roses my husband brought home just because)
- Bring nature indoors, especially during the colder months
- Create simple, heartfelt gifts
- Add a touch of timeless, vintage charm to my home decor
One of the first times I ever saved flowers was when my kids brought me tiny dandelion bouquets from the backyard. They’d come running in, fists full of sunshine, and I just couldn’t throw them away. So I started air drying them—nothing fancy, just a bit of twine and a nail in the pantry—and I’ve been hooked ever since.
How To Preserve Flowers
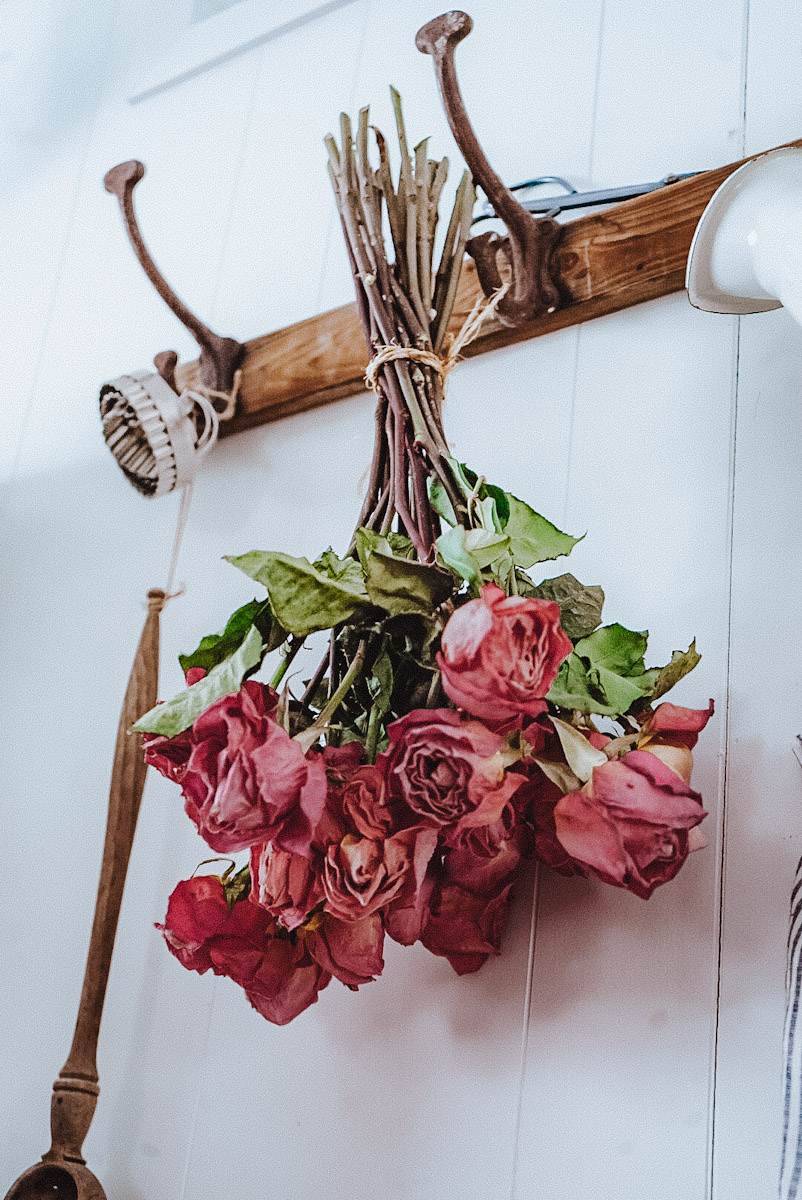
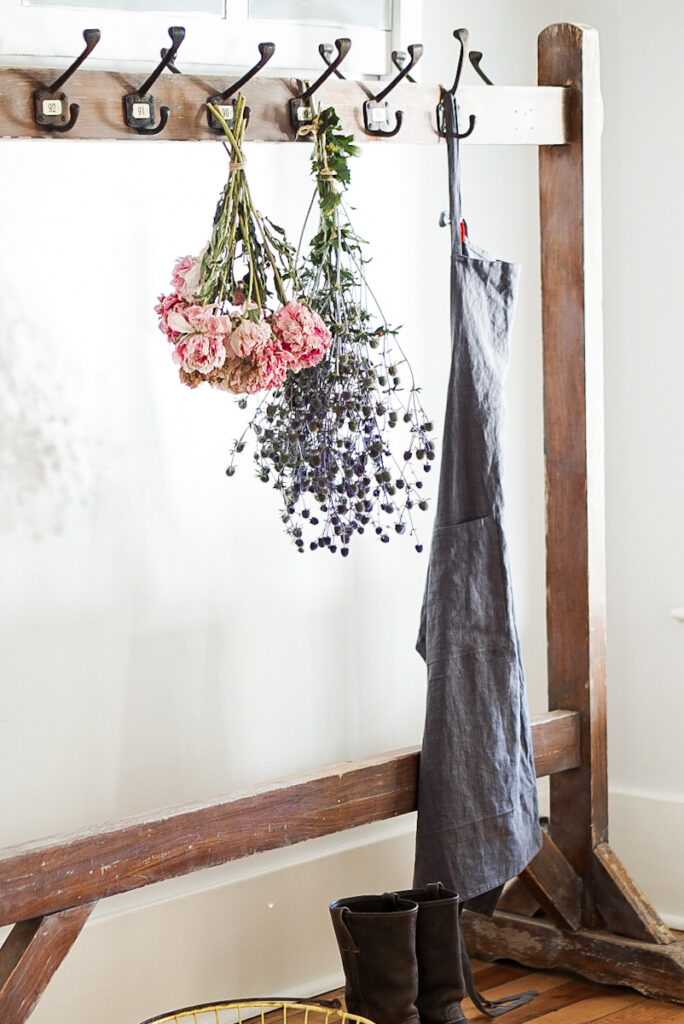
1. Air Drying Flowers
If you’re wondering how to preserve flowers the easy way, air drying is where to start. It’s classic, simple, and takes almost no equipment—just a bit of time and patience. This method is the one I use the most!
What it’s great for:
Roses, lavender, eucalyptus, peonies, larkspur
Here’s how I do it:
- First, I strip off the extra leaves from the stems.
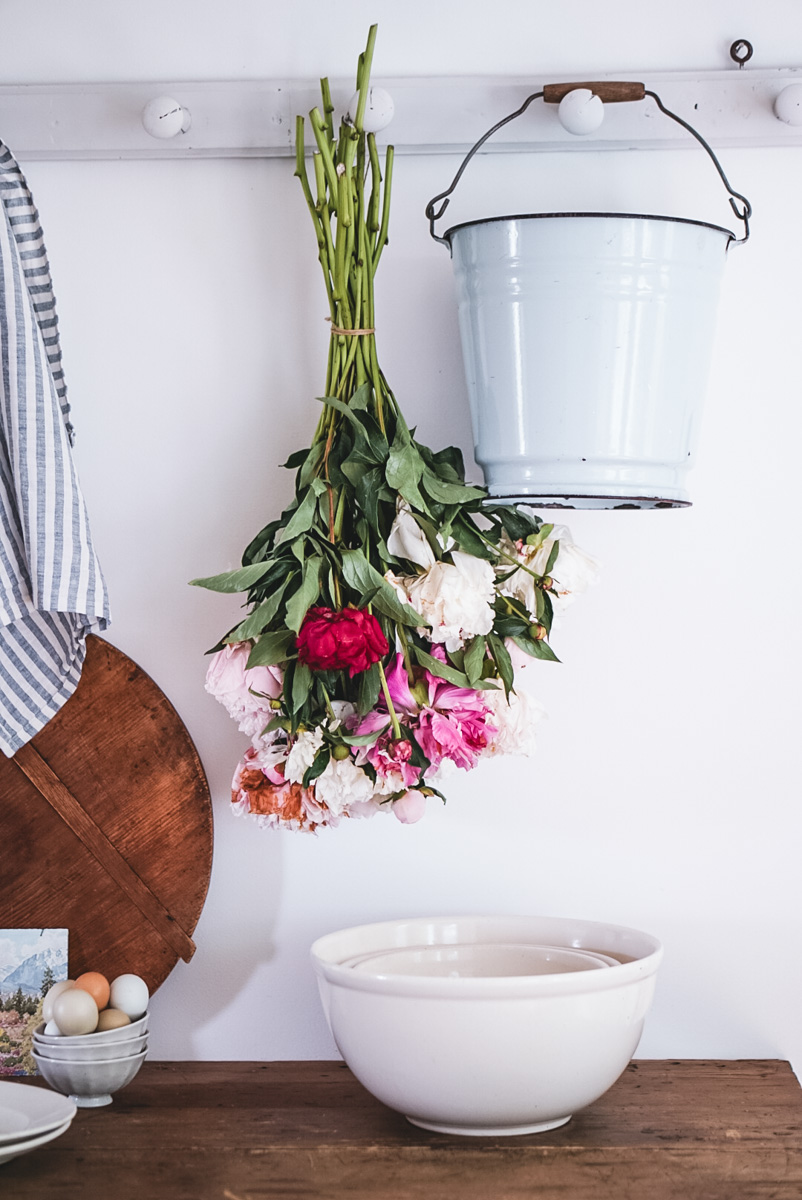
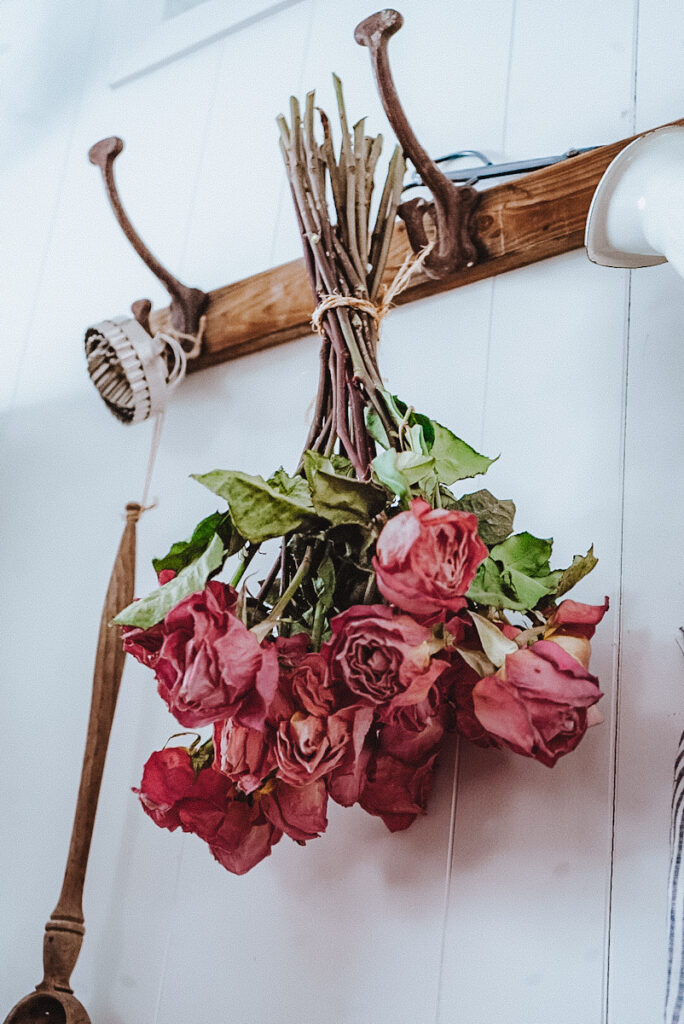
- Then I group the flowers into small bunches (or one big bundle if I’m keeping it for decor) and tie them at the base with twine or an elastic band.
- I hang them upside down in a cool, dark, and dry space—usually in a cold room, linen closet, or a quiet corner of the basement. I have a drying rack in my laundry that works perfectly, too.
- After 2–3 weeks, they’re fully dried and ready to display or tuck into a wreath.
A little tip: Choose flowers that aren’t fully open yet—they’ll hold their shape better as they dry.
Right now, I have a bundle of lavender from last summer still hanging in my pantry. Every time I open the door, the scent takes me right back to warm garden mornings. I love to add dried lavender in my clothing drawers, too.
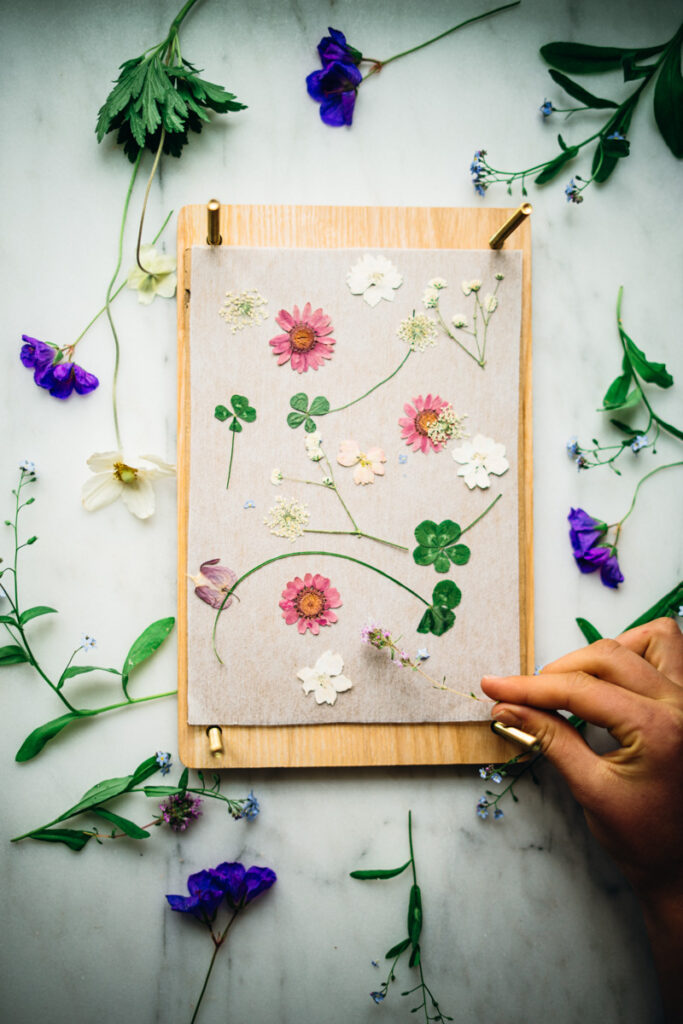
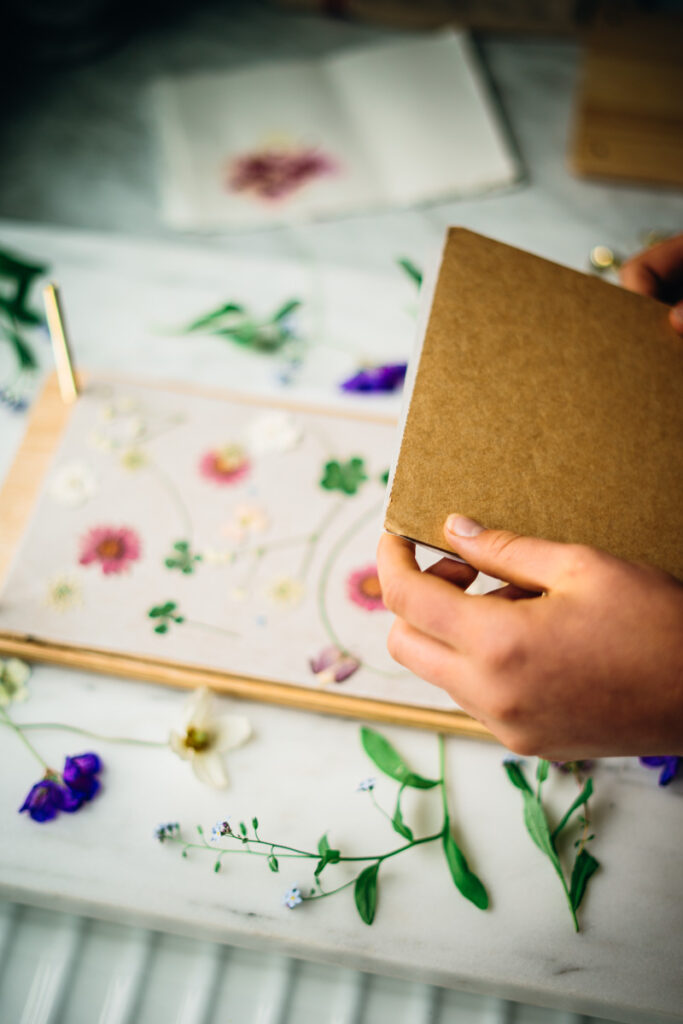
2. Pressing Flowers
This method is perfect if you love soft, vintage details. Pressed flowers are wonderful for framed art, handmade cards, bookmarks, or even slipping into a journal or letter to a friend.
What it’s best for:
Daisies, violas, cosmos, ferns, forget-me-nots
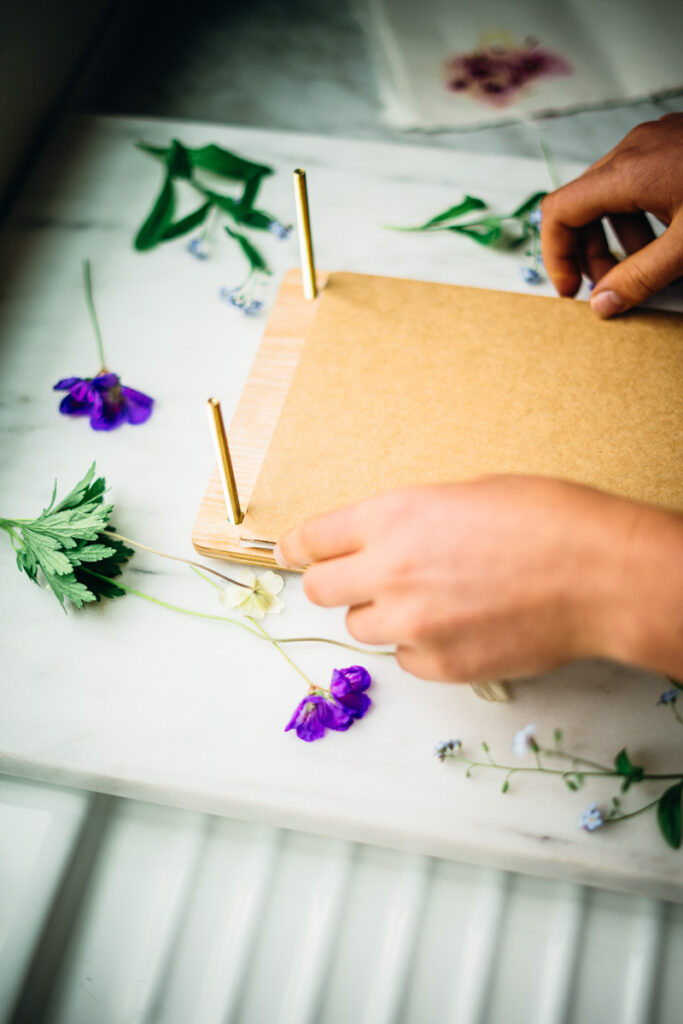
Here’s how I press flowers:
- I lay each bloom flat between two pieces of parchment or wax paper.
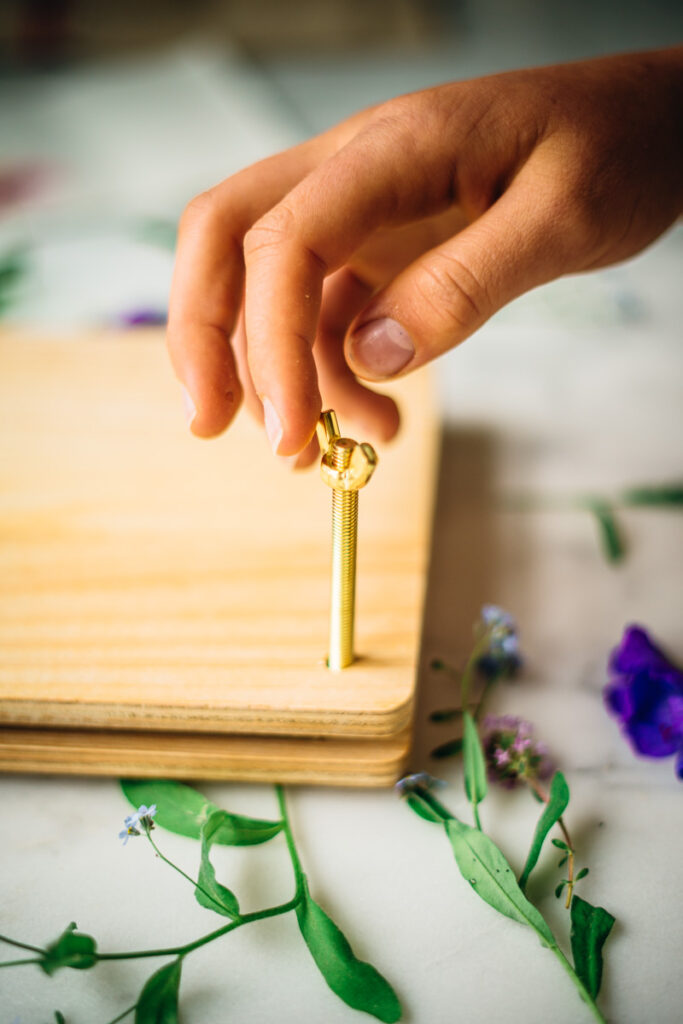
- Then I place them inside a big book (an old dictionary works perfectly!) and weigh it down with a few other heavy books. I have invested in a flower press, and it works really well. Screw the bolts tightly together for the best results.
- After 1–2 weeks, they’re dry and paper-thin—perfect for crafting.
Tips from experience:
Swap out the paper every few days to avoid trapping moisture and your blooms turning a brown color, and use tweezers when handling the delicate petals.
One of my favorite things to do is press wildflowers we collect on hikes and then frame them for our gallery wall. It’s such a beautiful way to bring nature indoors and create meaningful decor at the same time.
3. Dehydrating Flowers
If you’re looking for a faster method or want to dry flowers for homemade tea, bath salts, or soaps, a dehydrator is such a handy tool.
Great for:
Calendula, chamomile, marigolds, rose petals, herbs
Here’s my process:
- I gently wash and pat the flowers dry.
- Then I lay them on the dehydrator trays in a single layer.
- I set the temperature to 95°F (35°C) and let them dry for 8–12 hours.
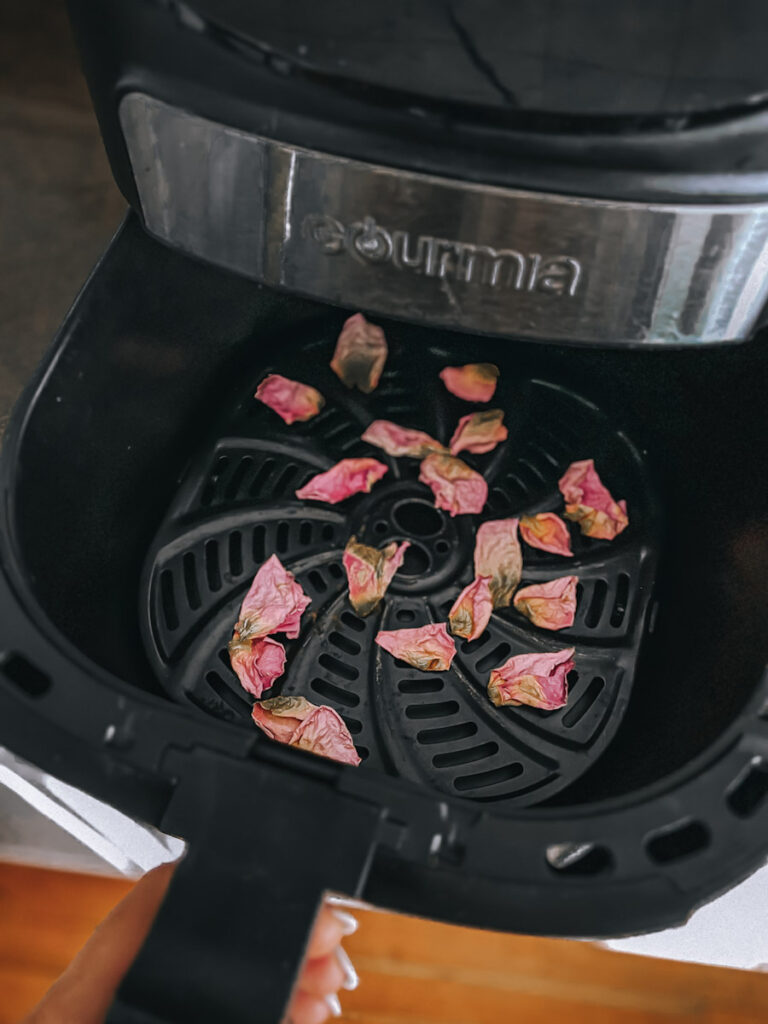
They’re done when they feel crisp and dry to the touch.
Storage tip: Keep them in airtight jars in a cool, dark cupboard. I often reuse old mason jars for this—they’re cute and practical!
I use this method for drying herbs from my garden, too. Nothing beats the smell of homemade herbal tea made from your own dried chamomile and mint!
4. Silica Gel Method
This one sounds fancy, but I promise—it’s simpler than it sounds. Silica gel is the best option for preserving flowers when you want to maintain their shape and vibrant color.
Ideal for:
Peonies, zinnias, dahlias, ranunculus, roses
Here’s how to do it:
- In an airtight container, I pour a layer of silica gel (you can buy it at craft stores).
- I nestle the flowers bloom-side up and gently pour more silica over the top until they’re fully covered.
- I seal the container and leave it undisturbed for 1–2 weeks.
When I gently remove them with a spoon or soft brush, they look almost like fresh blooms—only preserved!
Last summer, I used silica gel to preserve my birthday flowers. The peonies kept their shape and rich pink color so beautifully—I have them tucked in a glass cloche in our bedroom, and they still make me smile every time I see them.
Ideas for Using Preserved Flowers
Once you know how to preserve flowers, the possibilities are endless! Here are a few of my favorite ways to use them around the house:
- Making wonderful natural home products, natural skincare, DIY candles, soaps, or bath soaks. Try making this rose petal scrub or natural cleaning solution out of preserved flowers.
- Leave the hanging bundles in the fall for a beautiful natural aesthetic in your decor.
- Frame pressed flowers in old picture frames for vintage-inspired wall art
- Create handmade bookmarks or greeting cards.
- Use dried flowers in wreaths or centerpieces
- Keep a dried flower journal with notes from where and when each flower was picked
Deborah’s Tips
Over the years, I’ve picked up a few helpful tricks that make preserving flowers easier and more rewarding:
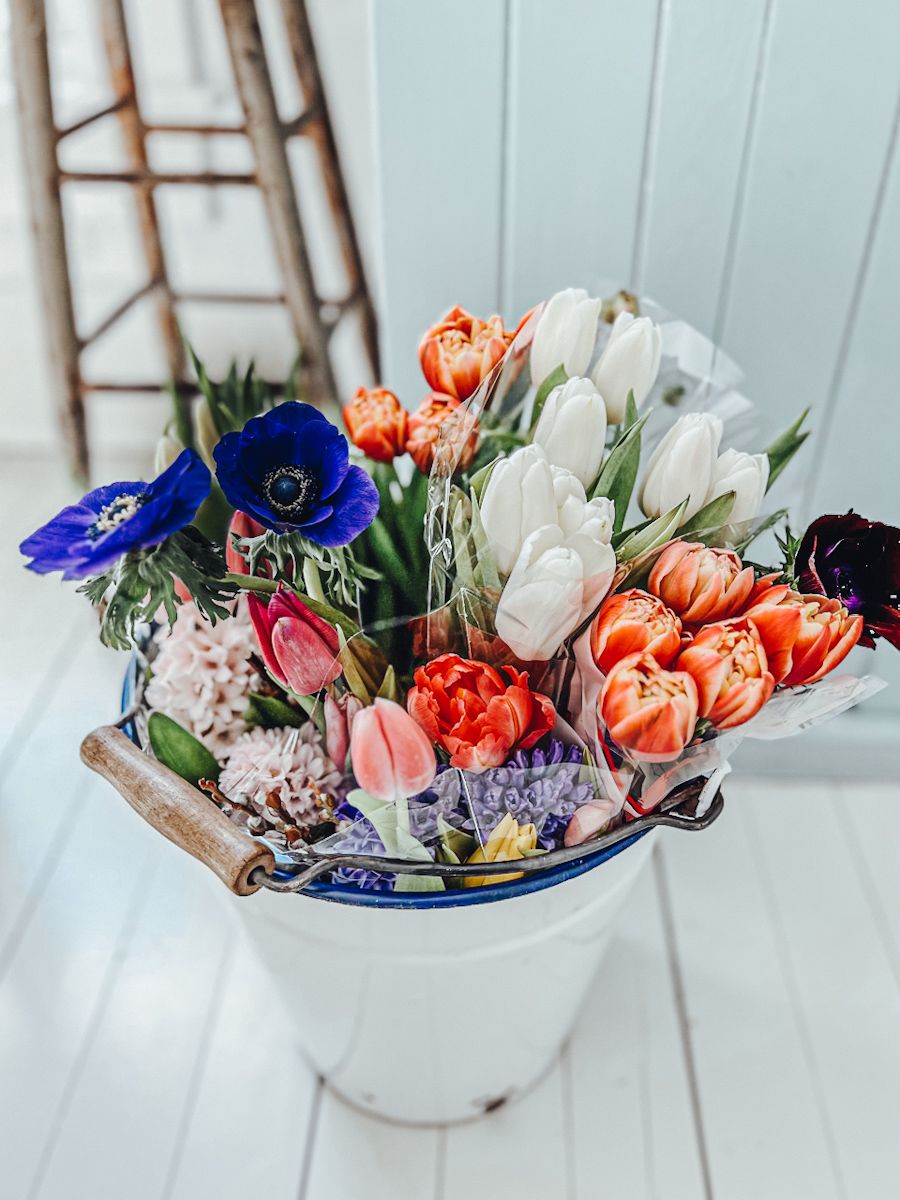
- I always try to start with the freshest blooms I can find—once they start wilting, they’re just not the same.
- I keep dried flowers away from direct sunlight so their colors don’t fade too quickly.
- Storing them in a cool, dry place, such as a cupboard or pantry, has helped me avoid any issues with mold.
- And when they get a bit dusty (which they always do eventually!), I use a small makeup brush to gently sweep them clean. It works like a charm!