This post may contain affiliate links. Please read our full Disclosure Policy.
A DIY brick fire pit can be an excellent addition to any backyard, providing warmth and a cozy atmosphere for social gatherings or quiet evenings.
Whether you’re looking to roast marshmallows with friends and family or simply enjoy a cozy evening by the fire, building your own fire pit is an easy project for your patio or outdoor space. With a little bit of planning and some basic tools and materials, you can create a custom fire pit that fits your style and budget.

Images And DIY Project by Brittany Dawn
My family is lucky to have a large back yard, so for years we have been debating where the perfect spot to put the fire pit would be. Follow along as I show you a super easy DIY fire pit that you can do with very few tools or skills! This is how we created our simple outdoor Brick Fire Pit!
Types of Bricks To Use
When building your own fire pit, you can use fire bricks or regular clay bricks. Fire bricks are specifically designed to withstand high heat and temperatures and are made from refractory ceramic materials. They are more expensive than regular clay bricks but are a better choice for a fire pit as they can withstand the heat without cracking or breaking.
Regular clay bricks can also be used. They are not as durable as fire bricks and may crack or break over time due to the heat. If you choose to use regular clay bricks, make sure you use a fire pit liner or fireproof cement to protect them from the heat.
Originally I wanted to build a massive stone fireplace. However, after getting a quote a few years ago, costing approx $10,000, I started to think of new ideas. I do love a minimal style so I wanted a simple fire pit, something easy, affordable and maintainable.
It’s hard to find solid bricks anymore, they all have 3 holes in them so they are not as solid and durable as they once were! Checking out my local salvage shop Uniquities was my first stop. They had pallets of Salvaged bricks from France! The bricks had the perfect white and creamy patina that I was envisioning and they were on sale!!

DIY Brick Fire Pit Styles
One of the first decisions we made was the shape of our fire pit. When building a DIY brick fire pit, there are several styles to consider. There are two popular styles of fire pits and each style has its unique benefits, and the choice depends on personal preference and the available space in your backyard.
We chose to go with a circular fire pit and one feature we wanted was an in-ground fire pit as it seems to put off more heat when you are sitting around the open fire but let’s review both styles.
Circular Fire Pit
A circular fire pit is a classic and popular choice for many homeowners. It creates a cozy atmosphere for gatherings and can be easily built with bricks, stones, or concrete blocks. This fire pit style typically features a round shape that can easily accommodate seating around its perimeter.
Square Fire Pit
Square fire pits offer a modern and sleek design. This is an attractive option for those who prefer clean lines and sharp angles. They can be built with a variety of materials, including bricks, concrete blocks, and stones, providing both durability and a contemporary aesthetic.
Choosing Your Location
When planning to build a DIY brick fire pit, choosing the right location in your backyard is crucial, for safety and functionality. The area should be level, easily accessible, and free from potential hazards.
Consideration of the distance from your home is important as well. The fire pit should ideally be at least 10 feet away from any structure. This ensures that the heat and flames do not pose a threat to your house or other property.

Look for an open space with minimal tree coverage. Overhanging trees may not only be a fire hazard, but they could also hinder the proper circulation of smoke. This could cause discomfort for those enjoying the fire pit. Keep the fire pit away from trees or trim any branches that could pose a risk.
Before you start digging, it’s important to be aware of any underground utility lines or pipes in the chosen location. A call to your local utility companies can help you avoid accidentally damaging any buried infrastructure.
Finally, be mindful of any local regulations or homeowners’ association restrictions that may dictate the placement or use of your backyard fire pit. Some areas may have specific guidelines on the distance from property lines or other structures.
What To Look For
Some of the other things we were considering when choosing the fire pit location were:
- The direction of the evening sun. It gets chilly at night time in Alberta quite quickly so we wanted sun exposure.
- Shelter from the wind. The northwest winds are most prevalent in the summer so we wanted a spot where the trees would protect us from the wind
- Distance and direction from the house. This was my most important consideration as I hate when the smoke blows into the house. I did want the fire pit close enough that it was convenient to go back to the house to grab food and condiments for hot dogs and marshmallow roasts.
- Easy to mow around. Another important consideration was that I needed a fire pit that the lawnmower could easily mow around without having to weed whip!

Building the Brick Fire Pit
Building a DIY fire pit in your own backyard is a great way to add charm and functionality to your outdoor space. Here is the steps to this simple DIY project.
Materials
- Brick or Solid Stone: Quality bricks designed for high temperatures, such as fire bricks, provide the primary structure and durability for the fire pit.
- Mortar or Polymeric Sand: Used to fill the gaps between bricks, adding strength and stability to the structure. The appropriate type of mortar should be used with fire bricks.
- Cement: Cement serves as a foundation for the fire pit, ensuring it remains level and in place.
- Gravel : A layer of gravel or sand promotes drainage and reduces the likelihood of the fire pit becoming waterlogged or destabilizing.
- Regular Levelling sand: Levelling sand ensures a stable, even base for laying the bricks in the fire pit structure.
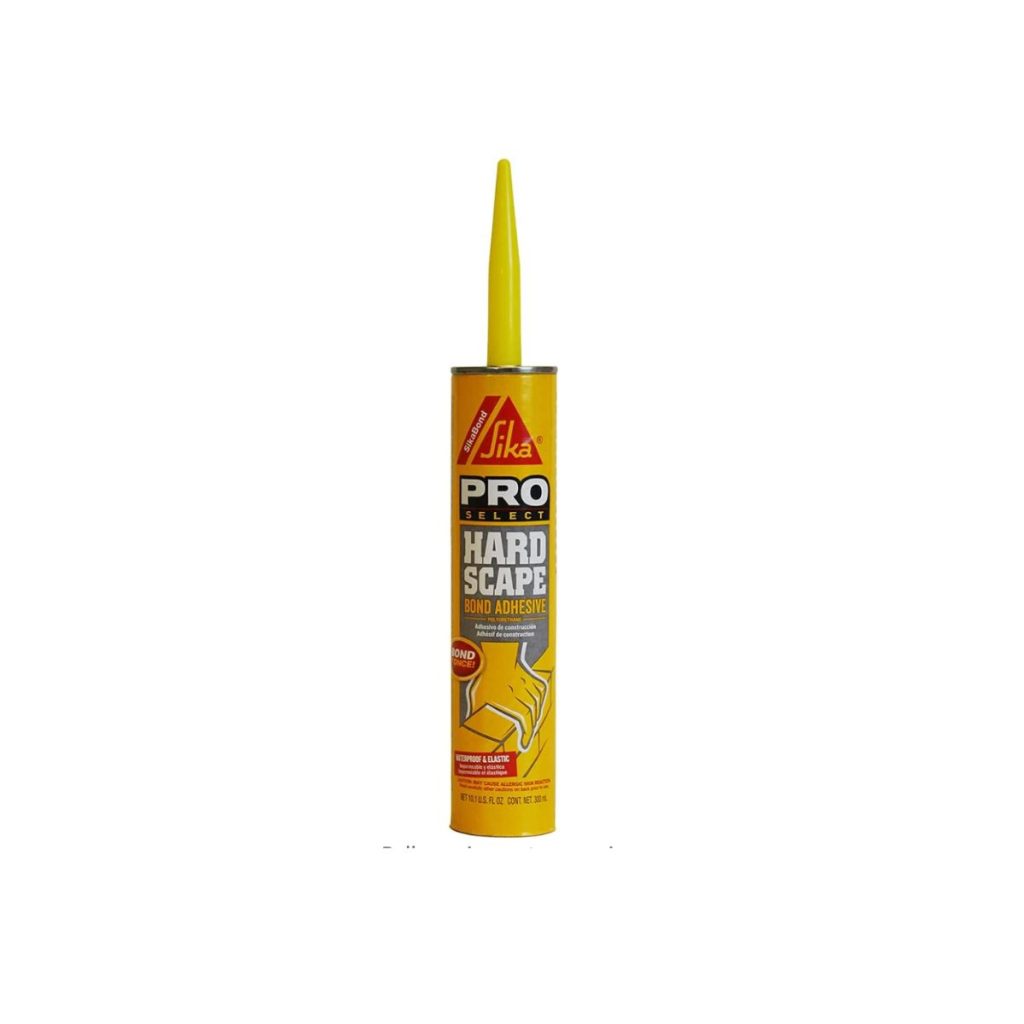
- Construction adhesive: Construction adhesive may be used to bond the bricks together in lieu of mortar.
- Fire Bricks : Optional* Fire bricks, capable of withstanding high temperatures, line the interior of the fire pit to protect the outer structure from excessive heat.
- Plastic Edging: Helps hold the fire pit structure in place.
- 8″ Spikes: Used for holding down plastic edging
- Masonry Adhesive: Helps adhere the bricks together.
- Grass Seed: To repair any areas that are disturbed around the fire pit.
- Spray Paint: To change the color of the metal, bricks or stones used for the fire pit.


Tools and Equipment
- Tape measure: A tape measure is essential for accurately measuring the dimensions of the fire pit.
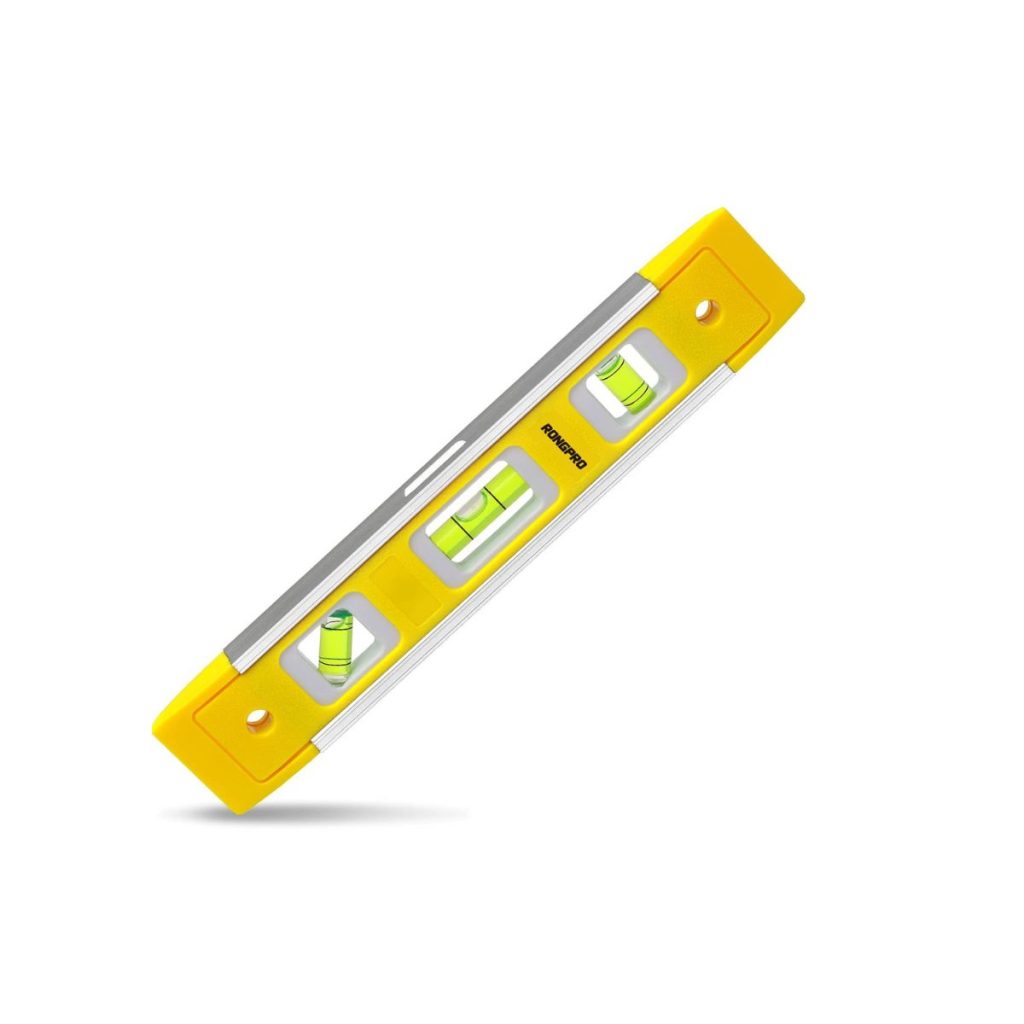
- Level: A level helps ensure that the fire pit’s base and the bricks are even and correctly seated during construction.
- Trowel or Brush: A trowel is necessary for applying mortar between bricks and shaping the cement base.
- Rubber Mallet: A rubber mallet helps to position bricks and level the fire pit without damaging the materials.
- Hammer: Use to hammer the spikes into the ground.
- Gloves: Wearing protective gloves during construction to prevent injury.
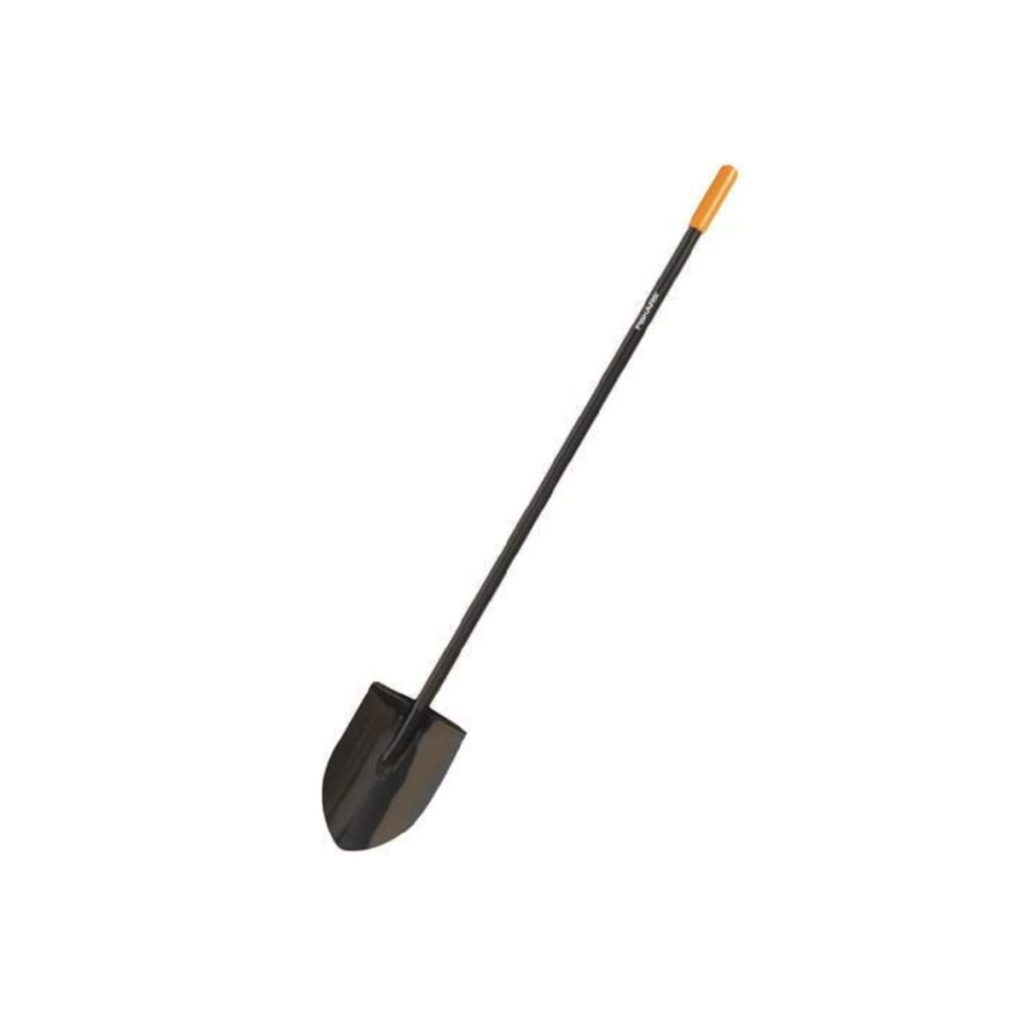
- Shovel: A shovel is necessary for digging the hole for the fire pit base and removing debris from the construction site.
- String and Spike to make the shape of the circular fire pit.
- Crowbar: Use as a centre for marking the circular fire pit.

Brick Fire Pit Preparation
The first step is selecting a suitable location in your backyard, preferably on a flat surface away from any structures, trees, or other flammable materials. The foundation is crucial to its stability and heat resistance and proper preparation and a solid base are essential for constructing a long-lasting and safe DIY brick fire pit.

Determine The Size
The next step is to determine the size of the fire pit. Measure the area to ensure that it is large enough to accommodate the fire pit and any seating you plan to add. We laid out the bricks so we could get a visual.

Digging and Leveling
Using a shovel, dig a hole approximately 12 inches deep and with a diameter that matches the desired size of your fire pit. It’s important to provide enough space for seating and ensure that the surrounding ground is level for safety reasons.
When digging the hole, carefully remove any grass, sod, or soil, setting it aside for future use. Check for any large rocks or debris in the area, and remove them to avoid potential complications during construction. With the hole excavated, use a tamper or a flat-edged shovel to compact the exposed ground and ensure a level surface for the fire pit base.
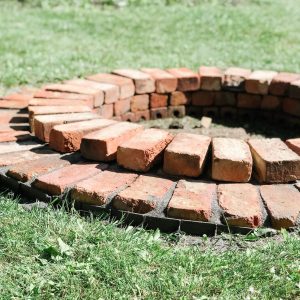
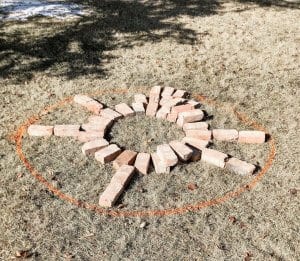
For the circular fire pit, use anything that is convenient to pound into the centre of the fire pit (in our case a crowbar). Then attach a spike and string to make a circular outline in the dirt, this allows you to get a perfect circle. Our idea was to have our DIY fire pit be approximately 46” in diameter. When working with items like salvaged bricks be lenient on the diameter because you will be unlikely to get the perfect diameter.
Create The Base

Now that the area is level, it’s time to create a stable and heat-resistant base for your DIY brick fire pit. Gravel is an ideal choice as it allows for proper drainage and supports the weight of the fire pit structure however you can use sand as well. Begin by pouring a 2-3 inch layer of gravel into the hole, ensuring the entire base is covered.
To further enhance the heat resistance of your fire pit, consider adding a layer of lava rock on top of the gravel base. Lava rocks are highly heat-resistant and will help protect the ground beneath the fire pit from heat damage. A 1-2 inch layer of lava rock will work well in this case.
From our project, we had some extra bricks with the 3 holes in them that were laying around. You could however use whatever brick or stone you are using for the rest of the project. We used these extra bricks to form the base of the fire pit in the dirt. Stand the bricks up vertically and then use a rubber mallet to sink them into the walls and floor of the fire pit.
Next, we filled the bottom of the fire pit with approx. 4” of sand (we stole the sand from our kiddo’s sand pile) you could also just add dirt to the bottom as well. Fill in the bottom to give the vertical bricks some support.
Level And Stabilize
Using a flat-edged shovel, compact the gravel to create a solid and stable surface for your DIY brick fire pit. Take the time to ensure that the base is level, as this will ensure the safety and longevity of your fire pit.

We also used a layer of sand on top of the bricks to create a more level surface for placing the bricks on. You can be as picky as you would like with this step… we used a level a couple of times but didn’t get too particular.
Layer The Bricks
The next step was to place the bricks to make the circular shape of the fire pit. Once we got the bricks all laid, you may find they don’t fit perfectly. Simply adjust your circle slightly. Or the bonus with using salvaged bricks was that each brick was unique so we just swapped a couple out until we got the right fit.
Use the rubber mallet again to tamp the bricks down. The idea was to have the bricks level with the grass so we could mow the grass without weed whipping. This is where the outer row of bricks came in. We placed bricks in the same formation around the first row of bricks. This row was sunk down as well so that dirt can be pushed up against the bricks and the grass can grow at approximately the same height as the bricks.

A general guideline for most brick fire pit designs is to start with a first layer of bricks, followed by at least two layers of bricks for the fire pit walls. Remember to stagger the bricks between layers to distribute weight evenly.
Add The Mortar
Add a mortar or polymeric sand in between the bricks. Adding this between the bricks helps adhere them together and create a strong, heat-resistant structure.

A product I learned about while doing our patio was Polymeric Sand! In the past, patio pavers would be filled with regular sand and the grass could grow between them and the pavers could shift. Polymeric Sand is like flexible concrete. It allows the pavers to shift slightly but the grass has never grown up between them.
Be sure to dump the polymeric sand onto the bricks and then use a brush to sweep it into the little cracks. I also brushed the sand off of the top of the bricks because I didn’t want the sand covering the bricks. If any of the sand is left on the top of the bricks, it will stay there and will be very hard to remove later on.

To activate the polymeric sand requires water! I lightly began watering down the bricks and the sand began to solidify. Water the bricks down again after about 10 minutes and then leave them. The sand takes about 3 days to fully cure and harden so try to avoid moving the stones or placing heavy objects on them for a few days!

Finalizing the Structure
After constructing the fire pit walls, it’s essential to inspect and reinforce the structure as needed. Double-check the placement of the bricks, verifying that they are secure in their positions and that the mortar has properly adhered. If needed, adjust the bricks for improved stability and fill any gaps with additional mortar or sand.
For the in-ground fire pit, invest the time and money and use a border to hold the bricks in place. I placed the plastic trim around the bricks and used 8” spikes to secure the plastic border. This edging helps keep the bricks in place and also holds the polymeric sand in.

Finally, if you use mortar, it is essential to give the mortar ample time to dry and harden. This step will ensure that the structure remains secure and can safely endure high temperatures. Once the mortar has cured, you can enjoy your newly built brick fire pit with confidence.
Finishing Touches and Aesthetics
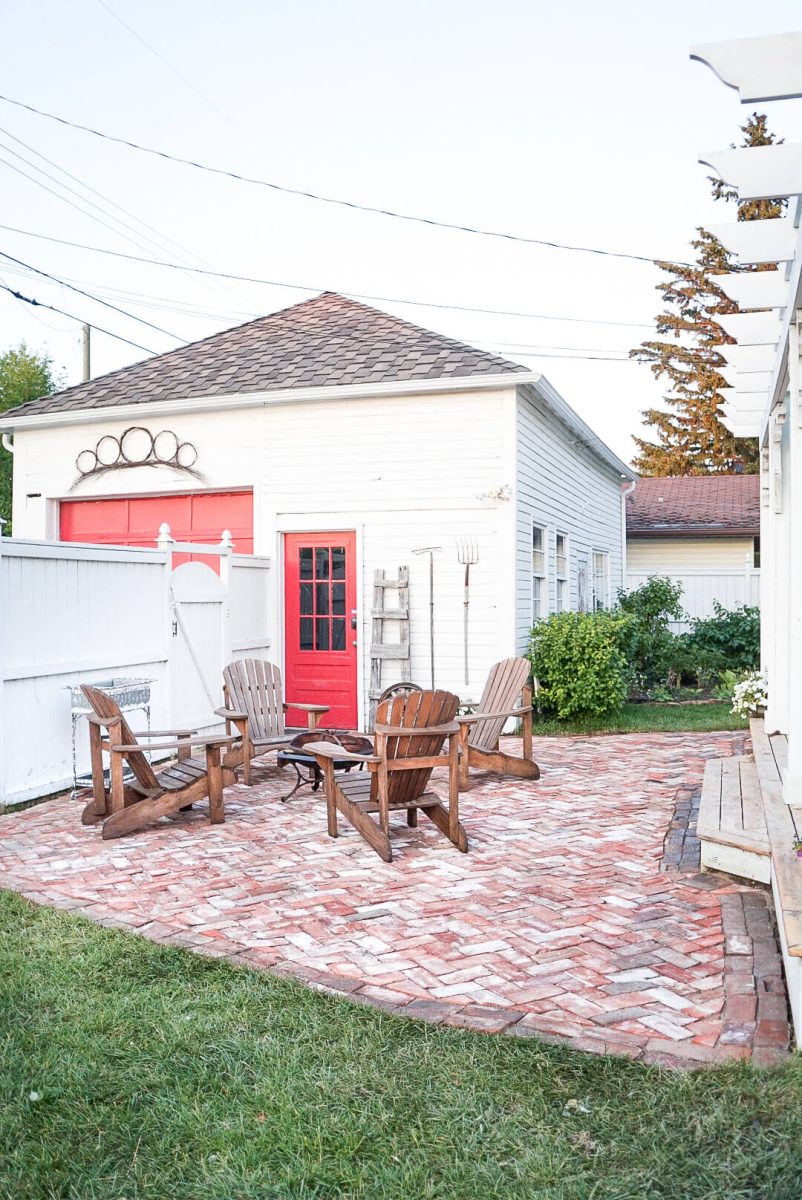
After constructing the foundation of your DIY brick fire pit, it’s time to focus on the finishing touches and aesthetics. This ensures that your fire pit not only functions well but also blends seamlessly and is a great addition to your outdoor space. We wanted to give the fire pit a bit of character and have a place to rest wiener sticks while cooking so we added a second layer of bricks.
For this look, lay out the upper layer of bricks to get the proper spacing. To keep the bricks from shifting, glue them down with a masonry adhesive. There is no sand in between the bricks on the second level because there would be no border to hold the sand in. I also liked the look of seeing the gaps in the bricks.

Then, I backfilled it with black dirt up to the trim and brick and you can reseed it with grass.

A few other ways you can add some character to your diy brick fire pit project are;
- Add Landscaping stones. You can elevate the appearance of your brick fire pit by experimenting with a variety of natural stone or river rocks to border the structure. These natural elements enhance the visual appeal and provide a contrasting texture. If you prefer a more modern look, consider using glass or metal accents around the pit.
- Spray paint can be used to customize the appearance of your fire pit, especially if you want to match it with existing outdoor furniture or structures. Be sure to use high-temperature paint that can withstand the heat generated by the fire pit.
- You may also lay out unique pebbles in the fire pit’s interior to create a visually interesting surface.
Tips and Tricks
- Consider the desired shape of the fire pit, as this will determine the number and arrangement of bricks required.
- Try adding a fire pit ring. Typically fire pit rings are made of metal, which serves as an additional protective layer and helps contain the fire within the pit.
- Add a fire pit bowl. A Fire pit bowl is designed to hold the fuel for the fire, which may be incorporated into the brick structure as an additional safety measure.
- Check your homeowner’s insurance policy and local building codes to ensure you are covered in the event your fire pit causes damage to your property.
More Outdoor Projects
Frequently Asked
Yes, it is possible to build a brick fire pit without mortar. This type of fire pit is known as a dry stack fire pit. It is a simple fire pit using only bricks that are stacked tightly together. You will need to choose the right type of bricks, such as fire bricks, which are designed to withstand high temperatures. You will also need to dig a shallow hole for the fire pit, level the ground, and lay a foundation of gravel or sand.
Of course, you can also substitute the mortar for polymeric sand as shown above as well.
Depending on the type of brick fire pit you are building, you can simply stack the bricks in a circular pattern, making sure to stagger the seams between the bricks to create a stable structure. For a more secure structure, add masonry adhesive in between the bricks. If you are leaving gaps between the bricks, try using mortar or polymeric sand to secure them.
want to save this recipe?
Enter your email & I’ll send it to your inbox. Plus, get great new recipes from me every week!
By submitting this form, you consent to receive emails from B Vintage Style.
Building A DIY Brick Fire Pit
Equipment
- 1 Shovel
- 1 Rubber Mallet
- 1 Hammer
- 1 Level
- 1 String & Spike for drawing a circle outline of the fire pit.
Materials
- Bricks or a Solid Stone not the new lightweight bricks with holes in them
- Fire Bricks (optional)
- Regular Sand or dirt if sand is not available
- Polymeric Sand or Mortar
- Plastic Edging 8" spikes for holding down plastic edging
- Masonry Adhesive
- Grass Seed
- Spray Paint
Instructions
- Brick Fire Pit Preparation. Choose a location for your fire pit that is flat and level, and away from any flammable materials. Decide on the size and shape of your fire pit, and mark out the area using stakes and string.

- Digging and Leveling. Dig a shallow hole in the ground for the base of your fire pit, and fill it with a layer of gravel or sand for drainage. Mark the shape and size of your fire pit.Add fire bricks as a base if desired.

- Layer The Bricks. Lay the first course of bricks in a circle, using a level to make sure they are even and stable. If you are making an in-ground fire pit, line the sides with bricks and hammer them into the ground until they are even with the level of the grass.Stack additional courses of bricks, using a staggered pattern to create stability and strength.

- Add The Mortar. Add a mortar or polymeric sand in between the bricks. Adding this between the bricks helps adhere them together and create a strong, heat-resistant structure.

- Finalizing the Structure. Double-check the placement of the bricks, verifying that they are secure in their positions and that the mortar has properly adhered. If your fire pit is in-ground, use a border to hold the bricks in place.
- Finishing Touches and Aesthetics. Add the second layer of bricks or other aesthetic elements such as natural stone or river rocks to make your fire pit the focal point of the outdoor space.
- Enjoy! Spend time with friends and family in your new DIY brick fire pit.


Video
Notes
- Consider adding a grill or cooking grate to your fire pit for outdoor cooking and entertaining.
- Always follow safety precautions when using your fire pit, including keeping a fire extinguisher nearby and never leaving the fire unattended.
- Enjoy your DIY brick fire pit with family and friends!


I love this idea! Thank you so much for posting! I’m going to start gathering materials and get working on this so we can use our pit for the fall <3
Yeah that sounds so exciting!
It’s not clear from the article or the recipe when you put the plastic border in. It seems like after you lay all the bricks down and mortar them, but intuitively it seems difficult if not impossible to put it in after you’ve done that.