This post may contain affiliate links. Please read our full Disclosure Policy.
To renovate an old house is an exciting journey that blends the charm of the past with the comforts of modern living. Whether you’re restoring original features or updating the layout to suit contemporary needs, the process can transform a worn-out space into a beautiful, functional home.
So you want to renovate an old house? I get it! I am currently renovating our old house, and it feels like breathing new life into a piece of history. Embracing the unique character of an old house while making it your own is a rewarding project.
Finding The Potential
The first step when you want to renovate an old house is to see the potential. Sure, there might be peeling paint, creaky floors, and outdated fixtures, but look beyond that. Picture how a fresh coat of paint, new flooring, and updated fixtures can bring out the house’s character. Keep an eye out for unique architectural details that can be preserved. Look for crown moldings, original hardwood floors, or vintage hardware.
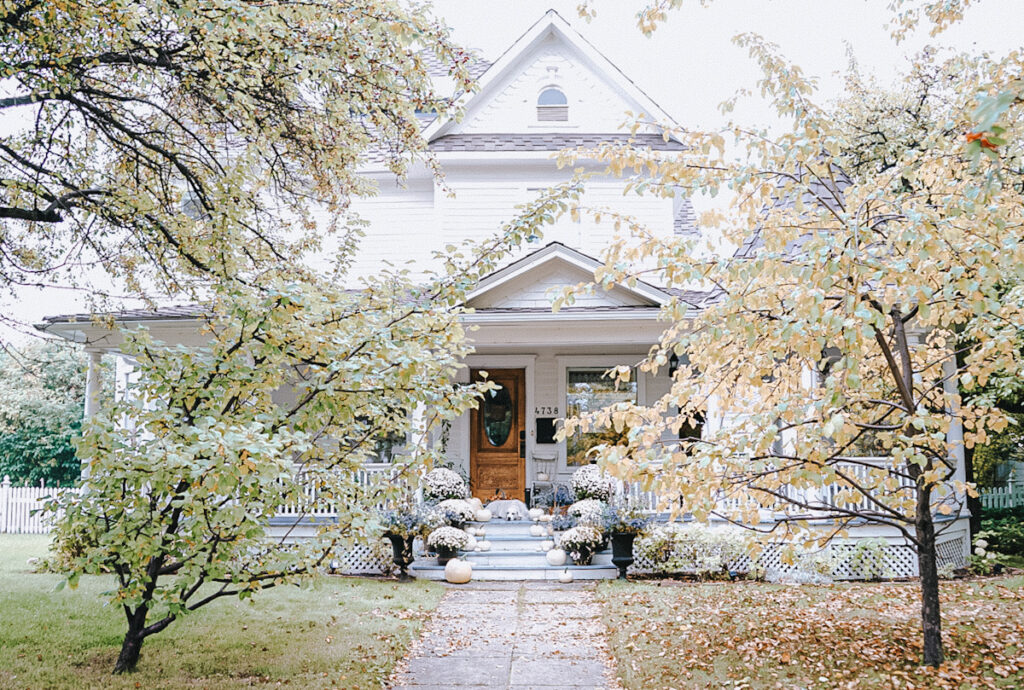
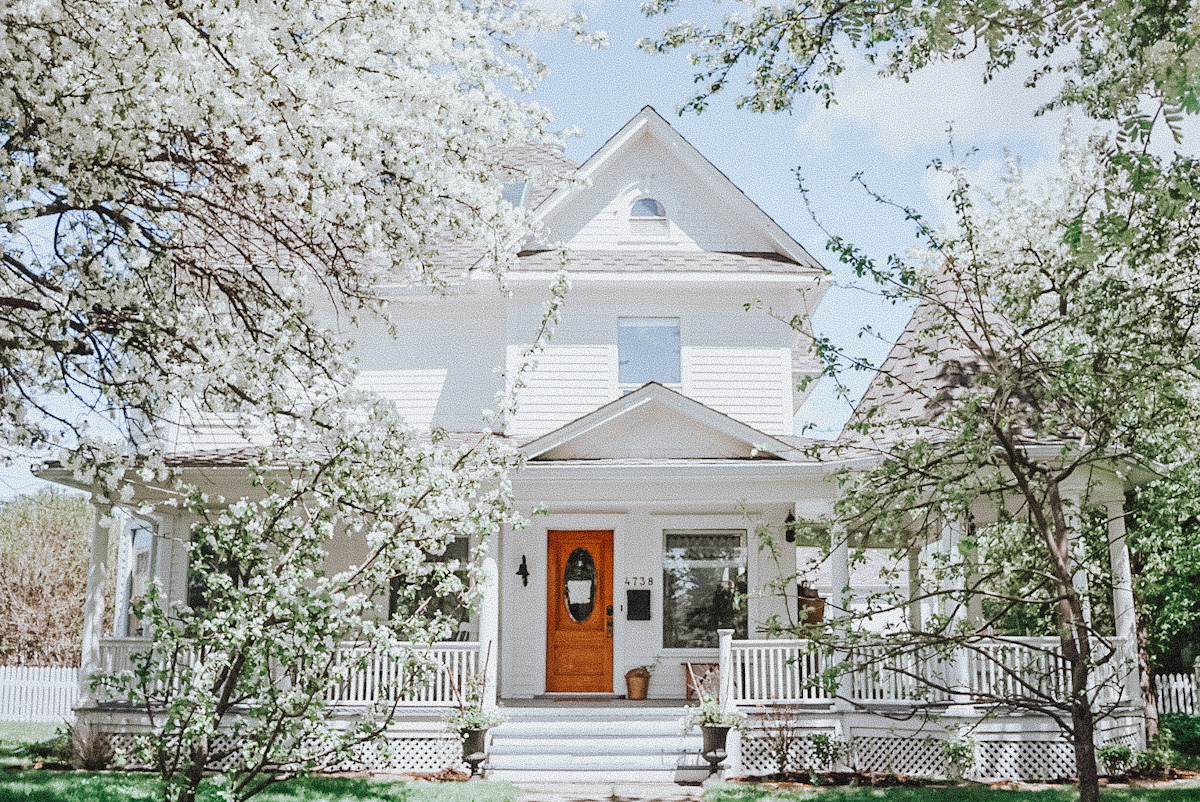
We bought this beautiful 1903 Victorian house in a small town in central Alberta back in 2012. When we first walked into the space, it was AWFUL. The walls were yellow from years of cigarette smoke, the floors were covered with battle ship linoleum and the bathrooms were falling apart. I had the vision to look past all of that and see the potential of this house. Over the years, it has been a labor of love, and there have been many ups and downs.
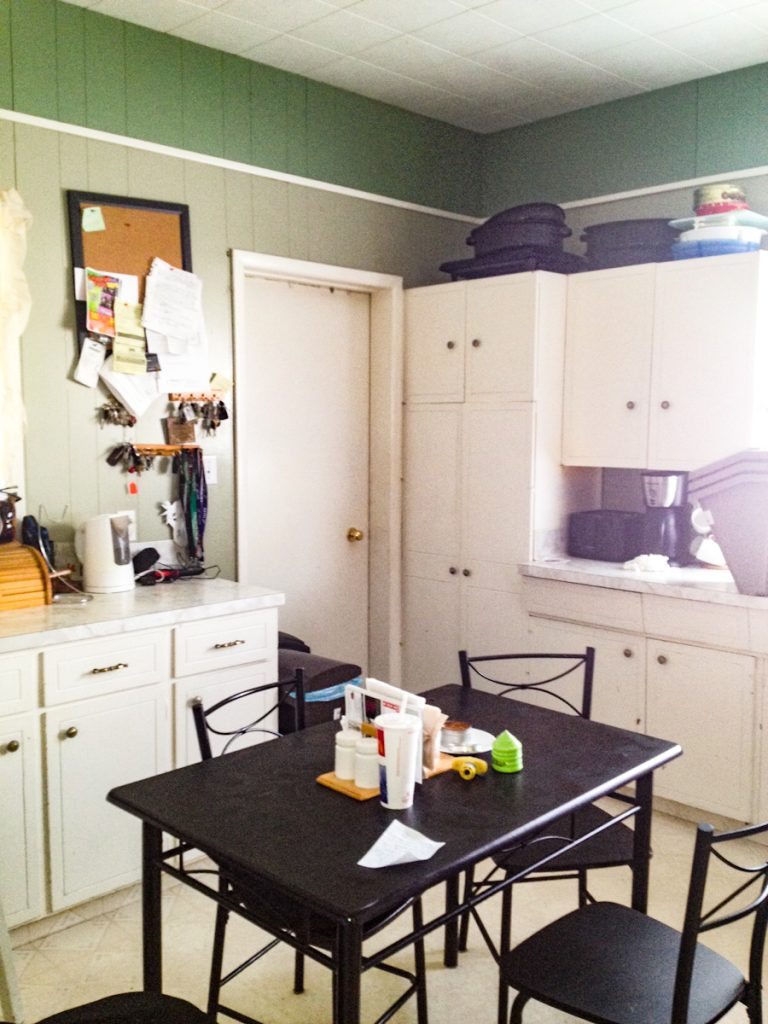
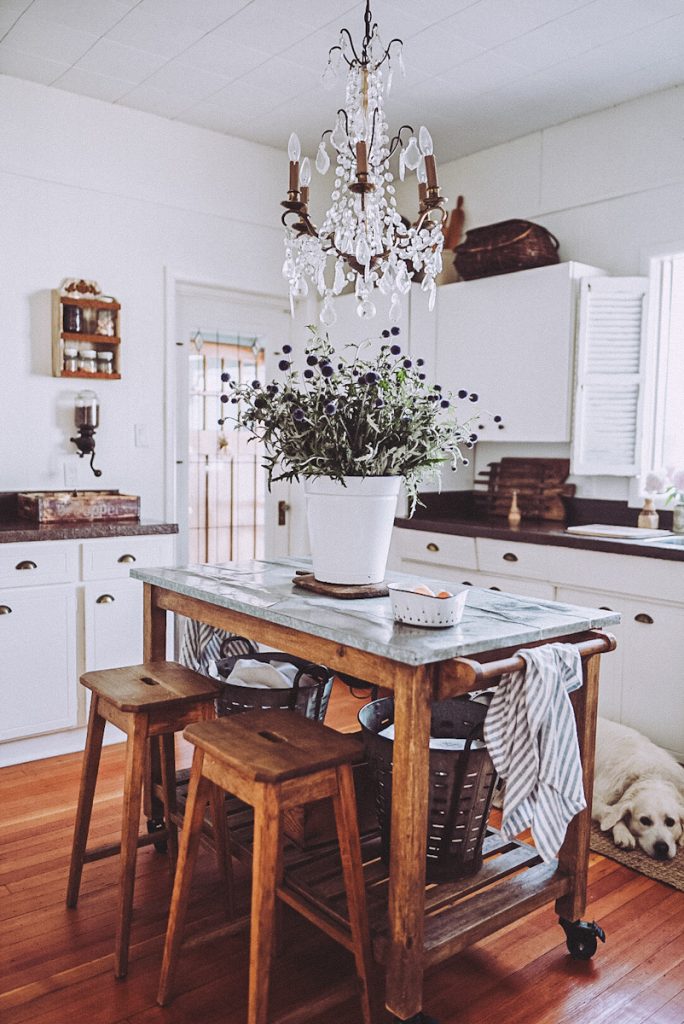
Initially, we started with a few smaller updates to make the home livable. We painted it a natural color palette, brought back the original floors, and painted some of the floors, too. We went over the kitchen countertops with a DIY epoxy kit. Then, we spruced up the cabinets with new hardware and even added a stair runner to the main staircase.
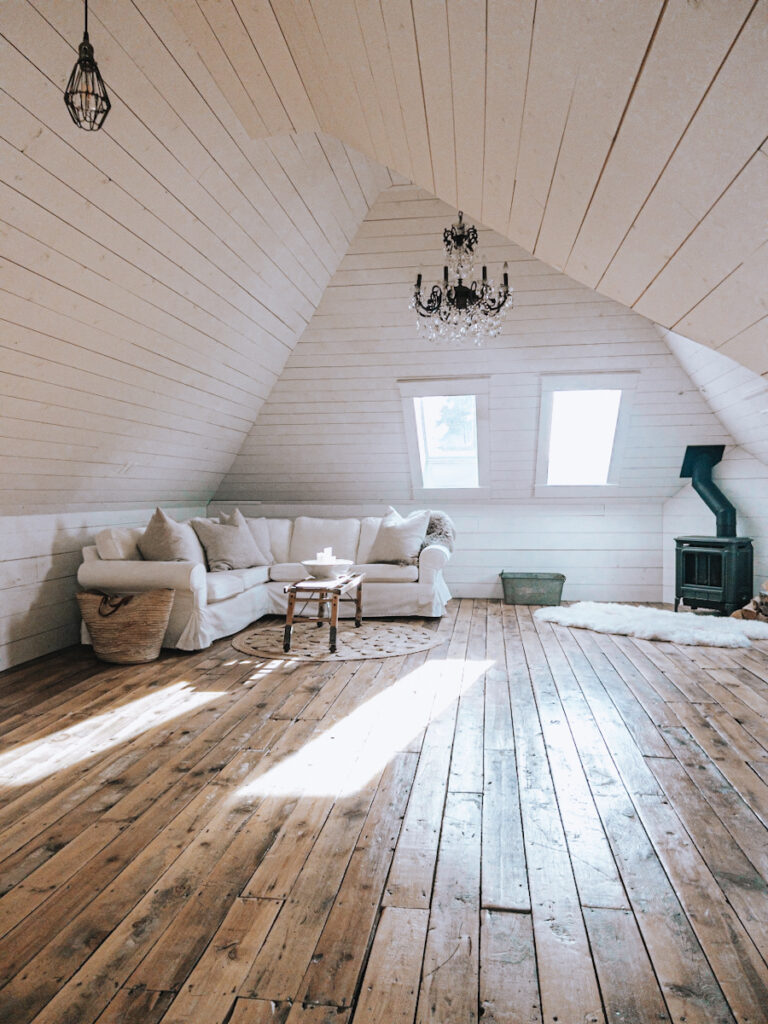
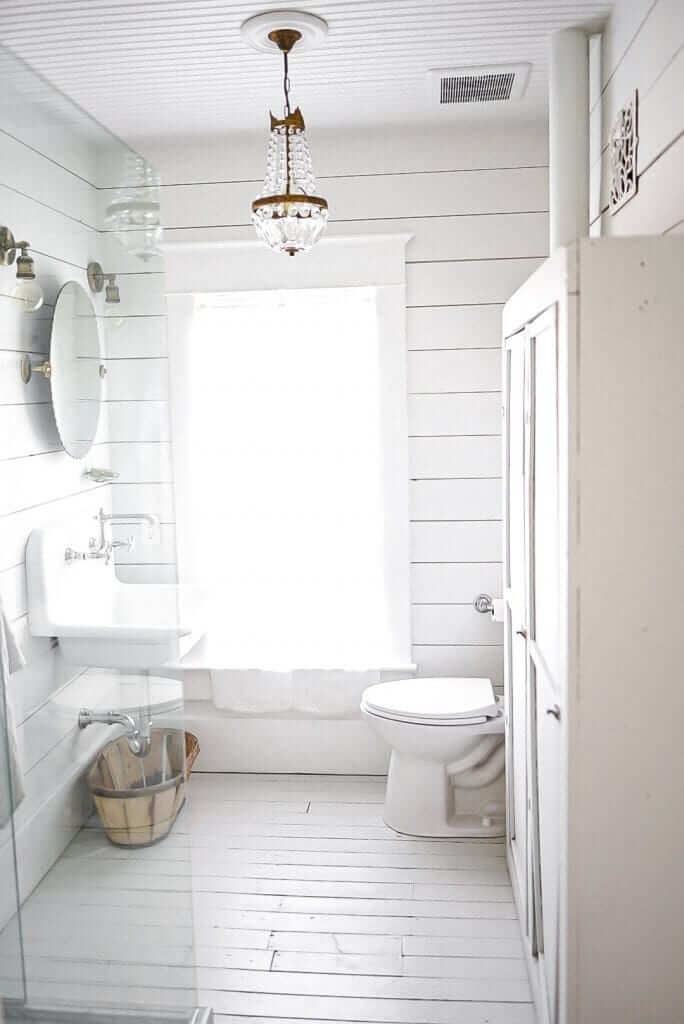
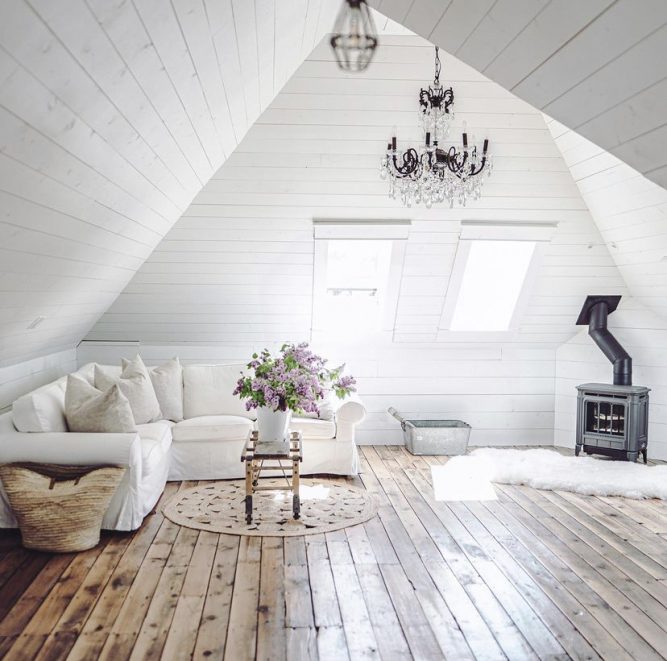
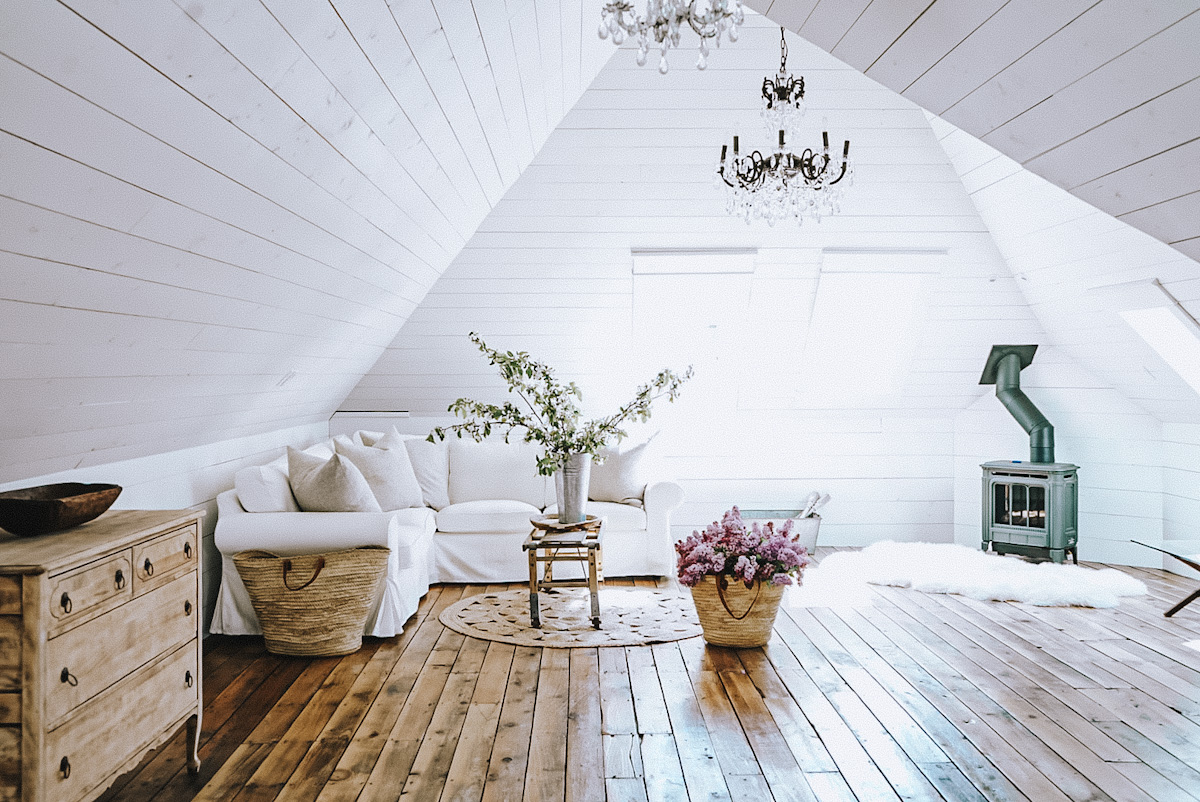
In time, we even took on some major renovations. We renovated the bathrooms, converted our beautiful attic space into a family room, and added shiplap throughout.
We also finished the backyard with a brick patio, pergola, and patio area and even added a beautiful outdoor kitchen space.
Here we are, 12 years later, finally doing some of the renovations we have been talking about for years! I want to use this post to share updates as the renovation process goes on. Let’s dive in!
Renovate An Old House
Hire The Professionals
When renovating an old house, hire a professional if you’re dealing with structural issues, major electrical or plumbing work, or anything involving permits and codes. It’s also smart to get expert help for restoring historical features to ensure they’re preserved correctly. Sometimes, bringing in the pros saves you time, money, and a lot of headaches!
For most of our past renovations, we have always done a lot of the work ourselves, but this time, we have hired things out at lot more largely because of the scope of this project. I would strongly recommend seeking the advice of a structural engineer, even if your contractor or carpenter is confident with these kinds of renovations.
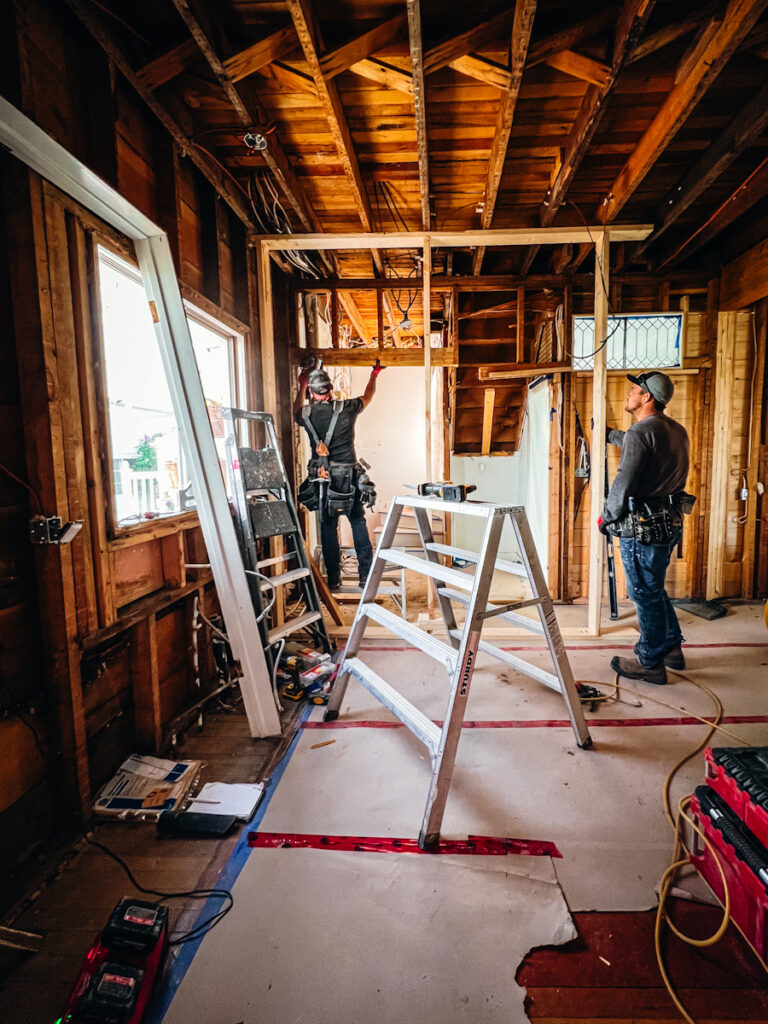
We wanted to remove three separate walls on the house’s main floor, and two turned out to be load-bearing. Having the calculations from the engineer not only gave us peace of mind on taking these walls down in a three-story house but also gave my contractor a guide on exactly what he needed to install to support the structure properly.
Demolition Is No Joke
Being prepared for demolition when renovating an old house is crucial because you never know what surprises are lurking behind those walls. A solid plan can save you from unexpected headaches, keep your project on track and save you time and money down the road.
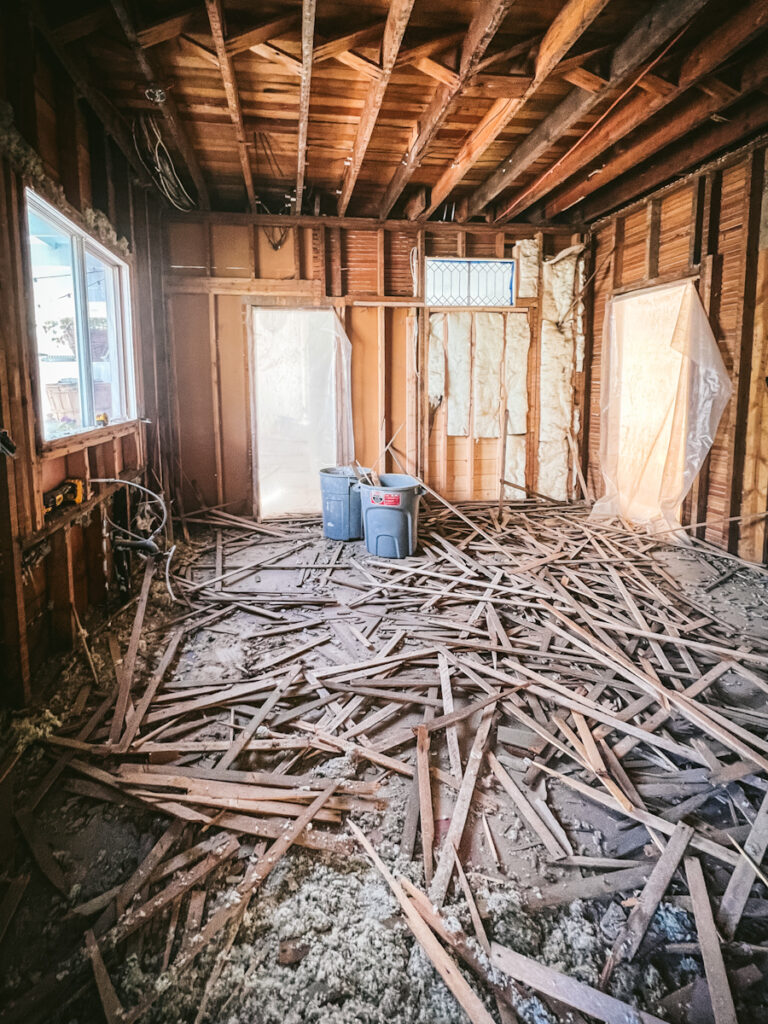
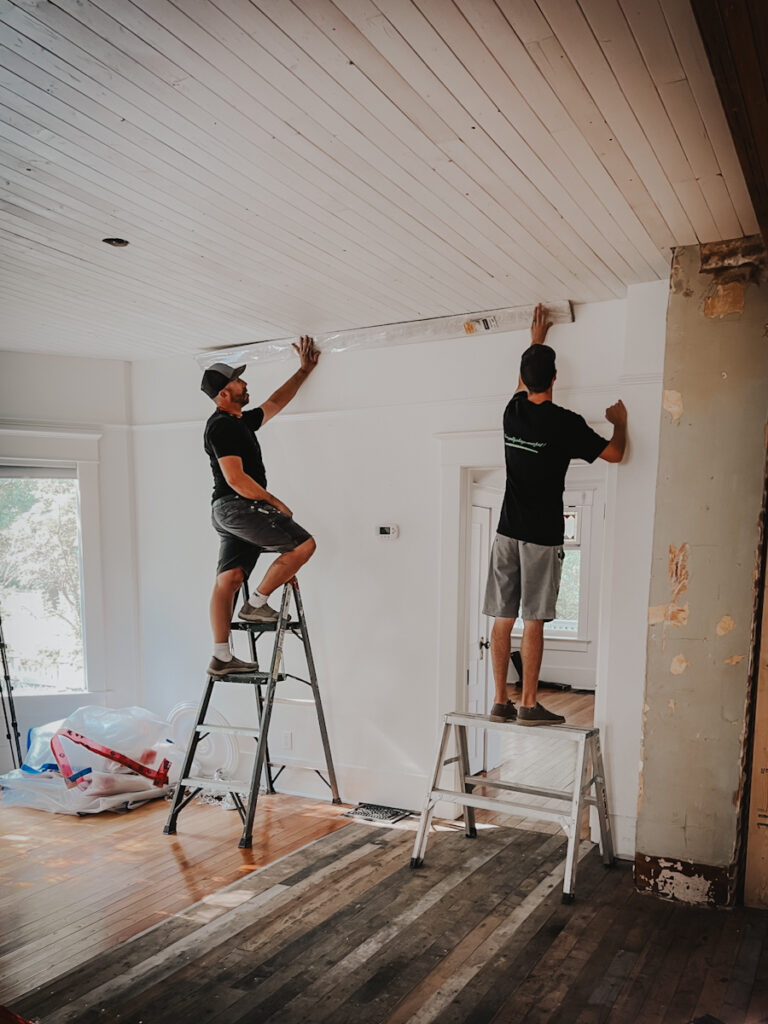
Let me start off by saying Demo Day is no joke! If you have never experienced the removal of lath and plaster walls before, you truly can’t understand the mess until you have been through it. The dust… the smell… it is something!
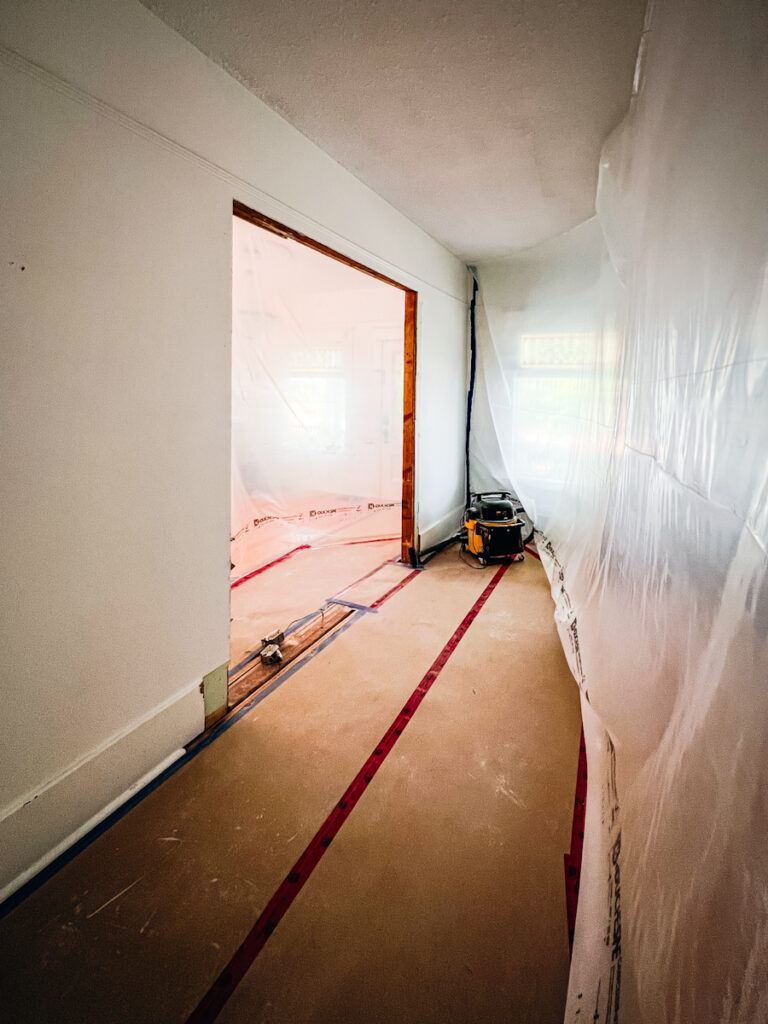
So, with that being said, it is very important to prep your work area properly prior to beginning. Cover the floors with cardboard, and if you can, section off the area with thick plastic taped to the walls and stapled to the ceiling. This worked SO well for us, for the most part. We did have to go back and reattach plastic throughout the week, but it seemed to keep the dust to a minimum.
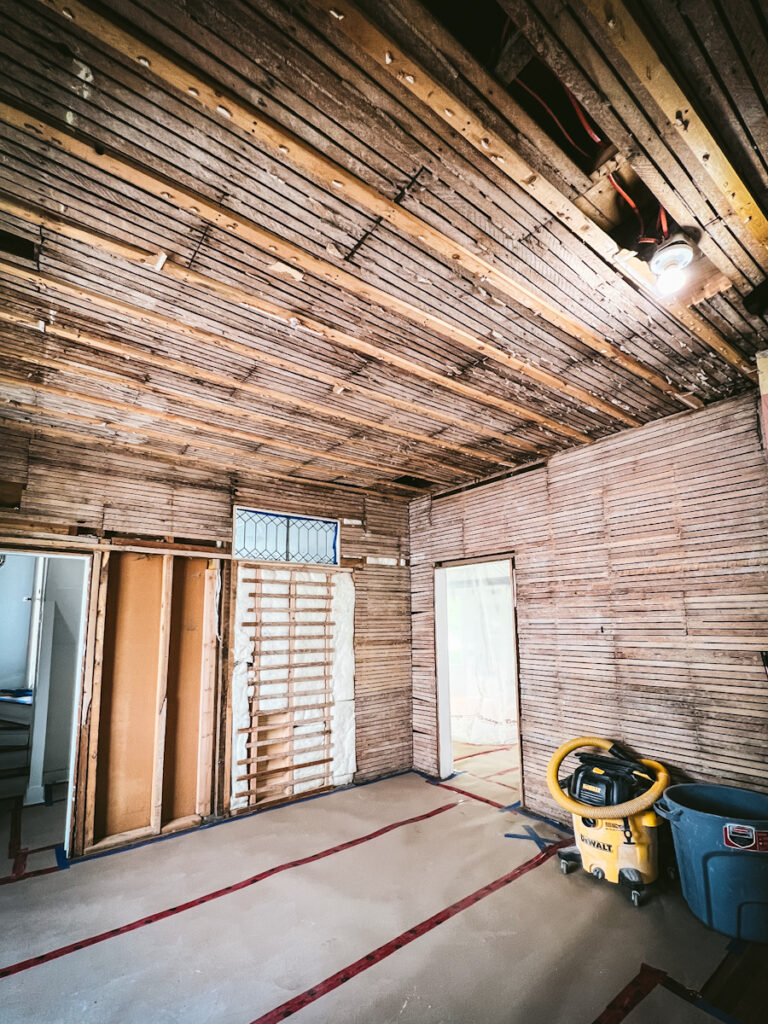
Our family is also living in the house during the renovation, so it helped keep the dust out of other areas. A big tip is to close as many doors as possible to help stop the transfer of dust.
The demolition began by removing all the panelboard walls. We then tore out the cabinets and took down the lath and plaster. At this time, the carpenters also removed any non-load-bearing walls.
Leveling An Old House
Leveling an old house is crucial to prevent further structural damage and ensure safety. It also makes everything from flooring to doors work properly, so your home feels solid and secure.
We had custom steel supports built by a local welding shop. This was so that we could reinforce the load-bearing areas of the house in the foundation. My carpenters knew where to add the foundation supports and what areas of the home needed to be jacked and leveled before continuing with the project.
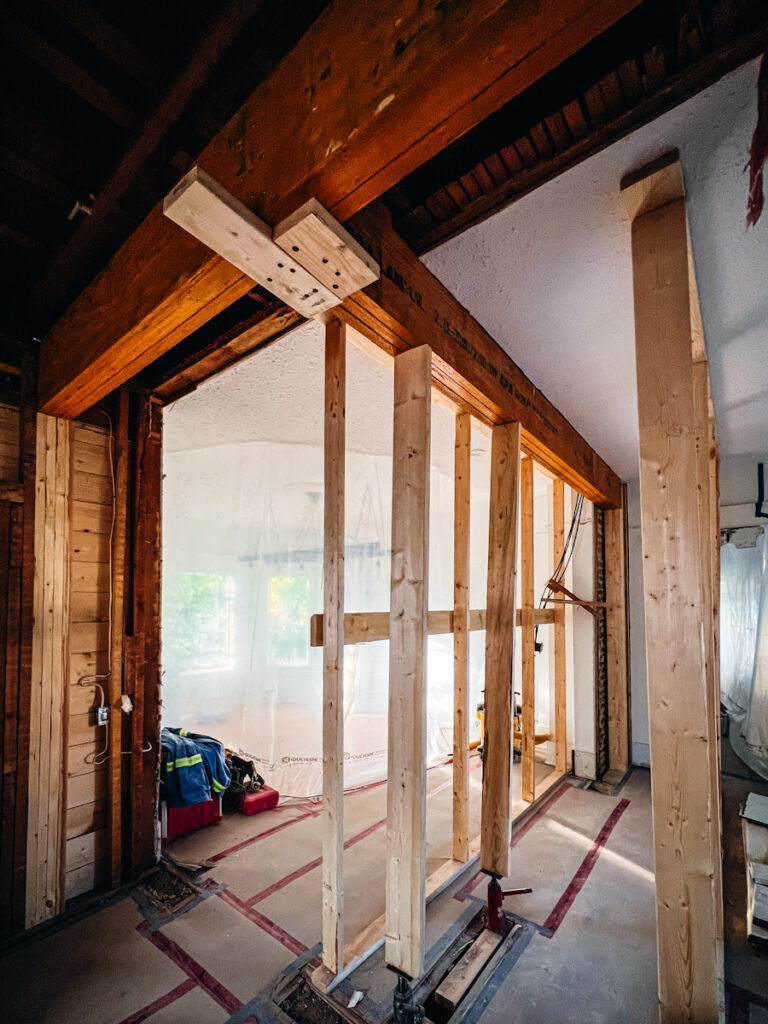
Adding Support Beams
When taking out a load-bearing wall in an old house renovation, adding support beams is crucial to prevent the house from sagging or collapsing. It’s like giving your home a new backbone to ensure everything stays sturdy and safe.
We removed three walls on the main floor. Our contractors first installed temporary support walls on either side of the load-bearing wall to hold the weight during construction. Then, they installed three 12″ by 3″ beams that were secured together for each wall. Once the new support beam was in position, they used a hydraulic jack to lift the beam into place if it didn’t fit just right.
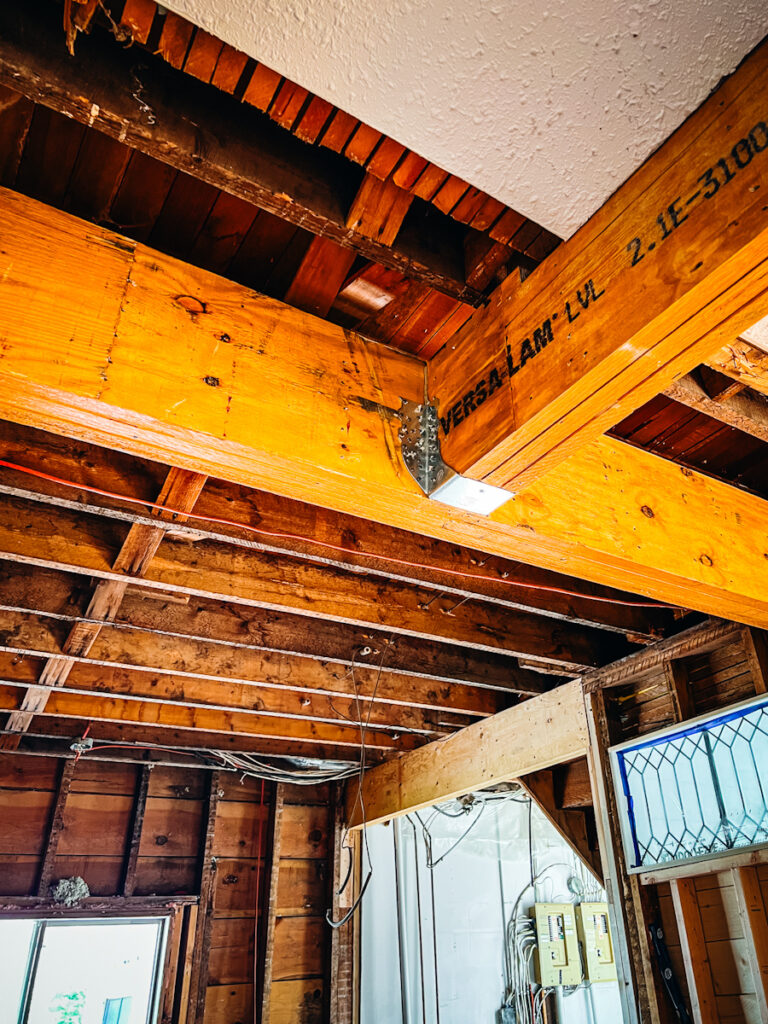
Now that the wall was level, they used the appropriate brackets and fasteners to secure the beam. Then, they could remove the temporary walls.
The change in the appearance of our main level is amazing! It already feel so open and airy in here and I can’t wait for the renovation to continue.
Cut In New Windows And Doors
New windows can dramatically increase the amount of natural light, making the space feel brighter and more welcoming. Adding doors can create better access to outdoor spaces, improve the flow between rooms, and update the home’s overall look, making it feel more open and inviting.
One of the main reason’s we are taking on this renovation in our old house is because the kitchen did not get natural sunlight throughout the day! I have six sets of bay windows in the house but my kitchen was always dark. So, we added a new window on the east side of our kitchen. It has added so much beautiful light to the space already!

Plumbing And Electrical Upgrades
Upgrading electrical and plumbing during a remodel ensures your old house meets current safety standards and can handle modern appliances and fixtures. It also helps prevent future issues like leaks or electrical failures, saving you time and money in the long run. Plus, it boosts the overall value and efficiency of your home.
This week of the renovation was not as full of big structural changes but the work that was done is projects that I have been waiting for years to see complete!
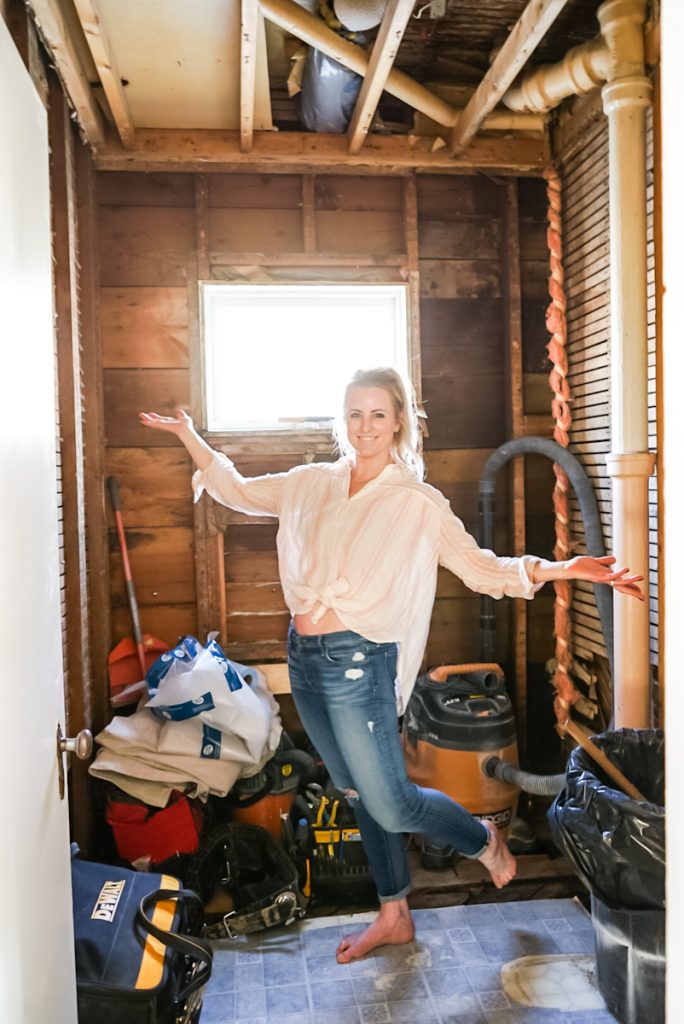
New Plumbing
When this house was built in 1903, there was no plumbing in the home at all. In fact, the grandson of the man who built the house lived next door to us and told a story about how his grandmother was so disgusted by the addition of an indoor toilet to the house. It is truly hard to imagine, isn’t it?
Well, that same original plumbing was still in our home 120 years later. Over that time, the steel pipes slowly corroded and began to close off from the inside. In time, the pipes would eventually have completely closed off! Our water pressure has been terrible for years. It’s so bad that if you flush a toilet when a tap is running, the water will come to a complete stop!
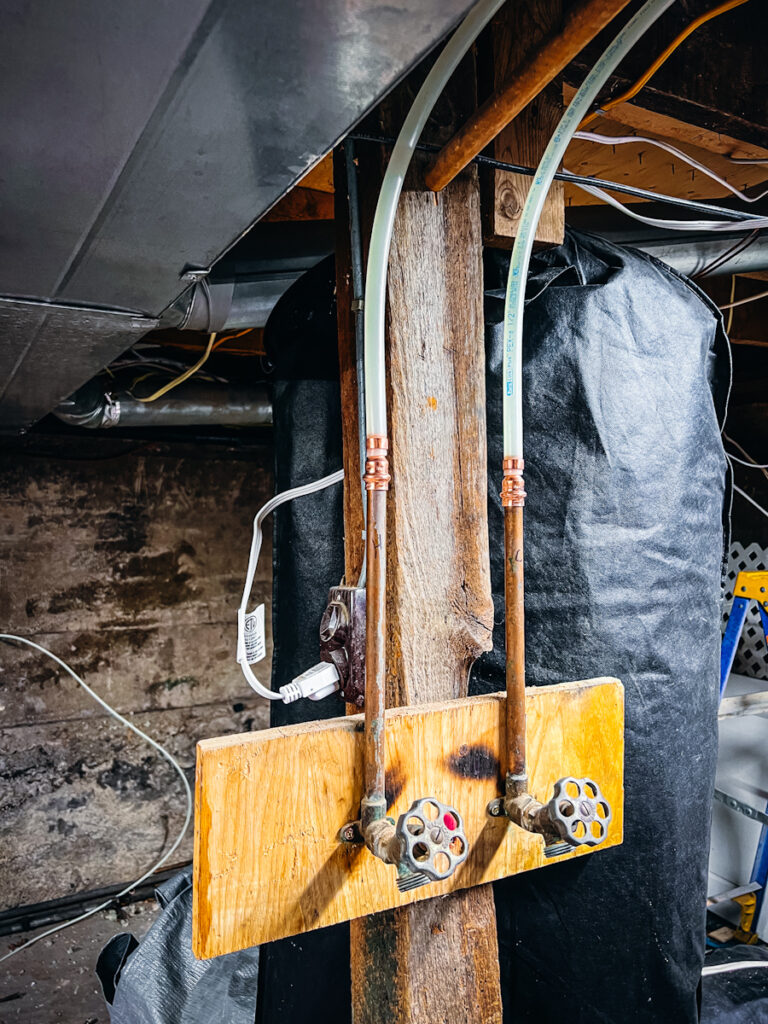
We also didn’t have any plumbing in the front half of the home, and it was impossible to add it to the second story without removing sections of walls and ceilings.
This renovation was the time to change all of this! We decided to take the plunge and upgrade all the plumbing in our home. It was a big project but the outcome is already amazing! Our water pressure is SO much better!
Upgraded Electrical
Some of the electrical in the house has been upgraded over the years, but we did have some of that yucky knob and tube still throughout the house! In fact, during this renovation, we found live knob and tube wires hanging in the ceiling above our main floor bathroom. Such a scary feeling!
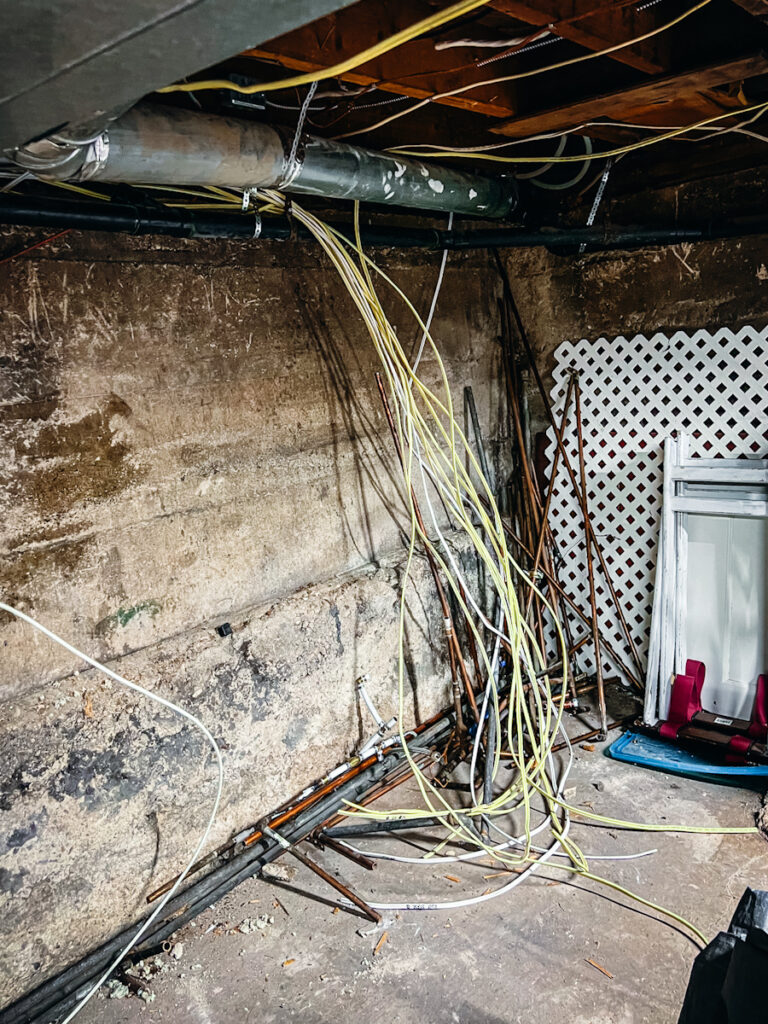
We decided it was now or never to remove it, and although it is going to be very tricky to do so in a few places on the second story, we are moving forward with it.
Modernize The Layout
Modernizing the layout of an old home can improve the flow and accessibility of the space, making it more comfortable and enjoyable for daily living.
This week, we also began moving the laundry room on the second level into one of the bedrooms we have converted into a laundry room. It will be so nice to finally have a dedicated space to do our laundry and to be able to enter the attic without hip-checking the dryer every single time.
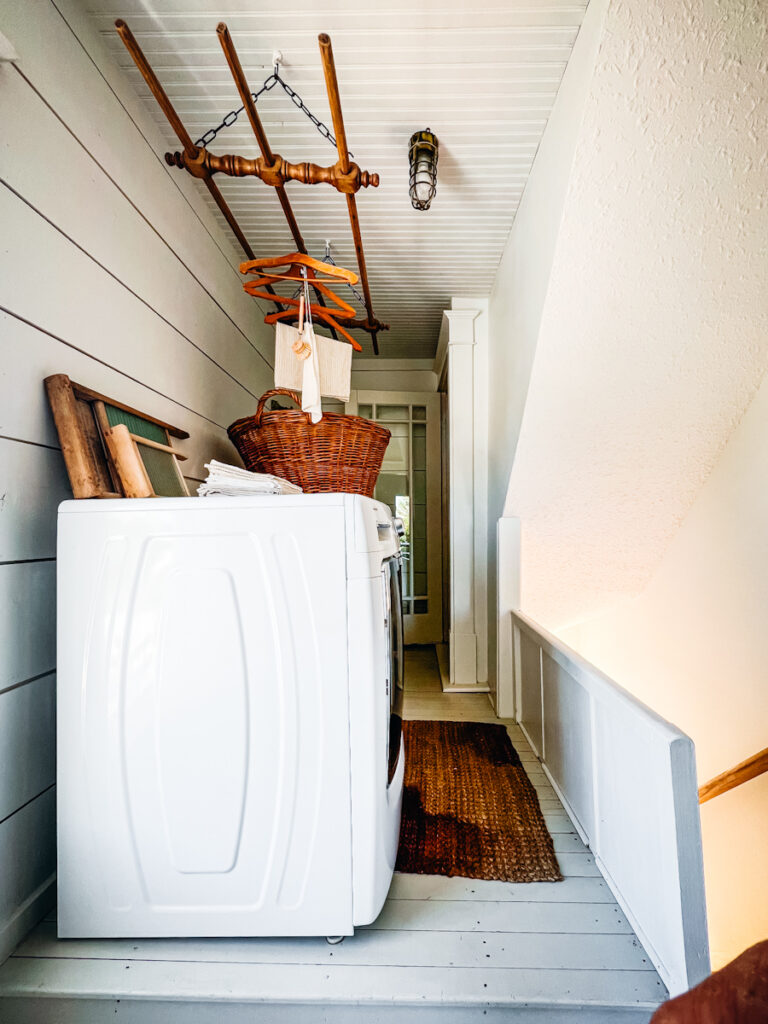
Having this designated laundry space will not only make laundry chores more efficient but will also keep the laundry clutter contained, maintaining the overall organization in our home.
Add Proper Insulation
Adding proper insulation to an old home enhances energy efficiency, reduces heating and cooling costs, and increases overall comfort.
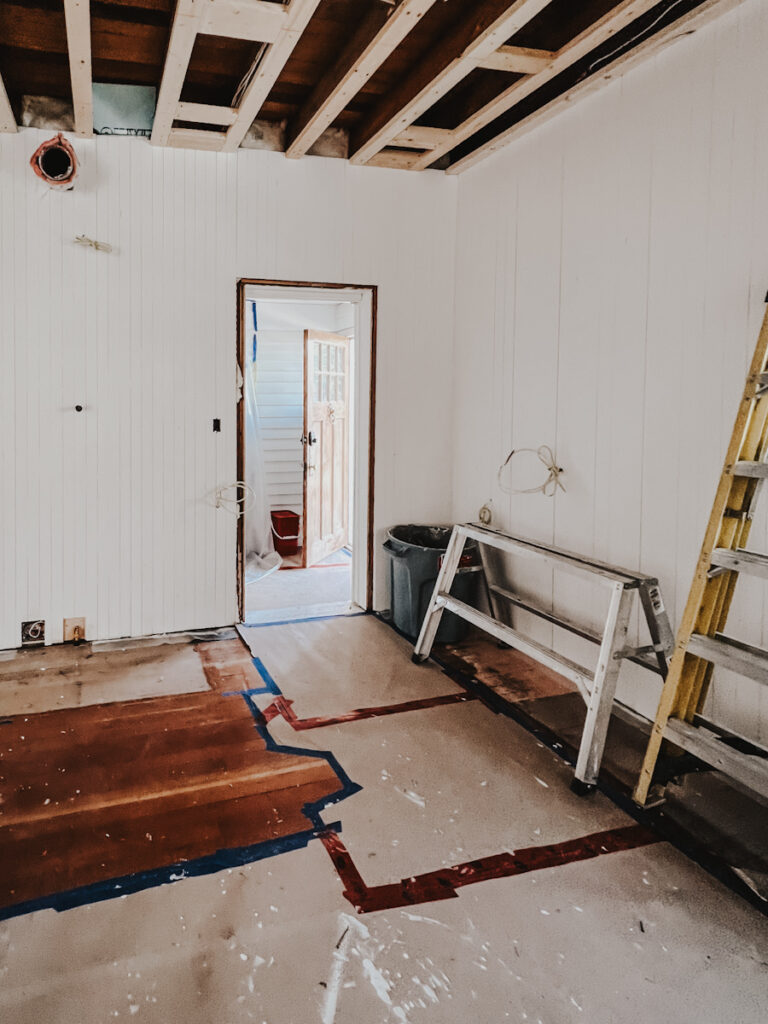
Ever since we bought our house, the kitchen and back entrance have had a bad draft. When we opened the walls during the renovation, we found that there wasn’t much insulation, and what had been blown in had all fallen to the bottom.
Our framing was only big enough to hold R12 insulation, but seeing the new insulation added to this space was very exciting. I can’t wait to feel the difference this coming winter in the draftiness of the kitchen space.
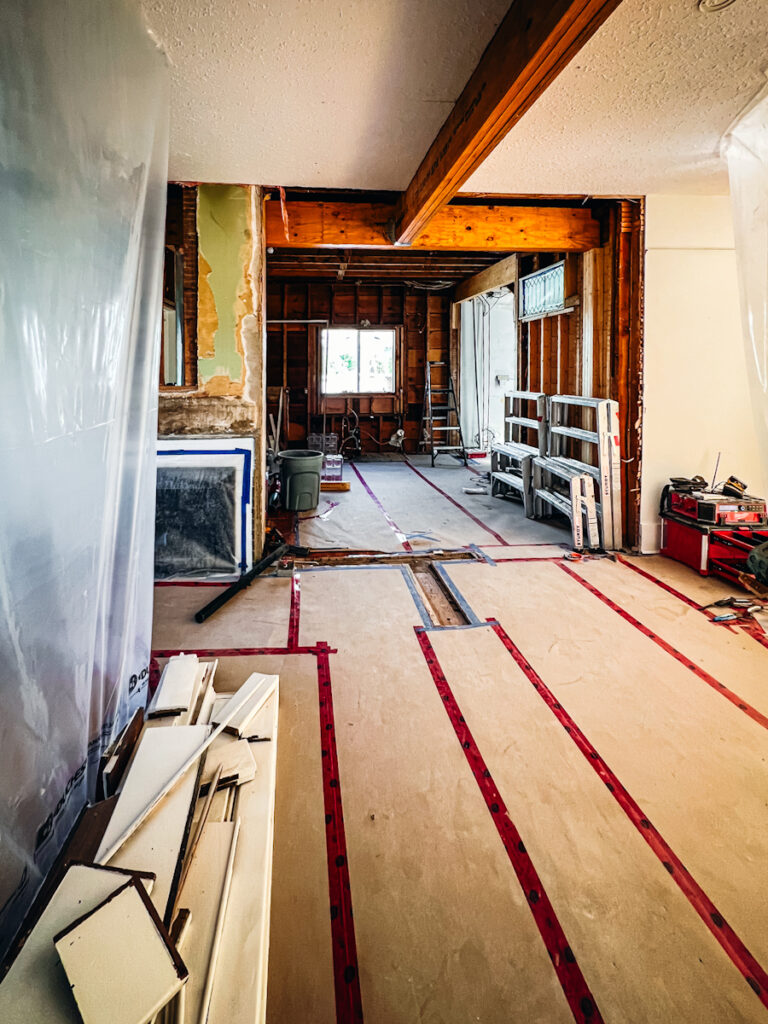
Upgrade The Flooring
Replacing or refinishing old, worn-out floors in an old house can address issues like squeaking, uneven surfaces and potential allergens trapped in aged carpets.
There were so many “hills” on the floors of this house. It wasn’t as noticeable when we had the original walls up, but when we took down the three walls, some of the floors were over an inch higher than others! In most old houses, you can use a self-leveling product to level the entire floor; however, that only works if you remove all the original flooring. I wanted to keep as much of the original flooring as possible, so this was not an option for us.
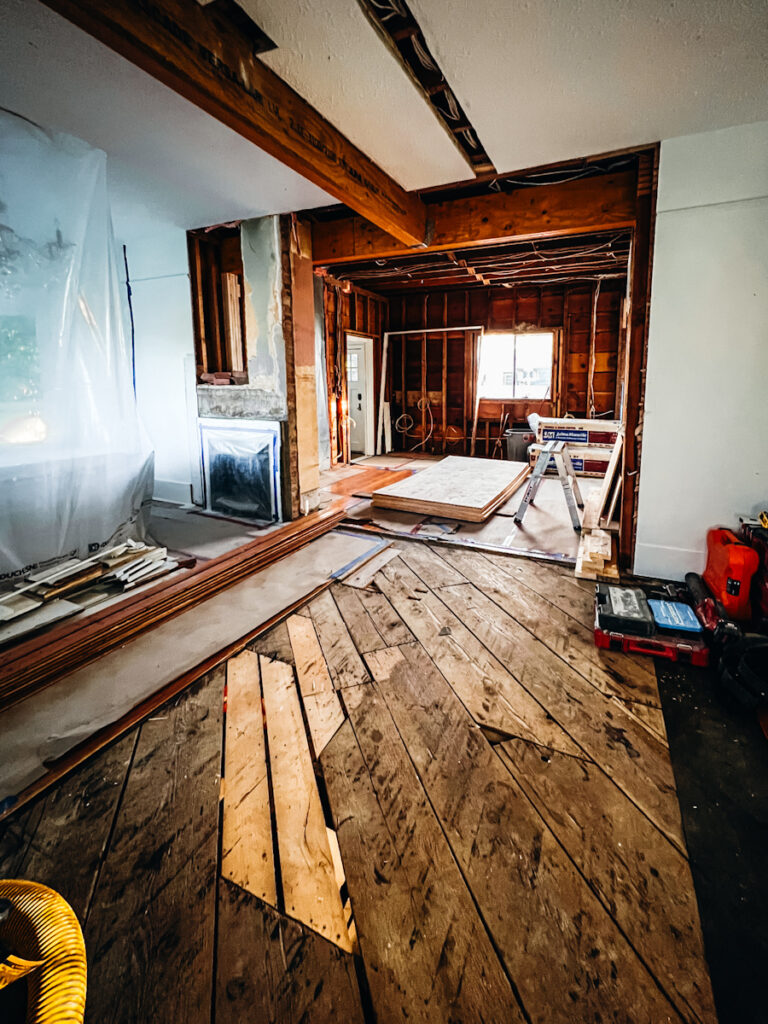
Instead, our team of carpenters worked magic. Using jacks and the weight of the house above, they were able to level the floors to within 1/8″ from room to room.
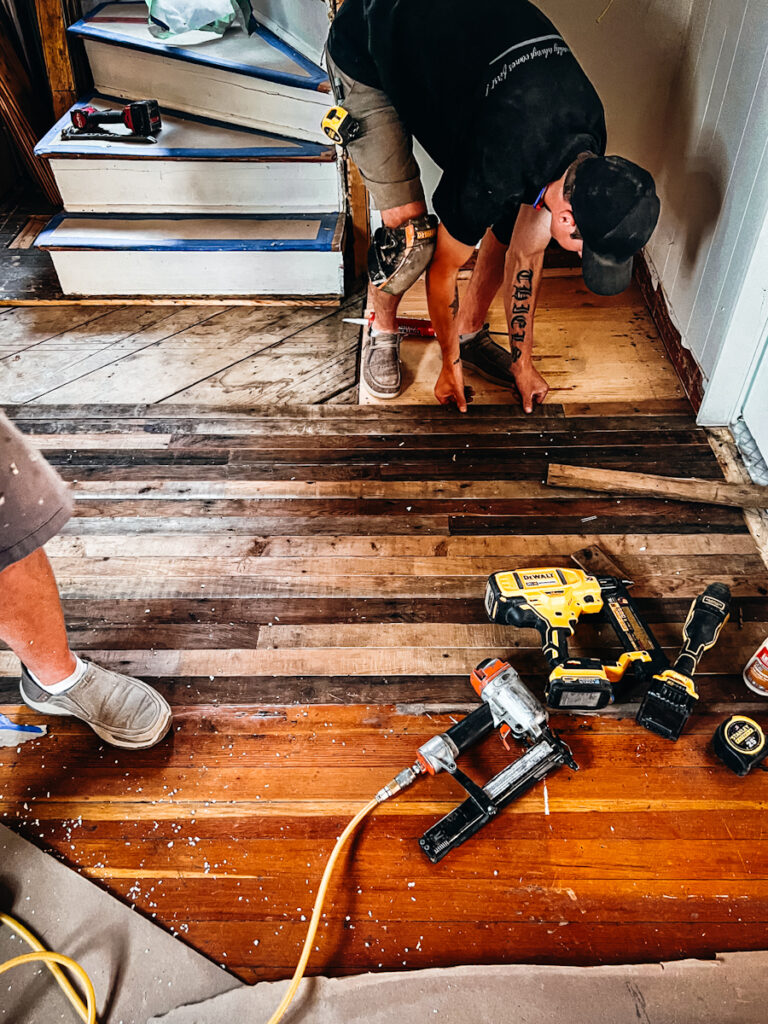
I was also able to find enough salvaged 120 year old hardwood to patch all of the areas in the house that needed to be refinished. The flooring came from a home that was torn down east of our small town. It matches our original floors perfectly!
Feature Original Historic Elements
Restoring original historic elements in an old house adds charm and character that modern updates often can’t replicate. It preserves the unique architectural details and craftsmanship that give the home its distinct identity. Plus, it can enhance the overall value and appeal, making the house a true blend of old and new.+
Shiplap
Over the years, it has always been important for our renovations to stay true to the age of the house! I decided during the kitchen renovation to add a traditional vertical shiplap to the space.
We had to custom-make all of the boards with a 2″ wide profile that goes from floor to ceiling. Wider shiplap planking has also been added to the ceiling. The added detail of the planks gives this space a very traditional feel, and we love it already!
Molding and Trim
We managed to save as much of the original trim and headers as we could. The carpenters are replicating the original molding and headers, which have a 5″ profile anywhere that we don’t have the original.
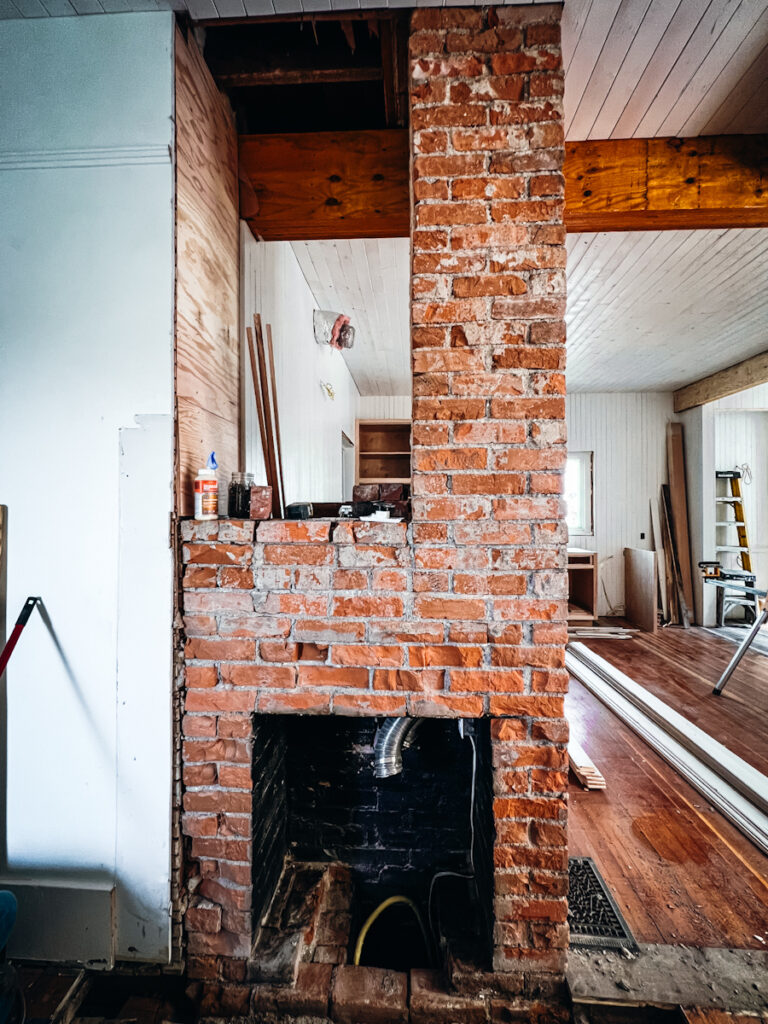
Brick Fireplace
We also decided to expose the brick on the fireplace; however, when we opened the wall, the chimney placement wasn’t what we expected. Rather than being centered in the fireplace, the chimney is located on the inside corner of the fireplace. Stay tuned to see what we decide to do with this area.
Update The Cabinets
The big question for cabinetry is whether to preserve or replace the old cabinets in the home. I recommend if the cabinets are original to the house, are in good condition and have historical value, you may want to consider preserving them as much as possible, using restoration techniques rather than replacement.
Our cabinets were in pretty bad shape in this house. They were made out of plywood and had seen better days even when we first moved in 12 years ago. Most of the drawers didn’t shut without a good hipcheck and the face of the doors and drawers were all separating. It was definitely time for an update.
Renovating An Old House Video
More Renovation Ideas
- Top Pros and Cons of a Vaulted Ceiling
- Oxford White by Benjamin Moore Review CC 30
- Shiplap Bathroom Ideas and Install Guide
Looking good
Thank you! It is moving along!
It’s looking great.
How did the bigger dips in your flooring turn out with the iron?
It completely work Annette! There is still a slight discoloration in the floor but you would only notice if I pointed it out. Otherwise it worked well!