This post may contain affiliate links. Please read our full Disclosure Policy.
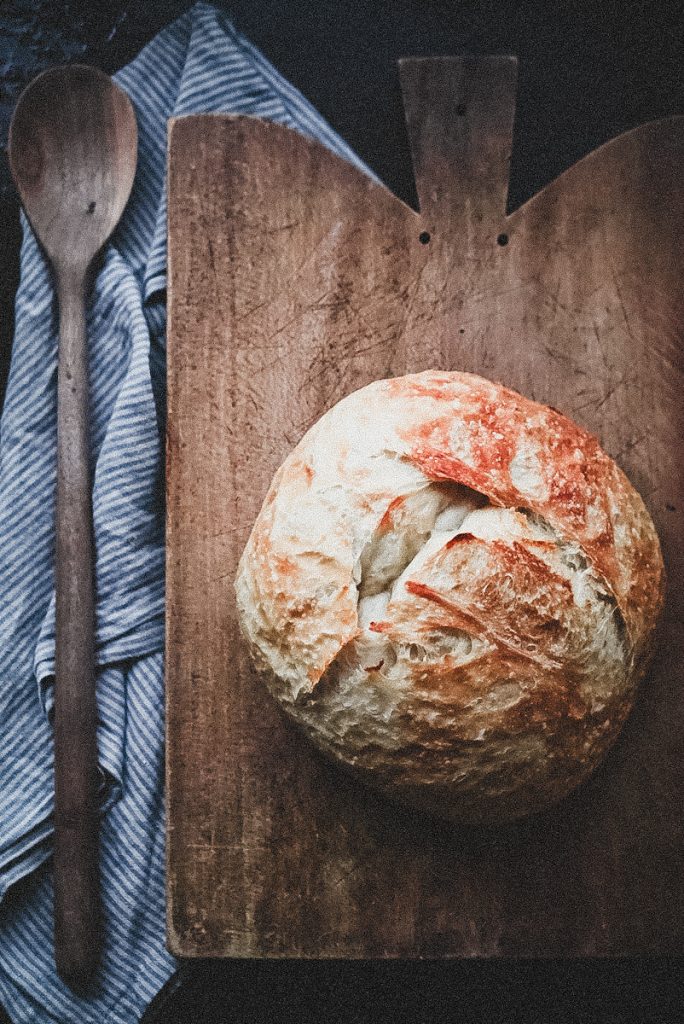
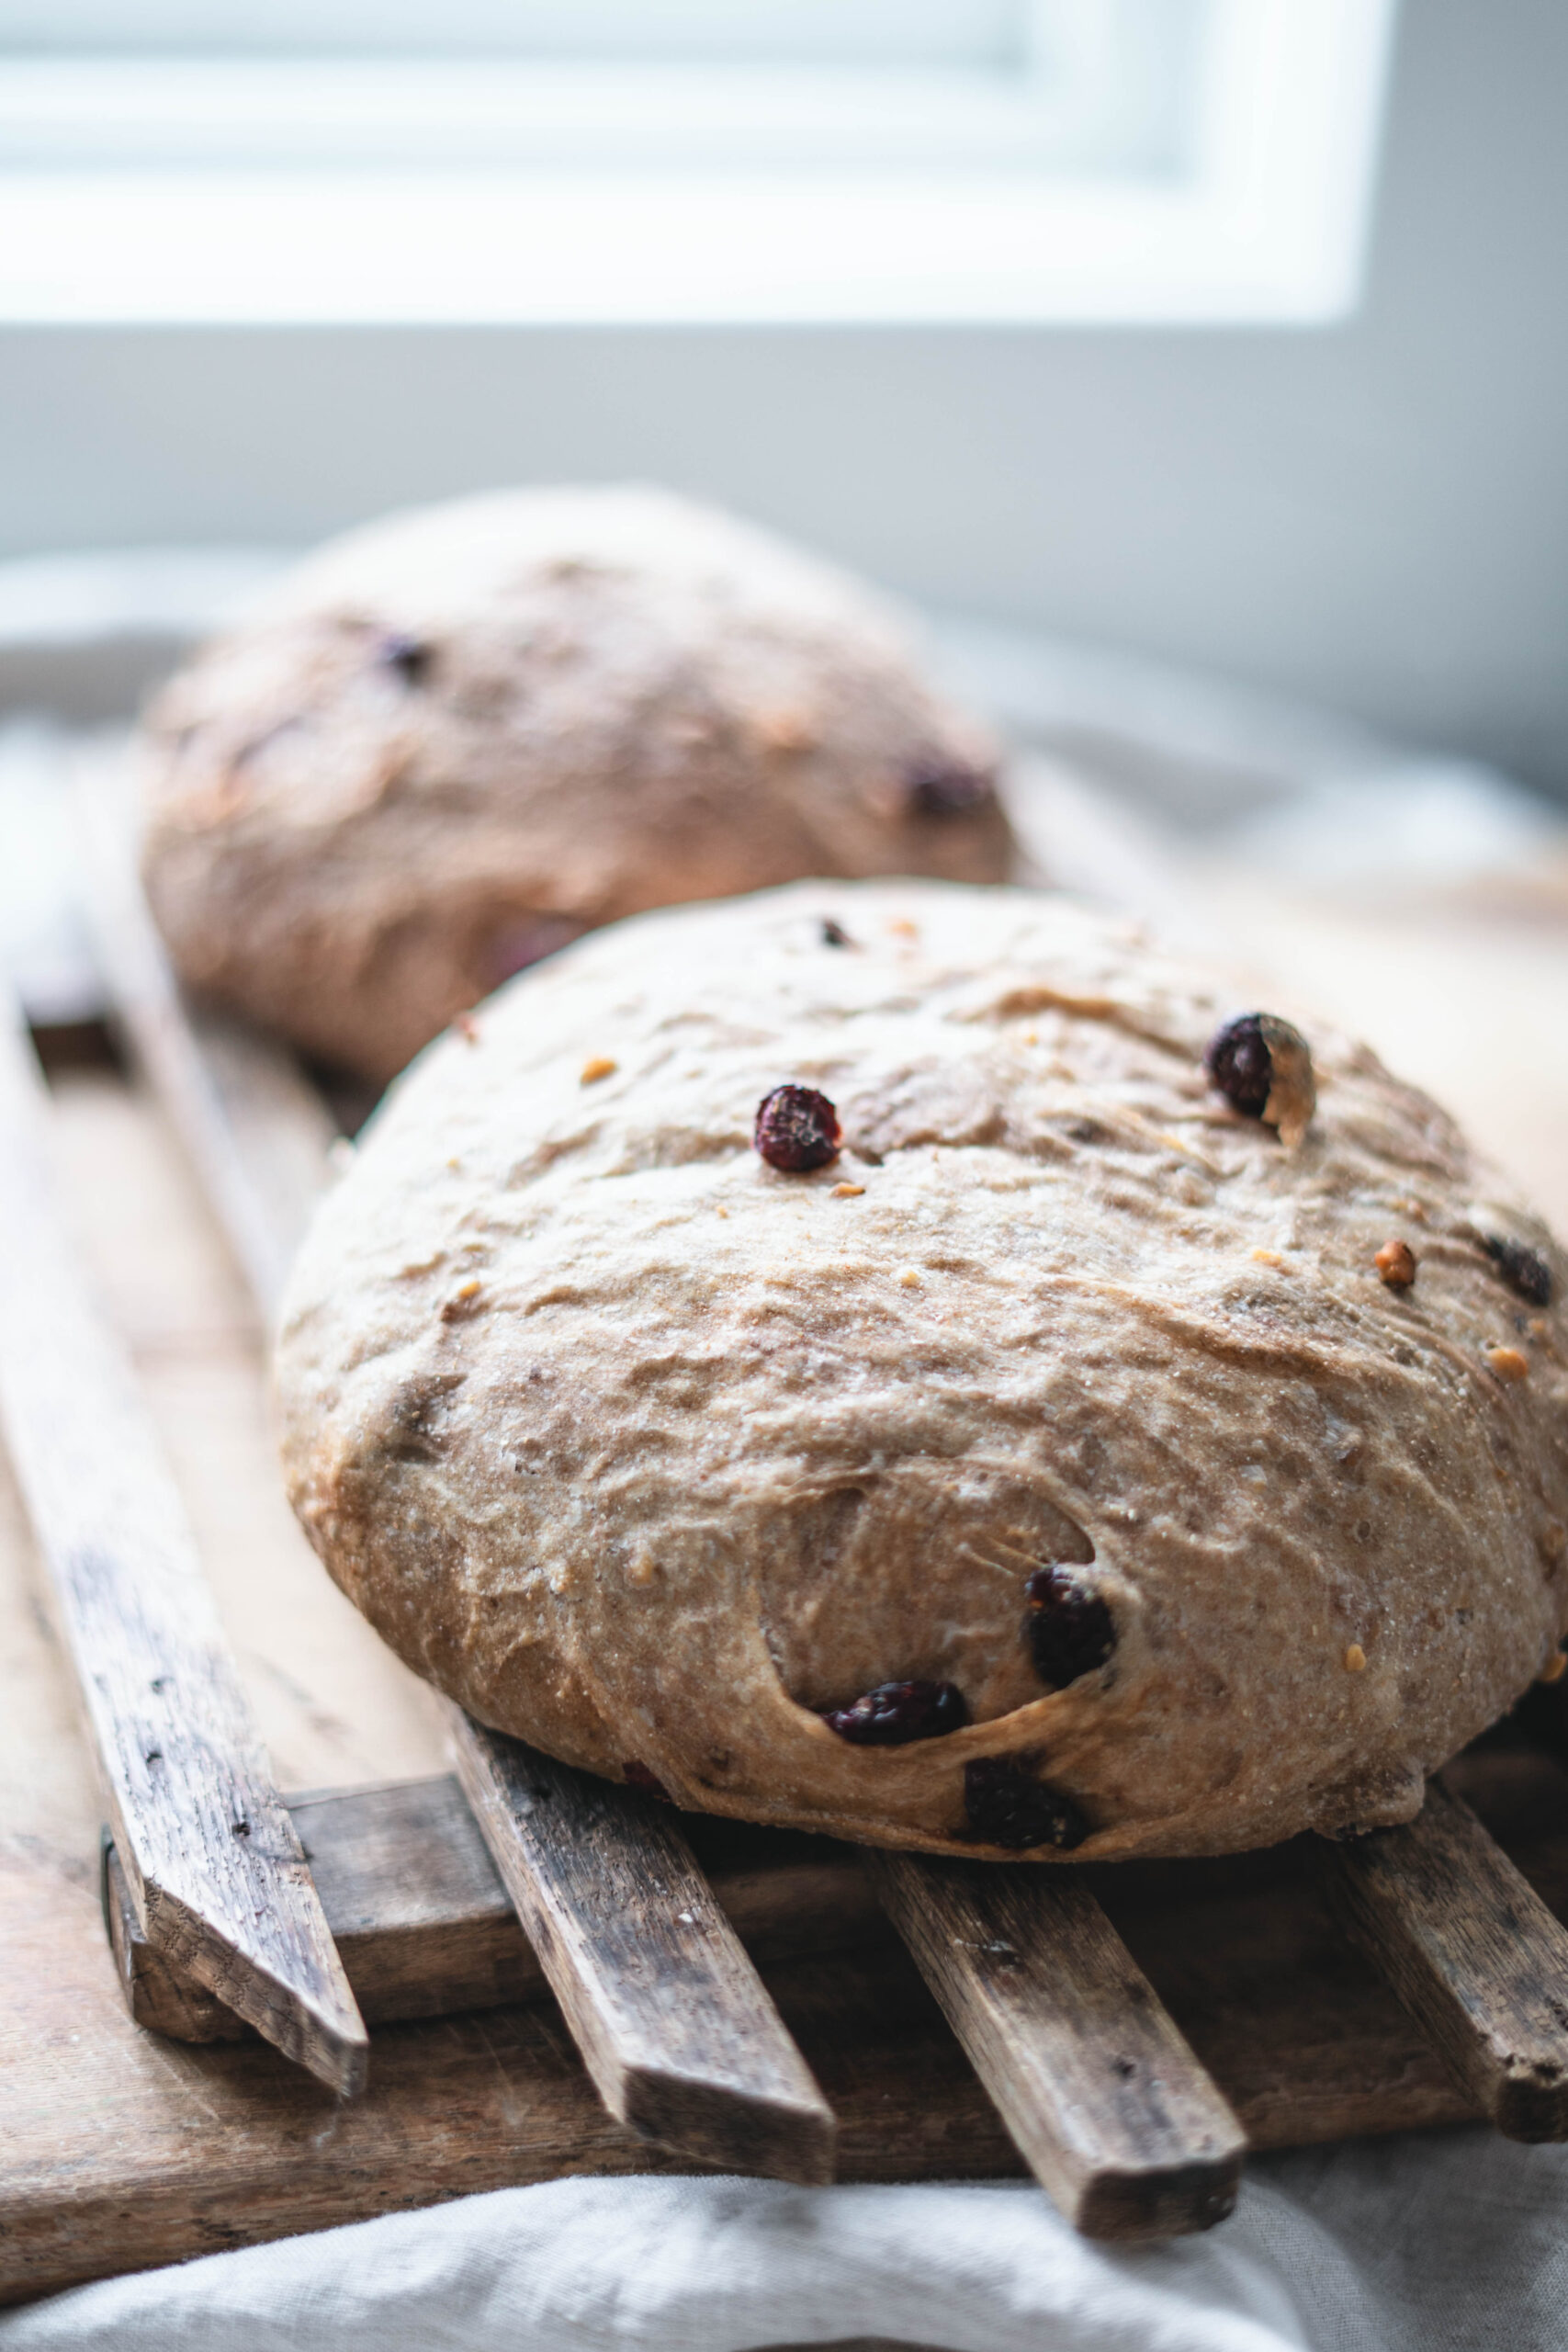
Homemade artisan bread has to be one of the world’s most delicious types of bread, and it is also one of the easiest! With only four ingredients, this easy homemade artisan bread recipe is perfect for the beginner and up-baker. It also makes a yummy traditional baguette!
Even if baking is not your thing, this bread is so foolproof that you will impress yourself! Try this recipe for homemade artisan bread as an add-on to this delicious chicken barley soup or with a strawberry jam recipe for a delicious snack.
What is Artisan Bread?
There is no true definition of Artisan bread. However, the term generally refers to homemade bread from scratch that requires a long fermentation time and consists of basic essential ingredients: flour, water, yeast, and salt.
Artisan bread is made by skilled artisans using their hands. It is shaped in many different ways and is rustic in appearance. This basic bread is appreciated for its simple process, delicious taste, crusty coating, and chewy texture.
Reason To Love This Artisan Bread
Nothing is better than freshly baked bread straight out of the oven!! Making bread can be so much work, though, and not something most people are willing to do regularly. This homemade bread is perfect for the first-time baker or beginner as it doesn’t require any special pots or kneading to come out perfectly every single time. A few more reasons to love this artisan bread are:
- With only four ingredients, this recipe is easier than you ever imagined and perfect for beginners.
- The bread turns out to have a chewy, crispy crust every time.
- Artisan bread is soft inside.
- There is always so much flavor to this bread.
- Get creative and shape this bread however you want.
- There are no special pans or dough starters required.
- This from-scratch bread only requires 4 ingredients.
- There is a variable rise time, which is lovely to work into a busy schedule!

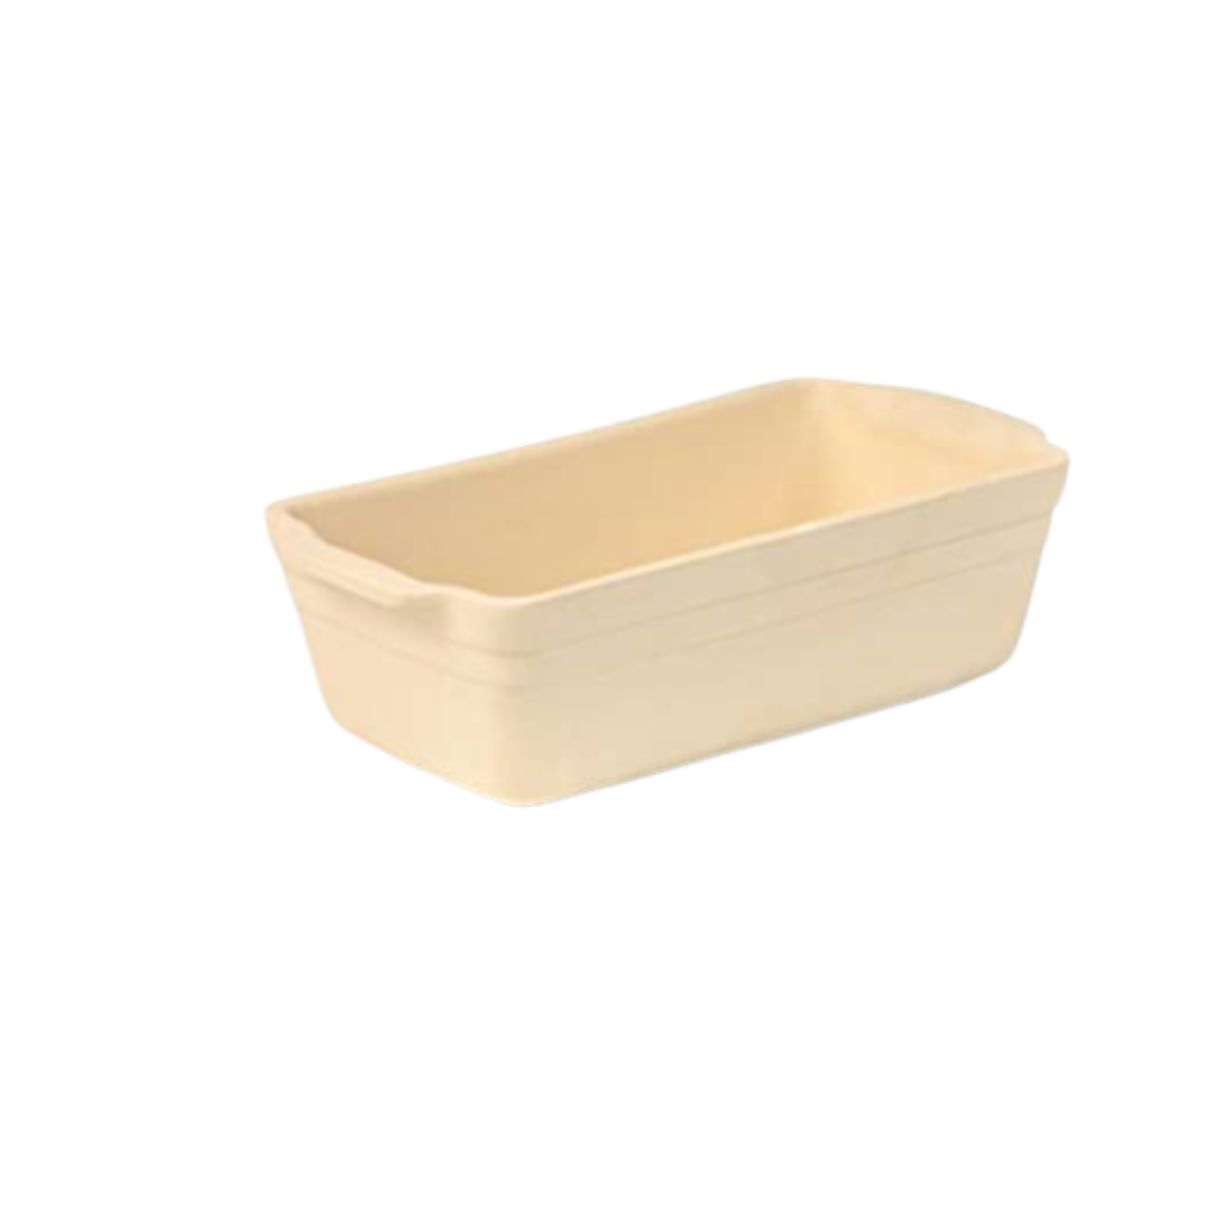
No Knead Bread Without a Dutch Oven
Although a Dutch oven is an excellent tool for baking this style of bread, it is not the only tool that can be used. A few other options include baking stones or loaf pans (round or rectangular pans will do), Pyrex, enamel, or ceramic pots.
Baking Stone Method: The way that baking stones or pizza stones work is very simple. They absorb and retain heat very well, so placing a baking stone in the oven will cause it to heat up. By setting the bread on the warm stone, the heat transfers directly to the bottom of the bread. The bread will bake very evenly with this method, resulting in a better, crisper crust overall. The oven temperature is also not changed by the opening or closing of the oven.

To use this method for baking, simply replace the baking or pizza stone with the Dutch oven and follow the instructions. If desired, you can also add parchment paper to the base of the baking stone.
Bread Pan Method: The most significant difference between a Dutch oven and a bread pan is that you don’t preheat the bread pan like the Dutch oven. Most loaf or bread pans are also smaller than a Dutch oven, so you can cut your loaf in half to make two loaves using a sharp knife.
Dust the pan with flour and place the dough in it, seam side down. Shake and center the dough, then sprinkle it with flour. Cover the bowl and let the dough proof for 30 minutes. Alternatively, you can place the dough on parchment paper to move it from the work surface to the pan. You can also use a Pyrex, enamel, or ceramic pot.
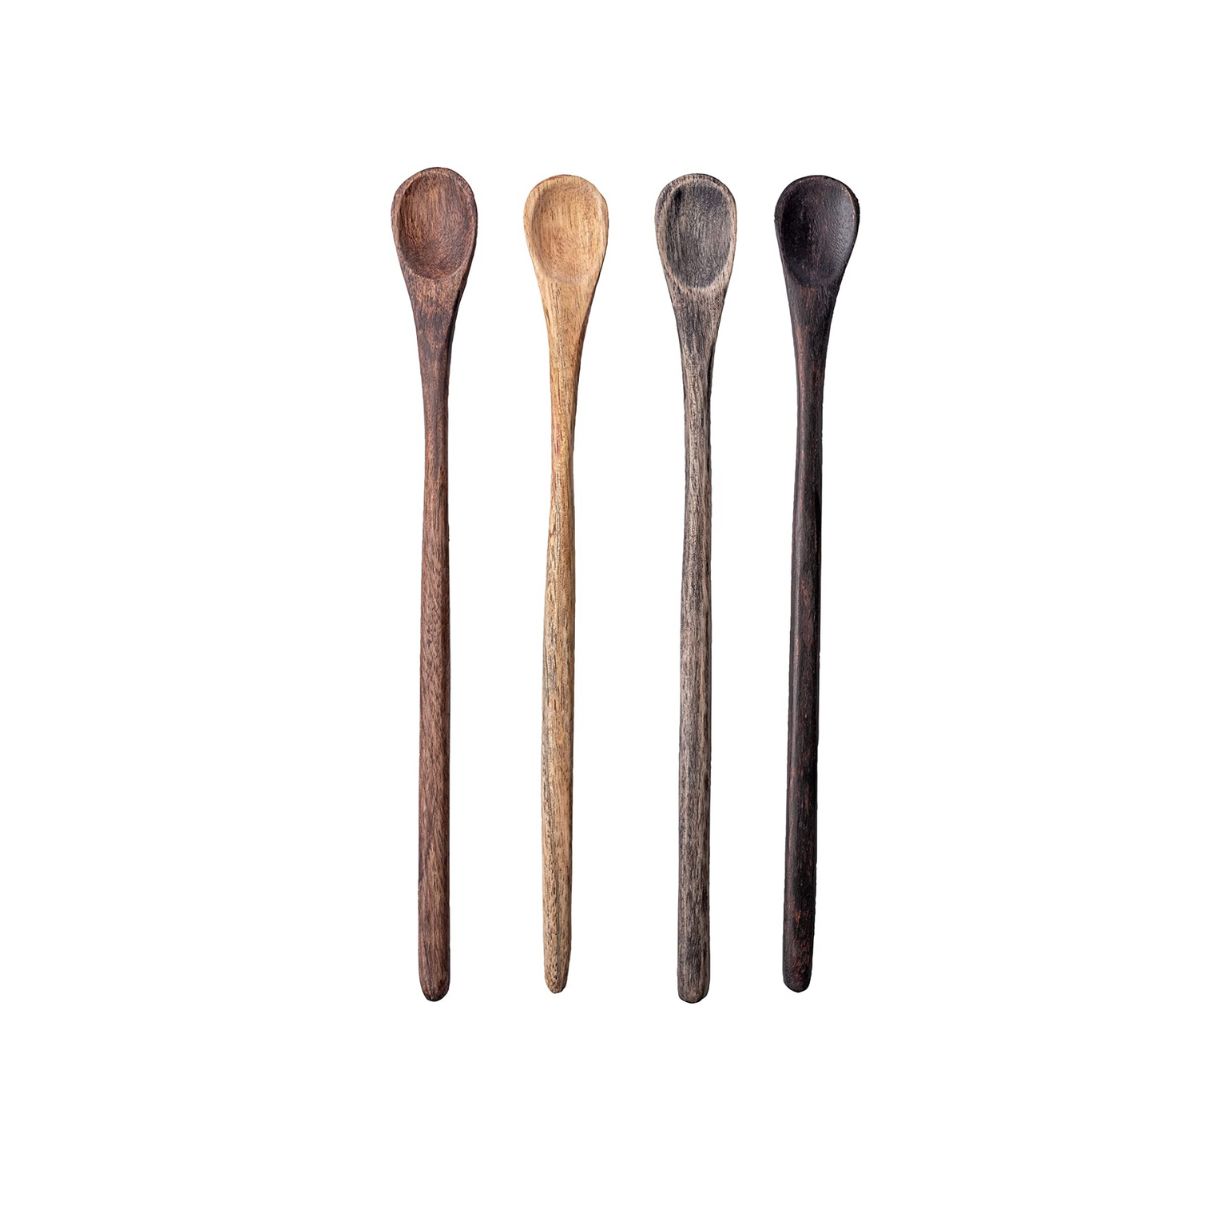
Tools Used
One of the best parts of making artisan bread is that you don’t need all the fancy tools to create it! Almost any household should have what you require already in the kitchen.

Optional*

Ingredients
- 3 cups of Flour (preferably Bread Flour): You can use all-purpose flour in this recipe, but I recommend using bread flour. Bread flour produces stronger, chewier bread, which makes a big difference in recipes with only three other ingredients. Whole wheat flour is not recommended for this recipe.
- 1 tsp of Salt (table salt): Salt adds flavor to this bread! I used table salt in the bread; however, you can use coarse salt to sprinkle on top!
- 1/2 tsp of Instant Yeast (active yeast variation shared below): Instant yeast is critical in this recipe. You can use active dry if that’s all you have, but any quick rise or instant yeast will produce flavorful results in less time. Because of the extended rise time, you only use a tiny amount of yeast in this recipe.
- 1.5 cups of Warm Water: The water needs to be warm, not hot to the touch, and not too cool.
- Corn meal (optional): Although this recipe is delicious with minimal ingredients, adding some cornmeal to the base of the pan will give the bottom crust a pop of flavor and a little crunch. Of course, this is completely optional.

Easy Steps To Homemade Artisan Bread
Mix The Dough
Mix the dry ingredients in a large bowl. Add the water. The dough will seem very dry, shaggy, and sticky. Don’t worry; this is normal, and the dough will work out. Just ensure the dough is mixed thoroughly.

- Let it rise at room temperature for at least 8 hours. Cover the dough and let it rise until doubled in size. This dough is best when allowed to rise for 18-24 hours. It can be left in the refrigerator for up to three days. The longer you leave this dough, the better it tastes. The cold air helps slow the fermentation process and adds flavor and texture.

Bake The Dough
- Preheat the oven to 450 F. Place your Dutch oven or crock into the oven while it warms to temperature. This is an important step, as it will help your bread cook more evenly during the baking process, and your finished product will be even more delicious.
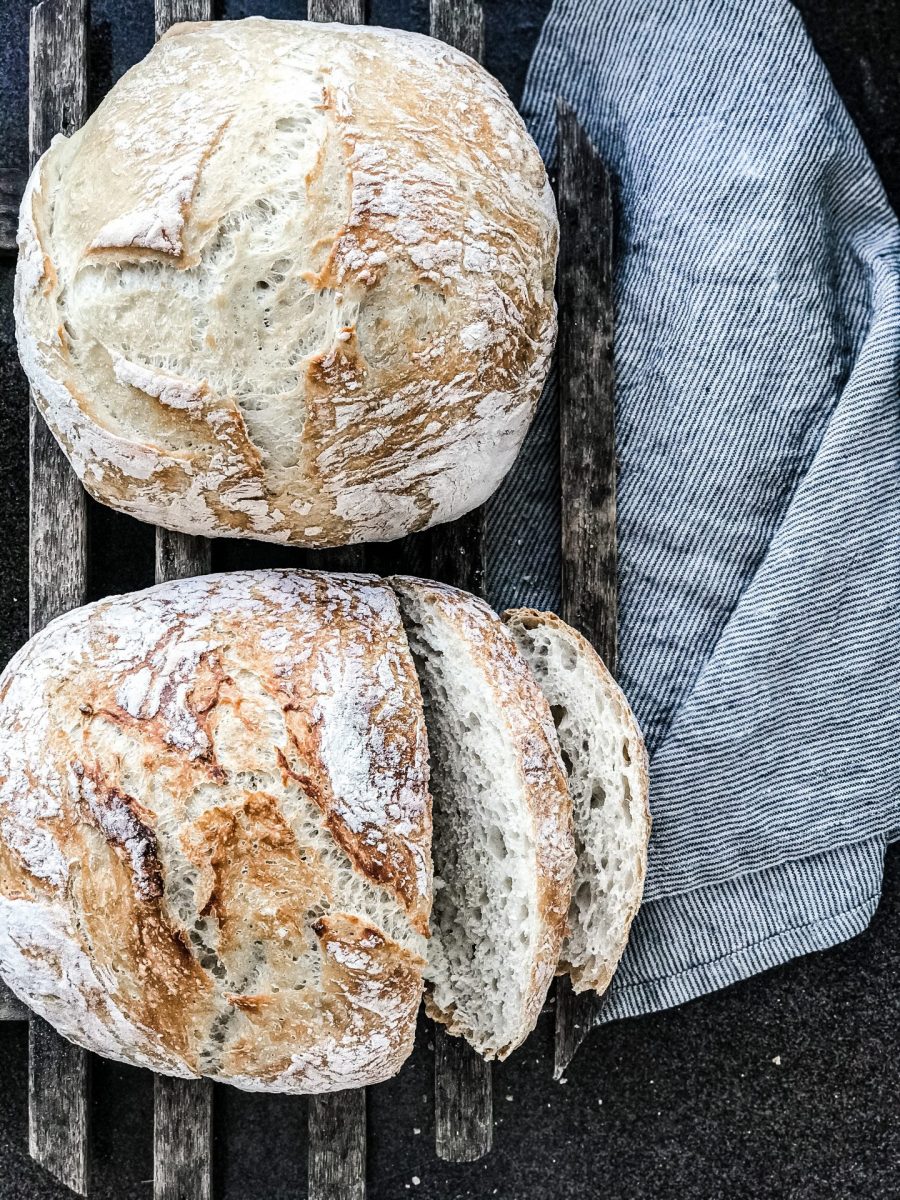
- Move dough onto a lightly floured surface or cutting board. Fold the dough into itself and shape it into your desired shape. You can even separate it into two loaves; the loaf of bread can be shaped into a round or two long loaves. Let the dough rise again for 30 minutes.

- Score the top of the dough with a very sharp knife. Sprinkle coarse salt on top for taste.
- OPTIONAL – Add cornmeal to your Dutch oven, crock, or pan base’s base.
- Place the dough in a warm crock or preheated Dutch oven with the lid on and place it in the oven. The extremely hot air will immediately set the crust, so the bread will rise up instead of spreading all over.
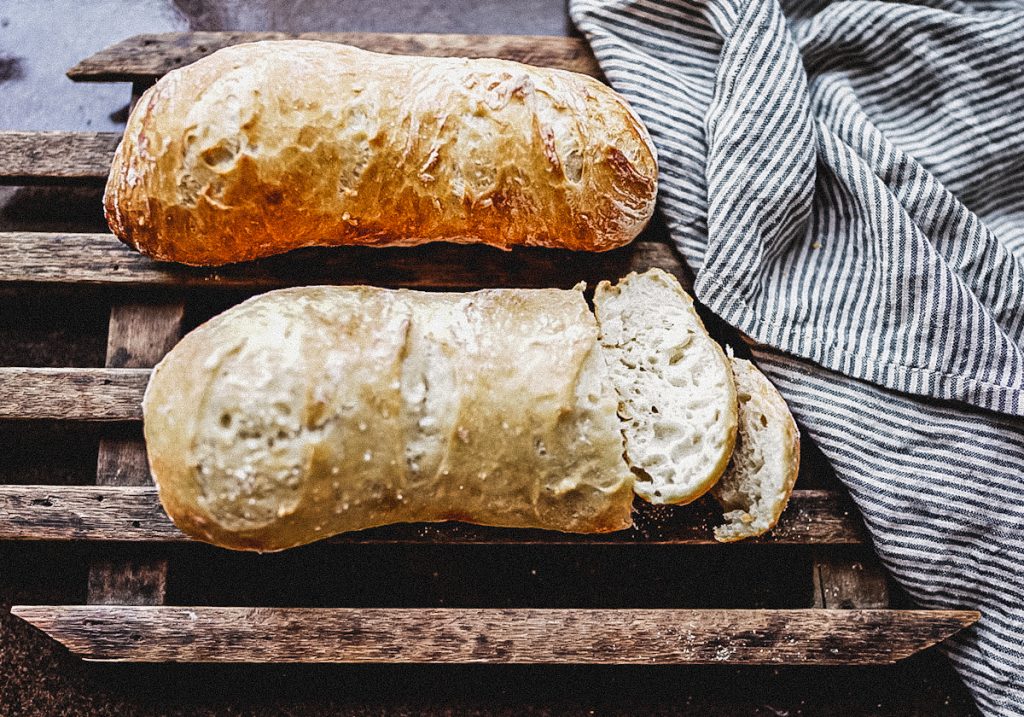
- Bake for 30 minutes with the lid on. Remove the lid and bake for another 5-10 minutes until the crust is golden brown. If you are making two smaller loaves, only bake for 20 minutes, then check to see if it is the desired color.
- Remove from the hot Dutch oven from the oven. Then remove the loaf from the pan and let cool for 15 minutes before serving.
- Serve and Enjoy! This bread is best when consumed on the first day. It also makes the most amazing grilled cheese sandwiches when it is a day old.

If you love this recipe, try this Cinnamon Raisin Bread recipe too.
Active Dry Yeast Variation
Are you in a rush? If you only have active yeast, try making artisan bread dough with it. There is a slight variation, but the results are the same!
- Add 1.5 cups of warm water to a bowl.
- Pour in 3/4 tsp active dry yeast to the water.
- Next, add 1/2 tsp white sugar to the bowl.
- The yeast needs the sugar to “eat and grow.”Let the yeast water sit for approximately 15 minutes.
- Give the yeast mixture a gentle stir, add to the flour and salt, and then continue the recipe as directed above.
When it comes time to proof, place a slightly damp linen towel on top of the dough and put it in the oven on the proofer setting for 3 hours. The bread will bake up perfectly!
Tips For the Best Homemade Artisan Bread (do’s and don’ts)
Do not try to knead this bread; it is too high in water and will only result in sticky hands.
Do not wrap the freshly baked bread in a towel or cloth before it is cooled; this will only make the outer crust soggy and not as crispy.
Do not add extra flour! This high-hydration bread is meant to be soft, wet, and sticky when working with it. Too much flour will make the loaf dense.
Do let it proof for as long as possible. Don’t try to skip out on the time that this bread needs to ferment. This is what will give you ALL that amazing flavor, and it should be left for at least 24 hours for the best results.
Do not cut into the bread for at least 20 minutes after you remove it from the oven. If you slice into the loaf too early, all of the moisture (steam) will escape and evaporate, leaving the bread tasting much too dry.
Do store at room temperature rather than in the refrigerator. The cooler temperatures will also cause the loaf to dry out. It should last 2-3 days on the counter or at room temperature.
Do remove the fresh bread as soon as possible after you take it out of the oven. Leaving it in the pan will cause a soggy bottom, and you can continue to bake the bread.
Troubleshooting Issues
It will keep on the counter for 2-3 days. If you aren’t able to consume it in that amount of time, you can always freeze it.
Absolutely! This bread is a wonderful option to freeze and store for later. If you slice the bread before freezing it, you can pull out one or two pieces and pop it in the microwave or toaster oven to unthaw.
Although you can use many different types of flour for this recipe, bread flour or all-purpose flour seem to be the best. Bread flour will make this bread come out a bit chewy compared to regular flour, however.
This can occur if your Dutch oven or baking stone is not hot enough to begin baking. It is extremely important to preheat your baking container while you preheat the oven.
It is important not to add flour as this recipe must be wet and sticky to bake correctly.
I hope you love it as much as my family does! Make sure you try it with this delicious slow-cooker turkey chili, too!
As always, I would love to hear from you. Please leave me a rating or let me know how your homemade artisan bread turned out in the comments below. Be sure to pin this recipe so you can use it again later.
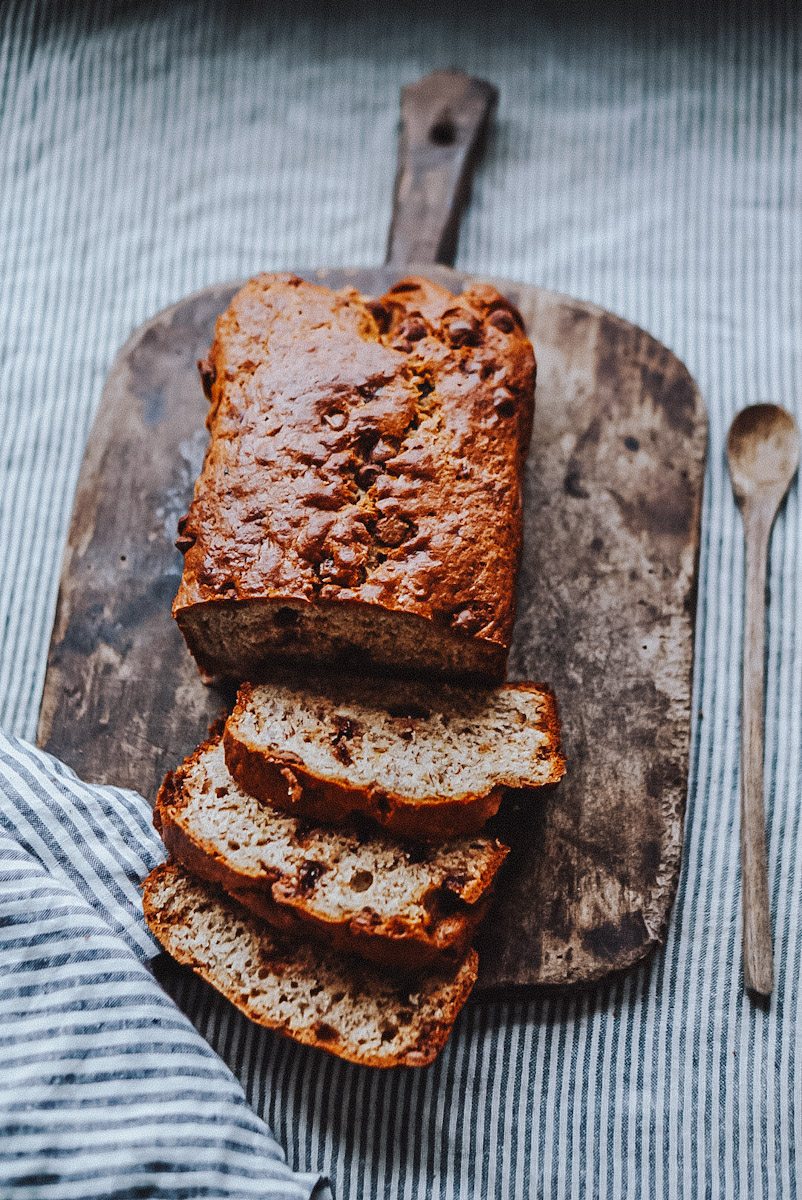
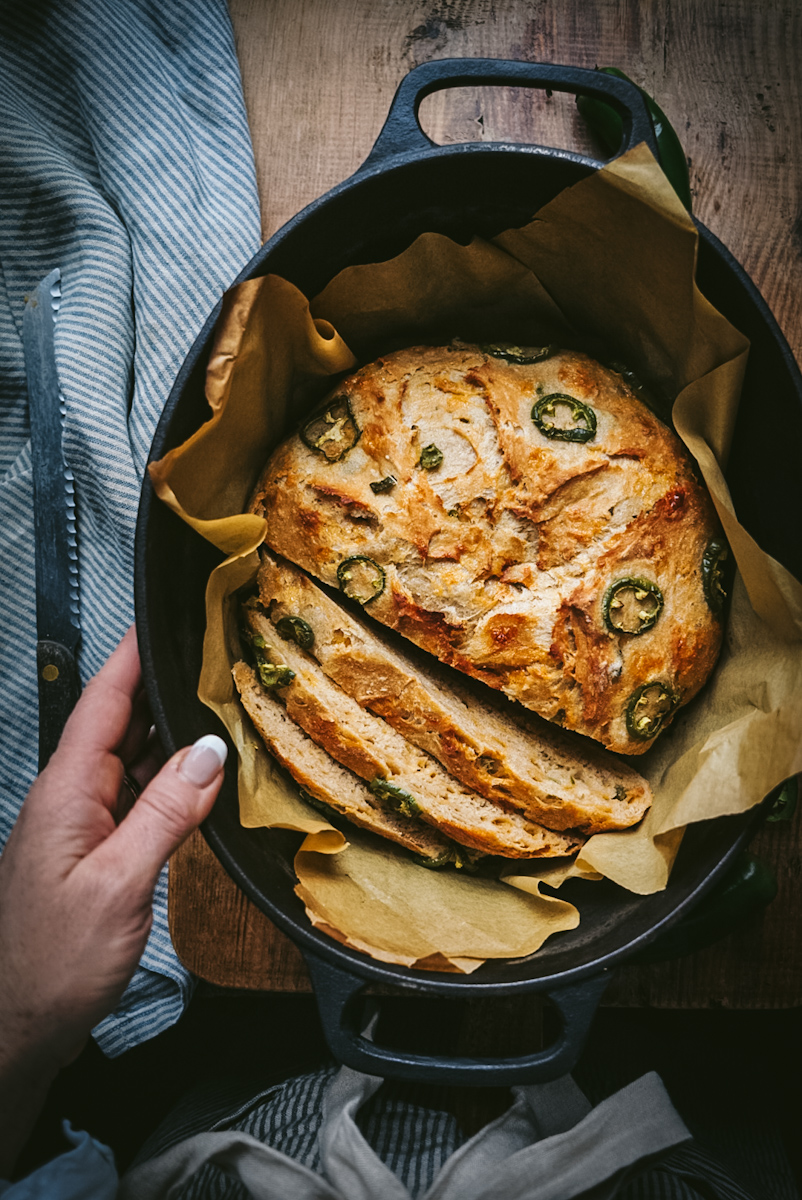
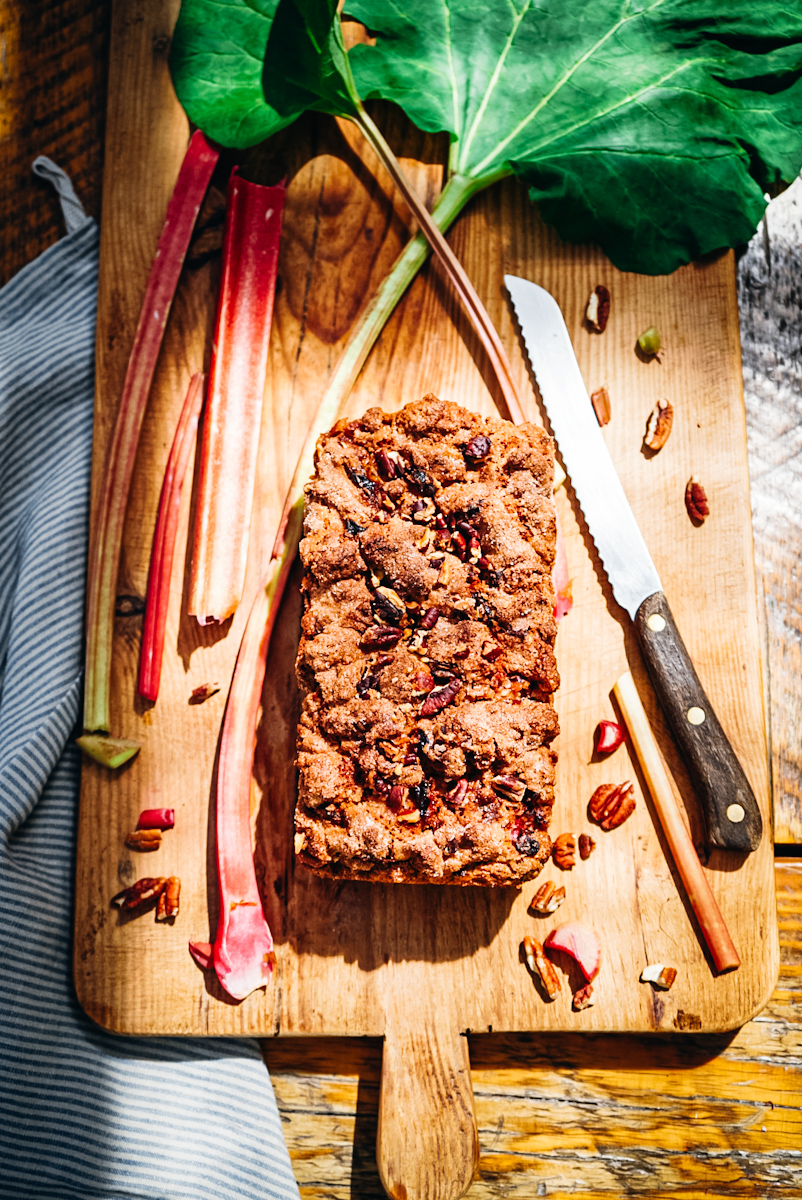
More Delicious Bread Recipes
want to save this recipe?
Enter your email & I’ll send it to your inbox. Plus, get great new recipes from me every week!
By submitting this form, you consent to receive emails from B Vintage Style.
Equipment
- Plastic Wrap or towel
- Sharp Knife
- Oven Mitts
- Large dutch oven optional
- Baking or Pizza Stone optional
- Piece of Parchment Paper optional
Ingredients
- 3 cups Flour preferably bread flour
- 1 tsp Salt Coarse salt or Sea salt
- 1/2 tsp Instant yeast Active dry yeast variation shared below
- 1.5 cups Warm water
- 1 tbsp Corn meal optional
Instructions
- In a large bowl, mix the dry ingredients together. Add the water to the dry ingredients.
- Let it rise at room temperature for at least 8 hours. Cover the dough and let it rise at room temperature until doubled in size.
- Preheat the oven to 450 F. Place your dutch oven or crock into the oven while it warms to temperature.
- Remove dough onto a lightly floured surface or cutting board. Fold the dough into itself and shape it into your desired shape.
- Let the dough rise again for 30 minutes
- Score the top of the dough with a very sharp knife. Sprinkle coarse salt on top for taste.
- Add cornmeal to the base of your dutch oven, crock or pan. This step is optional.
- Place dough in a warm crock or preheated dutch oven with the lid on and place in the oven.
- Bake for 30 minutes with the lid on.
- Remove the lid and bake for another 5-10 minutes until the crust is golden brown. If you are making two smaller loaves, only bake for 20 minutes, then check to see if it is the desired color.
- Remove from the hot Dutch oven and take the loaf out of the pan. Let cool for 15 minutes before serving.
- Serve and Enjoy!
Video
Notes
Active Dry Yeast Variation
In a rush? Or If you only have active yeast, try making artisan bread dough with active yeast. There is a slight variation to take, but the results are the same!- Add 1.5 cups of warm water to a bowl.
- Pour in 3/4 tsp. active dry yeast to the water.
- Next, add 1/2 tsp. white sugar to the bowl.
- The yeast needs the sugar to “eat and grow.”Let the yeast water sit for approximately 15 minutes.
- Give the yeast mixture a gentle stir, add the flour and salt, and continue the recipe as directed above.

Made the bread was sooo freaking delicious. Only problem is was very sticky and hard to get it in hot pan
Fabulous recipe, Thank you. Bread turns out amazing
I’m so glad you loved it! Thanks so much for the kind words and for leaving a comment!
Easy and delicious recipe! Thanks for sharing.
Thanks so much for trying the recipe Debbie! I appreciate it and the kind comment!
I made this bread last week. Wow ?. It was so easy and soooo tasty. Loved it so much and so did my husband. This will be a go to bread recipe repertoire and will make it many many more times. Tx so much Deborah. I’ve shared this one with many family and friends already. ???
I’m so glad you loved it! Thanks so much for the feedback!
This was easy and turned out great! Do you leave it on the counter for 24 hours to rise or do you put it in the refrigerator, and if so, when?
Hi Beverly. I am so happy to hear you liked the recipe! I do leave mine on the counter overnight (about 8-12 hours) but if I know I am going to be any longer than that, I place it in the refrigerator. It does slow the rising process slightly when it is placed at a cooler temperature.
Delicious
So glad. Enjoy!
Will make it again!
Happy to hear! Enjoy!
Turned out delicious
That’s so great! Enjoy