This post may contain affiliate links. Please read our full Disclosure Policy.
This easy method for making dill pickles has been in my family for generations! It is my German Grandmother’s recipe, and now I’ve been using it for years. I’ve made this recipe more times than I can count, and it turns out perfectly every single time. If you’re just getting into pickling, this is the foolproof recipe you’ll want to start with!
I’ve been making dill pickles and dill pickled carrots almost every year since I was a young girl, when I used to help my grandma and mom in the kitchen on our family farm. Some of my favorite memories are of us gathered around the table, filling jars with fresh cucumbers from the garden and laughing as we worked together. Over the years, I’ve kept the tradition alive and added a few of my own little touches along the way.
If you’ve ever wanted to try your hand at canning or just love the idea of stocking your pantry with real, homemade food, this is such a fun and rewarding place to start. Let me show you exactly how I make my family’s favorite dill pickles!
Before You Begin
Before diving into making your dills, here are a few things I always like to prep ahead of time to make the whole process smooth and stress-free!
- Gather all your supplies – Lay out your jars, lids, funnel, ladle, measuring cups, and a clean towel. It sounds simple, but having everything at your fingertips really helps once the brine is hot and ready.
- Sterilize your jars – If you’re water-bath canning, this step is key. I usually pop my jars into the dishwasher on the sanitize setting while I prep the cucumbers and brine.
- Use the freshest ingredients possible – Crisp cucumbers and fresh dill make all the difference. I always try and dill within 24 hours of picking or purchasing my dills. Avoid overripe or soft cucumbers—they tend to get mushy in the brine.
- Trim the ends off your cucumbers – Especially the blossom end! It contains enzymes that can soften your pickles during storage.
- Choose your pickle style – Spears or slices? I usually do a mix. Slices are perfect for burgers and sandwiches, while spears and full sized dills are great for snacking straight out of the jar!
Taking a few extra minutes to prep will make your pickle-making experience feel more like a relaxing kitchen ritual—and that’s what we’re all about here, right?
How To Make Dill Pickles
Making dill pickles combines garden fresh ingredients, simple techniques, and the joy of homemade flavor. This easy recipe produces crunchy, tangy pickles that are perfect for snacking, sandwiches, or preserving a summer harvest.
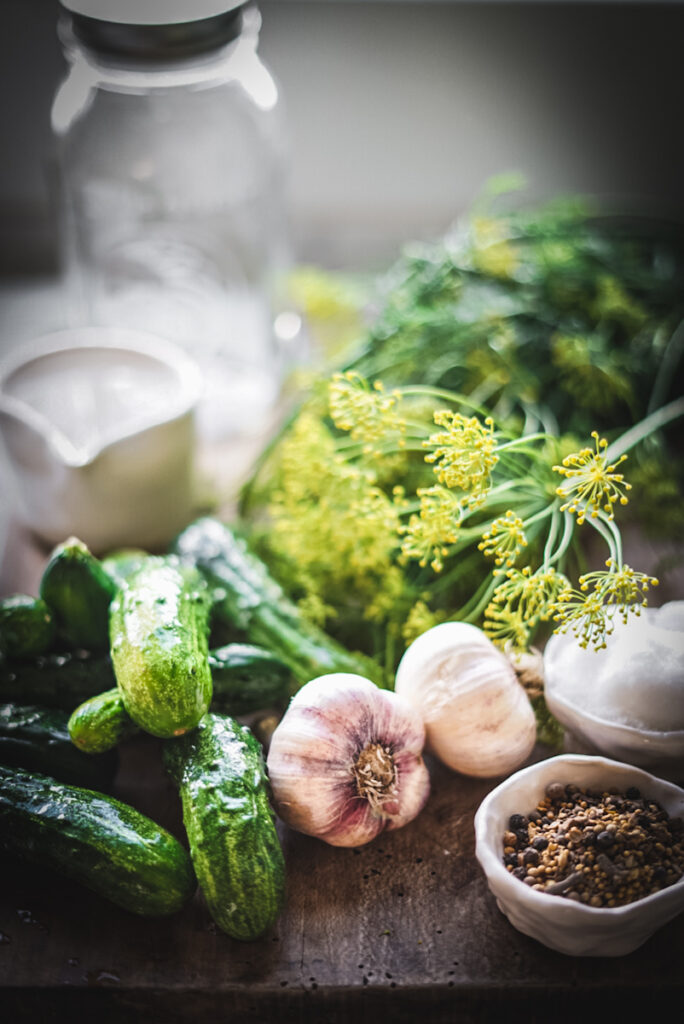
Ingredients for Homemade Dill Pickles
- 10 lbs. (about 60 cucumbers) – Kirby or Boston Pickling cucumbers work best
- 8 cloves of garlic, peeled
- 4 tsp. red pepper flakes (optional for a little heat)
- 4 tsp. whole peppercorns
- 1 bunch fresh dill weed (8 dill heads)
- 6 cups distilled white vinegar
- 6 cups water (filtered or purified is always better)
- 9 tbsp. kosher or pickling salt
- 8 qrt-size mason jars with lids and bands
How to Make Dill Pickles – Step-by-Step Instructions
1. Sterilize Your Jars
If you’re planning to can your pickles, start by sterilizing your jars. You can do this by boiling them in a large pot of water for 10 minutes or running them through the sanitize cycle in your dishwasher. Wash the lids and bands in warm soapy water and let everything air dry on a clean towel.
I usually take care of this step first, ahead of time, so everything’s prepped and ready to go when it’s time to fill the jars!
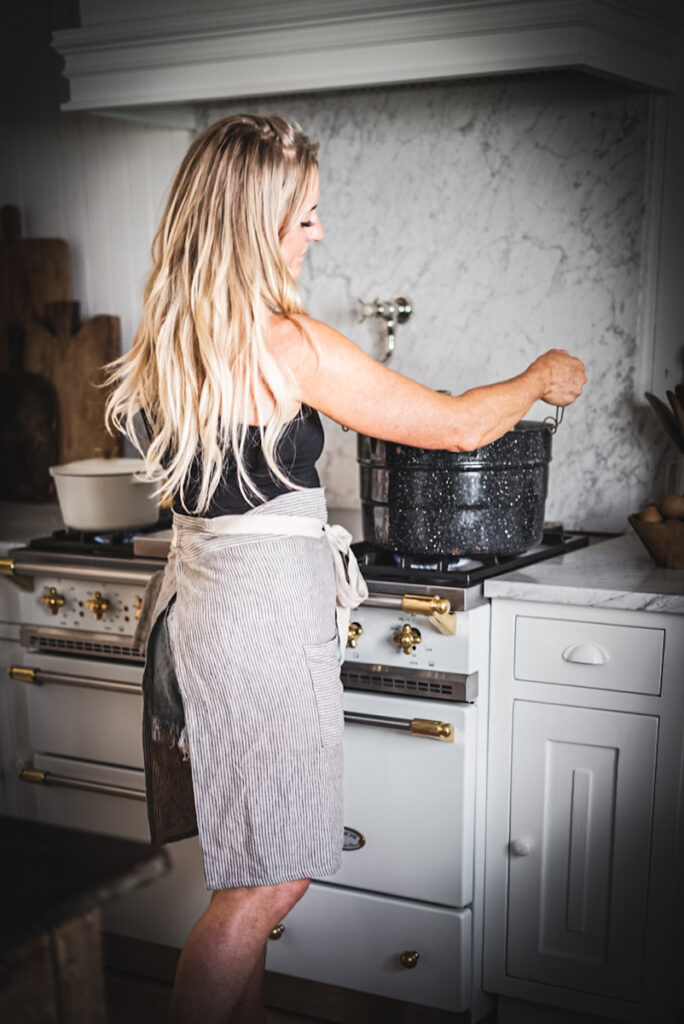
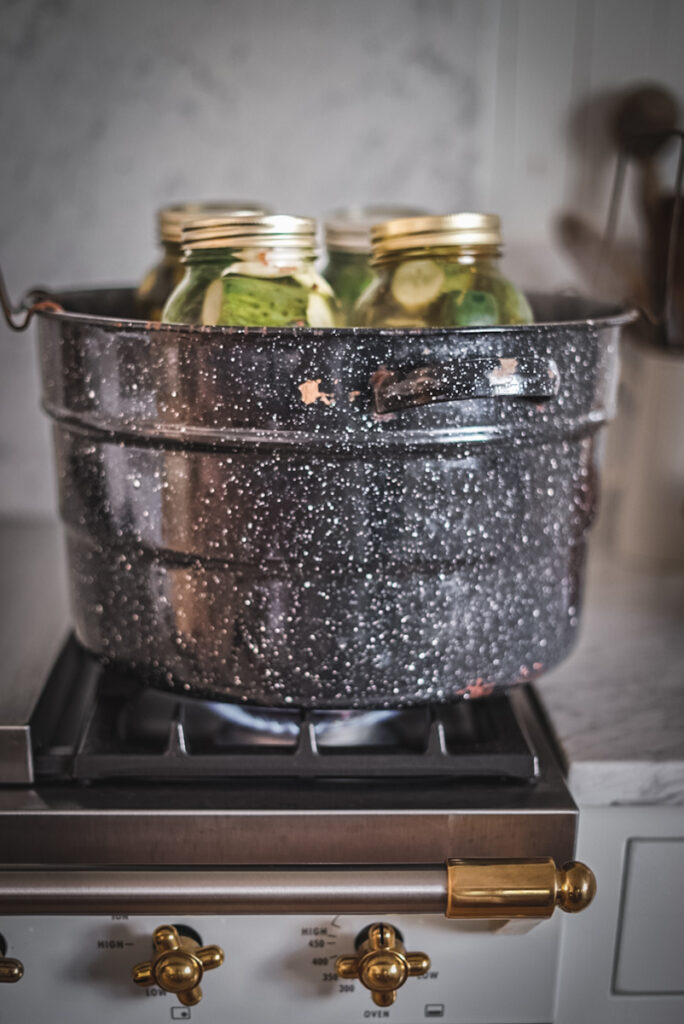
2. Prep the Canner (If Canning)
If you’re water-bath canning your pickles, fill your canner or a large stockpot with water and bring it to a simmer. Make sure there’s enough water to cover the jars by at least 1 inch when they’re submerged.
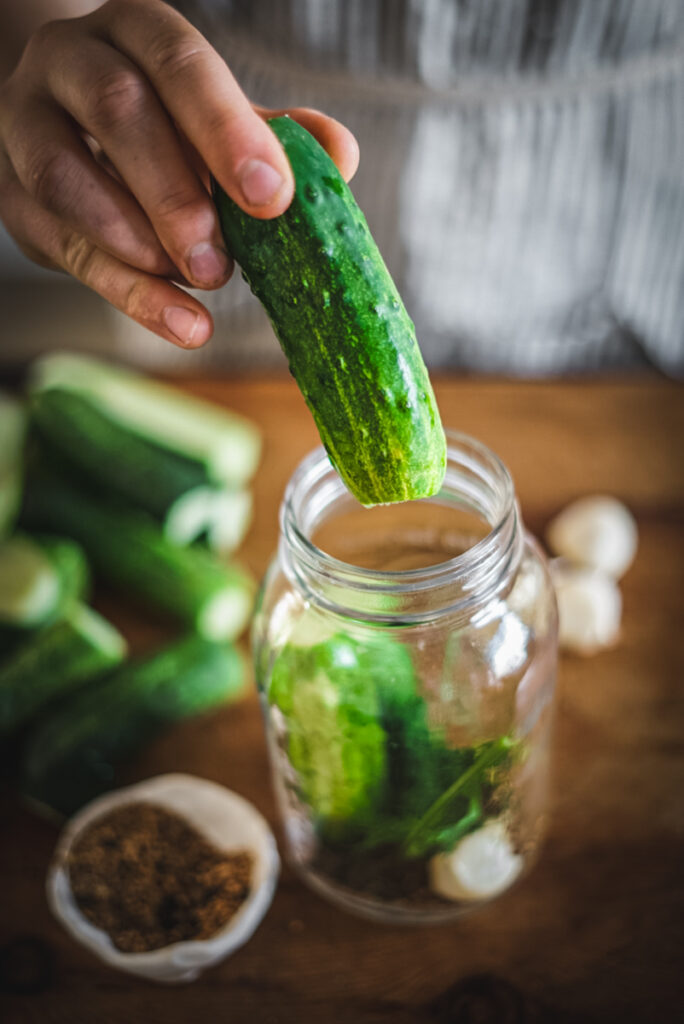
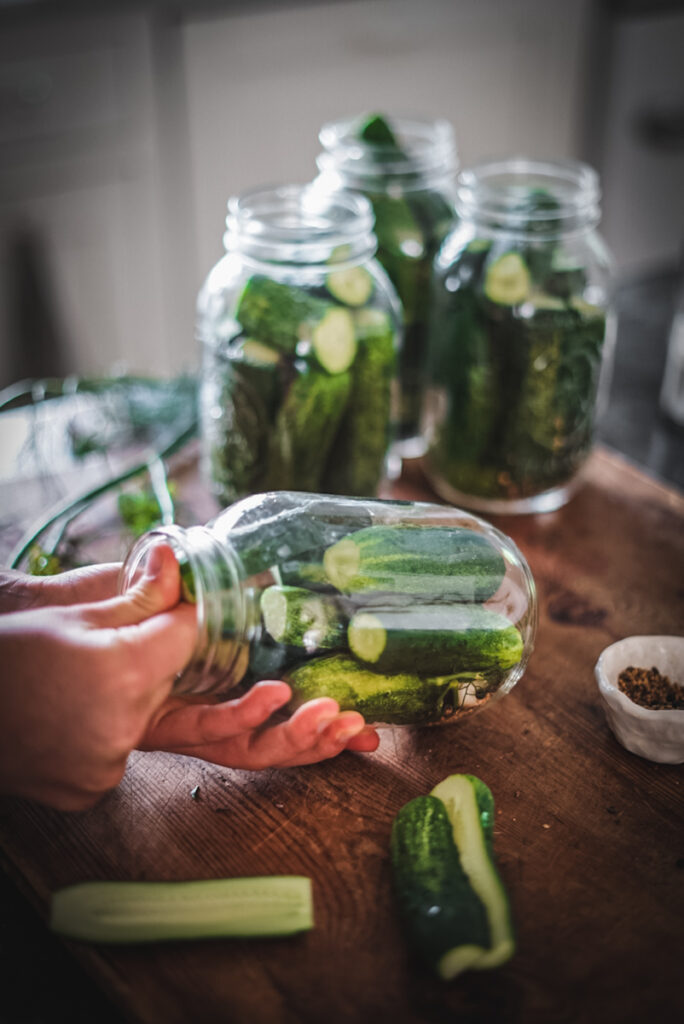
3. Wash and Cut the Cucumbers
Rinse the cucumbers thoroughly and trim off the ends. You can slice them into spears or ¼-inch thick rounds depending on how you like your pickles. I do a mix of both—spears for snacking, and slices for burgers!

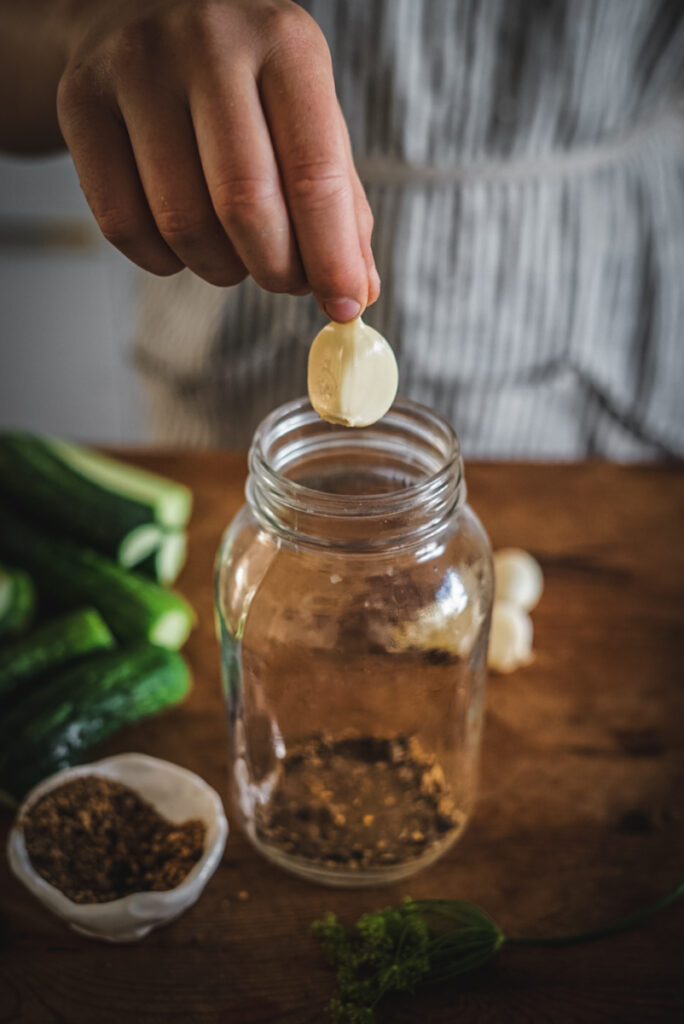
4. Add Flavor to Each Jar
In each pint jar, add:
- 1 peeled clove of garlic
- ½ tsp red pepper flakes (optional)
- ½ tsp whole peppercorns
- A few sprigs of fresh dill weed
Then, pack the cucumbers tightly into the jars, leaving about ½ inch of headspace at the top. Don’t worry if it’s snug—the cucumbers will shrink slightly once the hot brine is added.
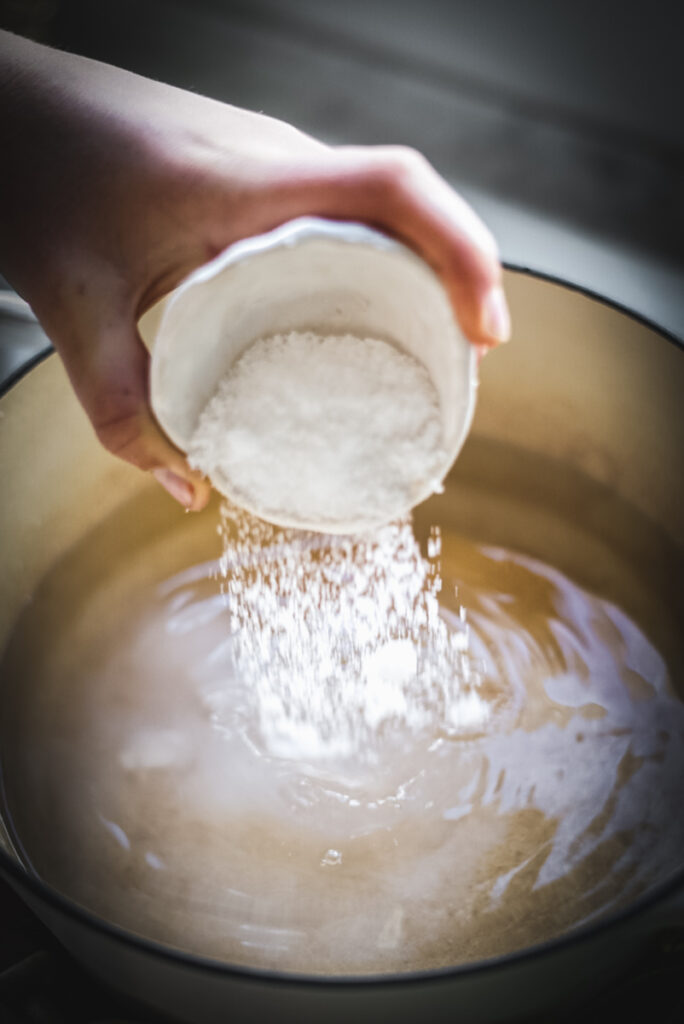
5. Make the Brine
In a large pot over medium-high heat, combine the vinegar, water, and salt. Stir occasionally and bring the mixture to a full boil. This is your brine, and it’s what gives your pickles their bold flavor.
Once boiling, turn off the heat. I like to use a large glass measuring cup to ladle the brine into the jars—it makes pouring so much easier!
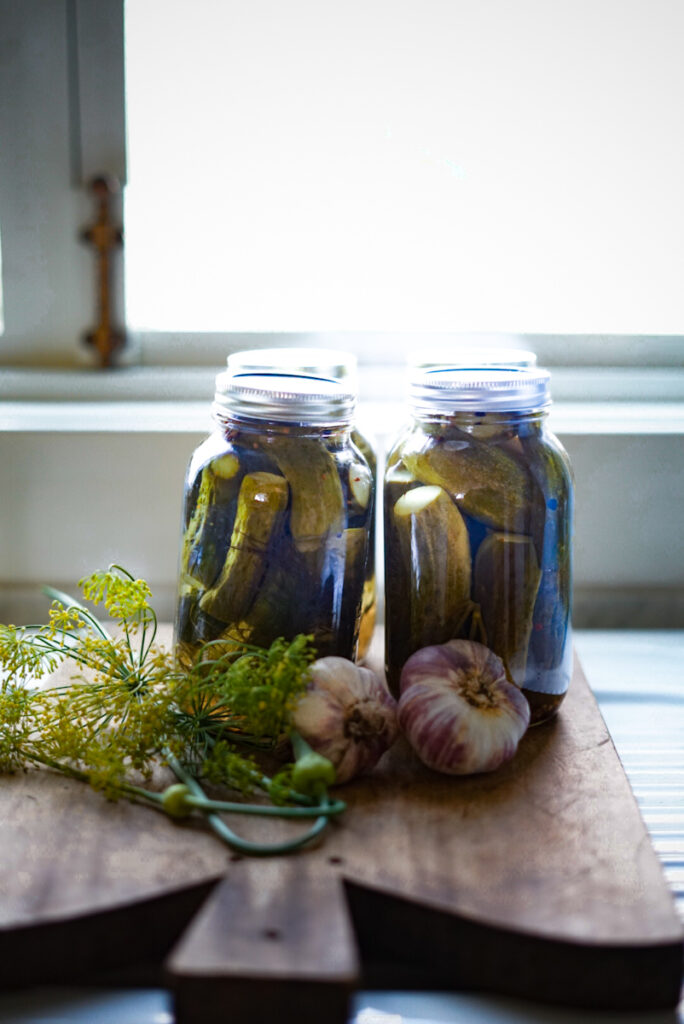
6. Fill the Jars
Carefully pour the hot brine over the cucumbers in each jar, making sure they’re completely covered and still leaving that ½ inch of headspace. Use a clean utensil to release any air bubbles if needed.
Wipe the rims of the jars with a damp cloth, place the lids on top, and screw on the bands until fingertip tight.
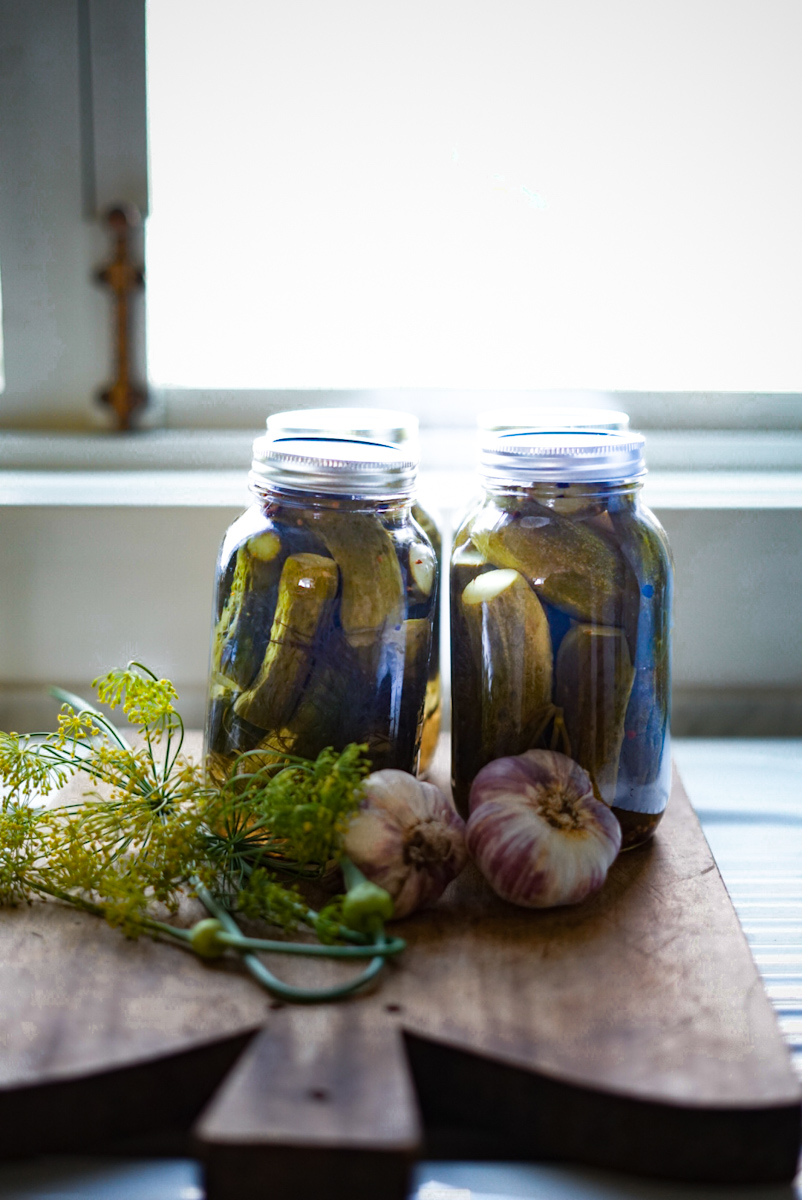
7. Store or Can Your Pickles
- For Refrigerator Pickles:
Let the jars cool to room temperature on the counter. Then pop them in the fridge and wait at least 24 hours before tasting—though I promise, they get better with time! These will last 2–3 months chilled. - For Canned Pickles (Shelf-Stable):
Place the jars into the simmering water in your canner. Bring the water to a rolling boil, then process the jars for 5 minutes. Carefully remove them and let them cool completely at room temperature.
Once sealed, store your canned pickles in a cool, dark place for up to 1 year. I always listen for that lovely pop sound as they seal—it’s the best feeling!
Deb’s Tips
Over the years, I’ve learned a few tricks that really make this recipe a winner:
- Use pickling cucumbers. They’re smaller and crunchier, which makes a big difference in texture.
- Don’t skip the garlic in the brine. It adds that irresistible savory depth.
- Add a grape leaf! If you have grapevines nearby, adding one leaf to each jar helps keep your pickles crisp.
- Try different variations. Add jalapeño slices, onion rounds, or even a couple black peppercorns to switch things up.
- Label your jars. I always write the date and batch number with a Sharpie on the lid so I know which ones to use first.
I also always make an extra jar or two to stash in the fridge—those are the ones we snack on before the rest have even had a chance to cure!
Storing Homemade Dill Pickles Last
If you’ve processed the jars using a water bath, your pickles can last up to a year stored in a cool, dark place.
Fridge pickles should be eaten within 2 to 3 months, though I doubt they’ll last that long! Once opened, keep them refrigerated and use clean utensils when grabbing a pickle to help them stay fresh longer.
And don’t panic if your garlic turns a little blue or green—it’s just a harmless reaction to the vinegar and minerals. Totally normal and safe!
Your Questions
The best cucumbers for dill pickles are small, firm varieties like Kirby or Boston Pickling Cucumbers. These have fewer seeds and stay crisp after pickling. Avoid waxed grocery store cucumbers—they won’t absorb the brine well.
Cutting off the blossom end of each cucumber helps prevent soft pickles. The blossom end contains enzymes that can break down the texture of your pickles over time.
Yes! Garlic can turn blue or green when it reacts with vinegar or minerals in your water. It’s completely safe to eat and doesn’t affect the flavor of your pickles.
want to save this recipe?
Enter your email & I’ll send it to your inbox. Plus, get great new recipes from me every week!
By submitting this form, you consent to receive emails from B Vintage Style.
Equipment
- 1 canning pot
- 8 qrt mason jars with lids and bands
Ingredients
- 10 lbs pickling cucumbers Kirby or Boston Pickling
- 8 cloves garlic peeled
- 1 tbsp red pepper flakes or red pepper optional for a little hear
- 1 tbsp peppercorns whole
- 1 bunch dill weed fresh (8 dill heads)
- 6 cups vinegar distilled white pickling
- 6 cups water filtered or purified is always better
- 9 tbsp salt kosher or pickling
Instructions
- Start by sterilizing your mason jars. I usually pop mine into the dishwasher on the sanitize cycle, but you can also boil them in water for 10 minutes. Wash the lids and bands separately in warm, soapy water. Let everything air dry on a clean tea towel while you prep the rest.
- Give the cucumbers a good rinse and trim off both ends—especially the blossom end, as it can cause your pickles to go soft. You can slice them into spears or rounds depending on how you like them. I usually do a mix—slices are great on burgers and spears are perfect for snacking!
- Now for the fun part! In each pint jar, add:1 peeled garlic clove½ tsp red pepper flakes (if using)½ tsp whole peppercornsA few sprigs of fresh dillOnce the seasonings are in, tightly pack your cucumbers into each jar, leaving about ½ inch of space at the top. Don’t worry if they’re snug—they’ll settle a bit when the brine goes in.
- In a large stockpot, combine the vinegar, water, and salt. Stir over medium-high heat and bring it all to a full boil, making sure the salt fully dissolves. Once it’s ready, turn off the heat. Tip: I like to ladle the hot brine into a big glass measuring cup—it makes pouring into the jars way easier and a lot less messy.
- Carefully pour the hot brine into each jar, covering the cucumbers completely. Leave about ½ inch of headspace. Use a clean butter knife or non-metallic utensil to gently remove any air bubbles.Wipe the jar rims with a damp cloth, then place the lids on and screw the bands on just until fingertip tight.
Notes
- Use very fresh, firm cucumbers for the crunchiest results.
- Add a grape leaf to each jar if you want extra crispness—old-school, but it works!
- Want more flavor? Try adding mustard seeds, sliced jalapeños, or even a sliver of onion to your jars.
- Always label your jars with the date so you know which ones to use first.