This post may contain affiliate links. Please read our full Disclosure Policy.
In recent years, painted wood floors have made a popular comeback, although they are anything but new. People have been painting floors as far back as the 1800s. This style of flooring has been favored for not only its beauty, character, and charm but also its cost-effectiveness and durability.
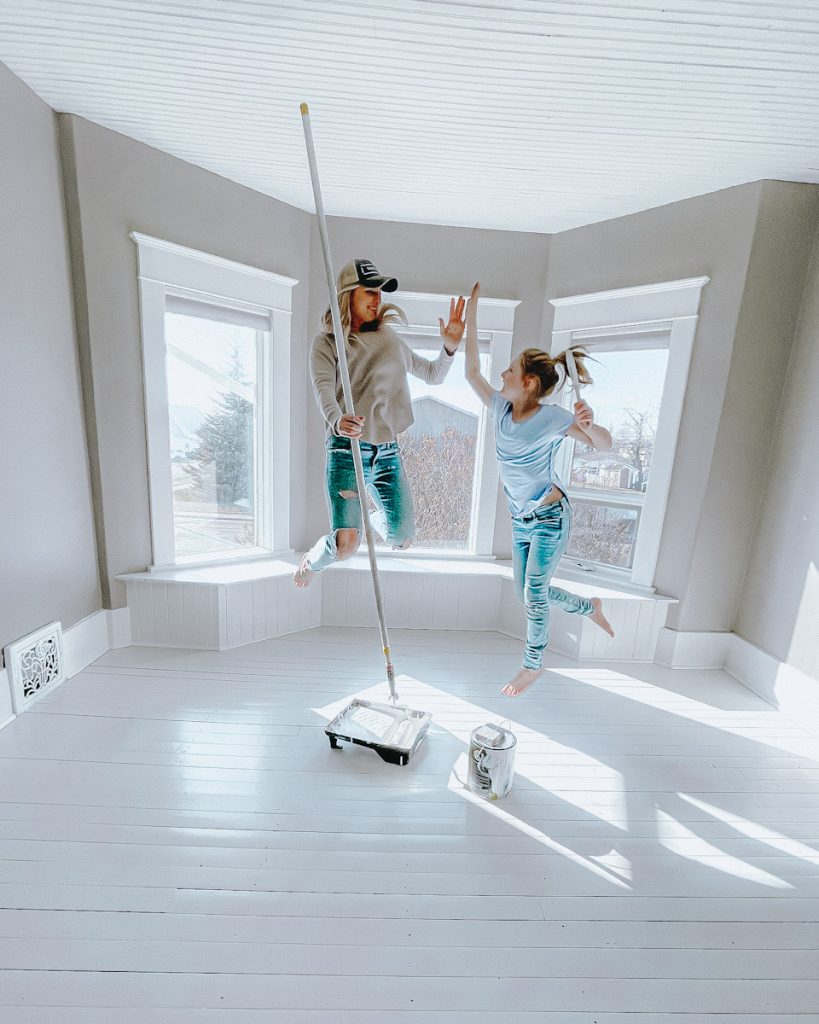
I had contemplated painting my old floors for WAY too long and finally took the plunge! So, let’s dive into the process of painting wood floors and how they are holding up!

Reasons To Paint Wood Floors
Wood floors are sometimes considered an extra wall in a space! Adding painted wood floors to any room is a beautiful way to update your interior space! There are several reasons why a painted hardwood floor can be a good idea.
- The hardwood is too old and thin to be refinished; therefore, painting is a great option.
- A dark space can be made to feel bright and even bigger by painting the flooring.
- If the floor has irreparable damage, such as water damage or insects, a fresh coat of paint may be the right choice. It can also help hide imperfections.
- Painted floors are very affordable, quick, and quite easy to do yourself. So painting your floors, rather than replacing them, may make sense.
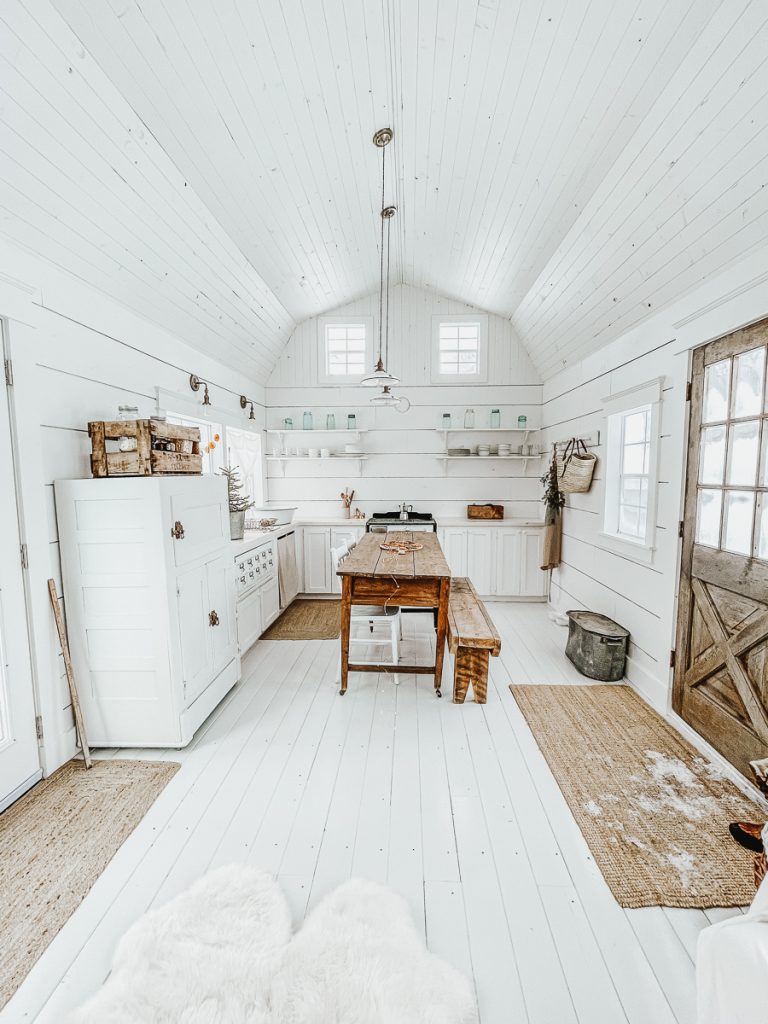
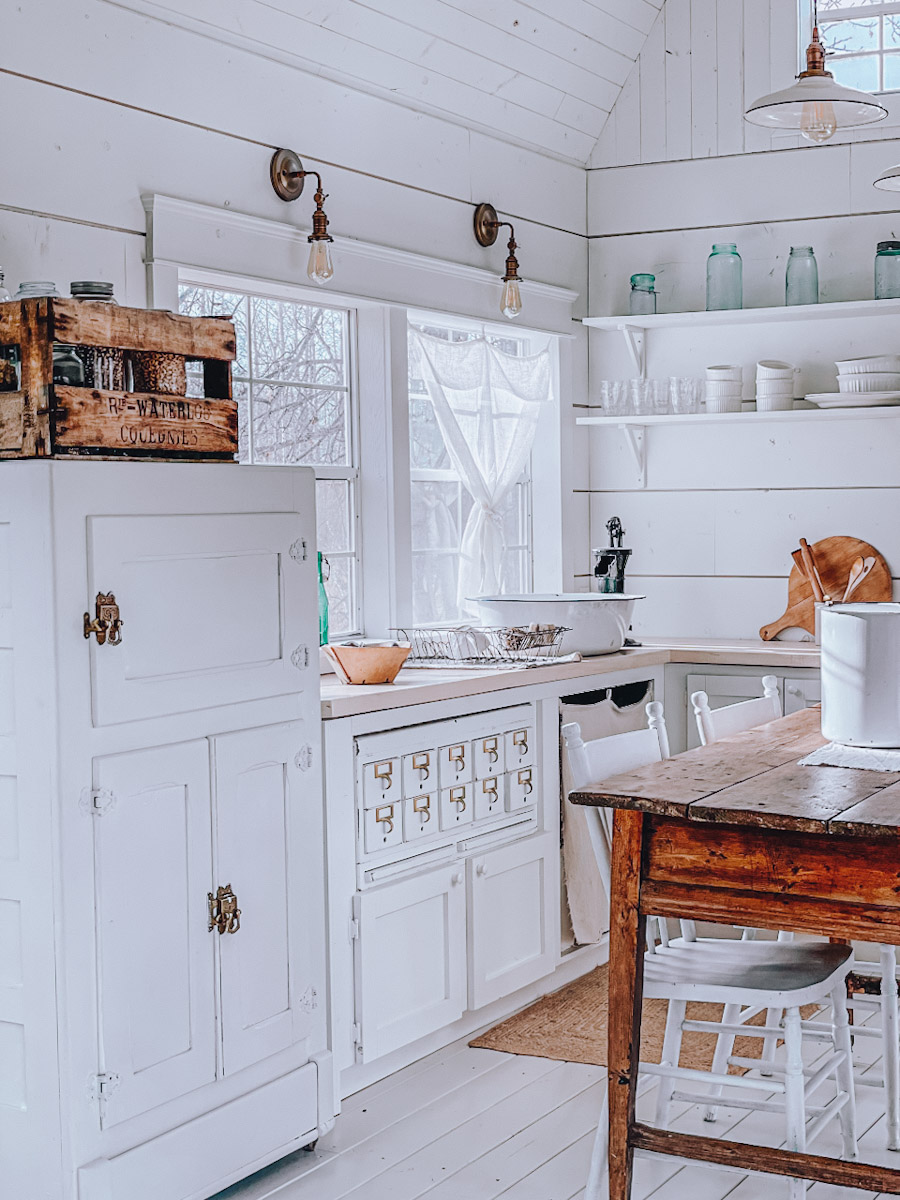
- You love the look of painted floors! I put brand new wood floors in the tiny house cabin and painted them because I love the look of it!
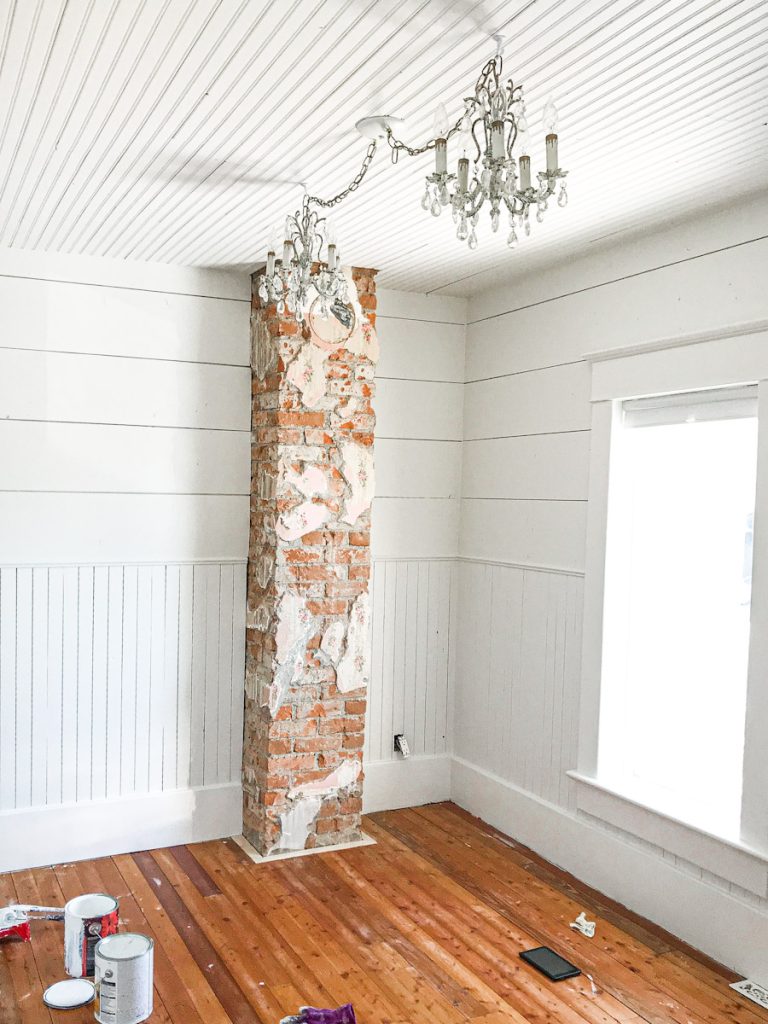
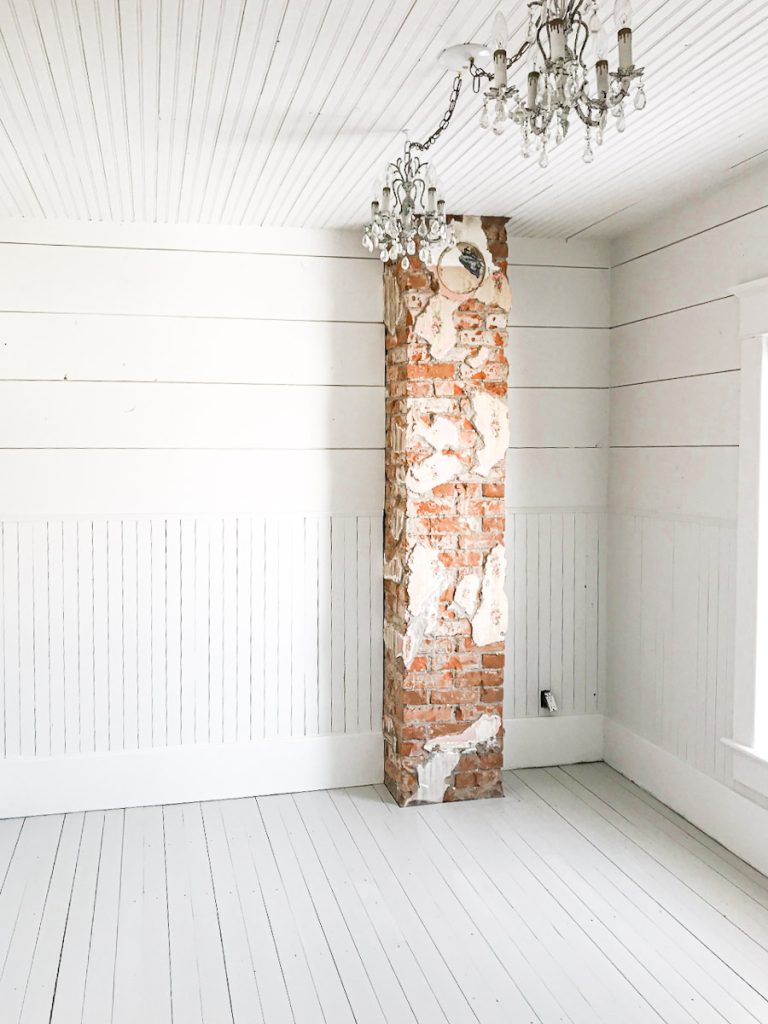
For me, it was the best color option due to the type of hardwood in my house! I have Fir hardwood floors in my home, which have a very orange undertone! After a ton of research to find out if I could bleach out the oranges or perhaps change the pigmentation, I decided that the best option for our family was to paint them! I am still loving them after two years! It’s CLASSIC and AFFORDABLE!
I looked at multiple heritage homes to purchase before we finally got the one we are in! In many of these older homes, the wood floors had been painted at some point! I loved the look of the painted floors and how they looked with wear over time.
Do you love shiplap, too? Learn how to choose where to put it and what is the right type of shiplap to add to your home.
Floor Paint For Wooden Floors
With so many different types of paint on the market, it can be hard to know which is best. No matter what type of paint you choose for your painted floors, make sure to use high-quality paint.
There are two common types of porch and floor paint, plus a primer and polyurethane:
Oil-Based Primer
A shellac-based primer is a great idea.
Oil-based Paint
You can achieve a high gloss finish by using an oil-based enamel.
Latex Paint
Latex enamel paint will produce a low sheen (no glare) or semi-gloss finish.
Topcoat or Sealant
Like all finished hardwood floors, you can seal painted floors with a final coat of topcoat or polyurethane. Water-based polyurethane is a great option for finishing painted floors as it doesn’t have the fumes that an oil-based polyurethane has, and its dry time is much quicker. I use an outdoor, water-based, non-yellowing clear coat on the surface with a stain brush!
Floor Paint Durability
Let’s chat quickly about the durability of painted wood floors! It ultimately depends on which products you use to paint, how much prep work you do, and how high of a traffic area it is! Painted flooring, like any other painted surface, may scratch over time!

Paint sits on the floor’s surface rather than soaking into the floor, so it wears away faster. If you take the correct steps to prep your flooring, it will last much longer than if you don’t! I’m okay with a few scratches on mine, so I like to touch it up every six months to a year.
The most durable paint product I have used for wood floors is C2 Cabinet & Trim Paint. It comes in multiple different sheens, and I opted for the satin finish. I recommend adding an extra “hardener” (Up to 10%) to the paint for durability. This product dries extremely fast, so you can walk on the floors within a few hours if needed, but I suggest you stay off for a few days.
It is easy to work with, durable and cleans nicely.
The best part is that you can do touch-ups and can hardly tell where you applied the new paint because the color stays the same.C2 Paint also makes a good primer. The primer from C2 does not dry as quickly and hard as the Zinsser primer I recommend below. However, the C2 primer is water-based, and the Zinsser is oil-based.
Here is the paint color coding I used on my floors. It is white with a warm grey tone. I still love this color!
Affordability of Painted Floors
There is no right or wrong time for painting your floors; however, if you are renovating a space and refinishing your floors is out of the question due to a limited budget, painting your floors can be an excellent way to save some money! It is an inexpensive alternative to replacing flooring, and there is much less work. Plus, leaving the floors in place means less waste in the landfill.

Do you love to DIY? See how I added this shiplap ceiling to my bedroom, or take a look at this easy DIY stair runner tutorial.
Painted Floors Design
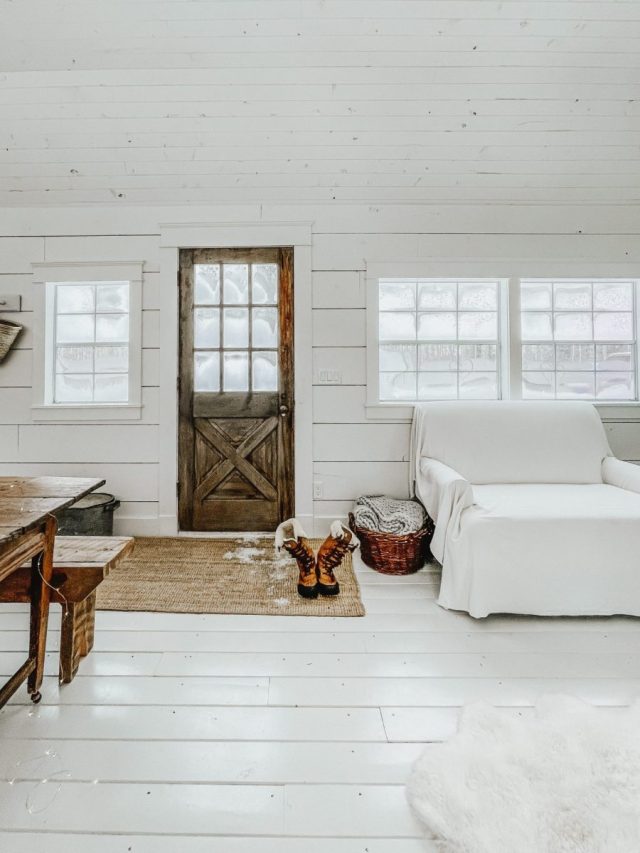
Painting floors a lighter color seemed to make the home require less home decor. Think of the room as a canvas; light walls and painted floors allow home decor pieces to stand out against the light-colored architecture! Every detail that goes into a room with white floors almost becomes amplified, thus making it even easier for the LESS, is MORE decor style!
You can use many different colors, patterns, and design options. A classic checkerboard look will brighten any space and give it a nostalgic feel. Perhaps you choose a picture frame style to add detail to your space. The design options are endless, and there are some great stencils and rollers you can purchase to make the job easier!

Choosing a Paint Colour for Floors
The paint color of the floor in a room contributes significantly to the overall feel of the space, and the shade you choose for the room’s walls can either magnify or balance the effect of the floor. You also want to consider the traffic volume and where the space will be located in the home!

For me, I didn’t want a pure white floor! I knew that dealing with two dogs and kids coming and going through the house, a pure white floor, would make me crazy! The custom light color I chose is a very soft grey and will not show nearly as much of the scuffs or dirt as a pure white! The custom color is the perfect light shade of grey! Here is the custom formula in the Benjamin Moore Solid Stain.

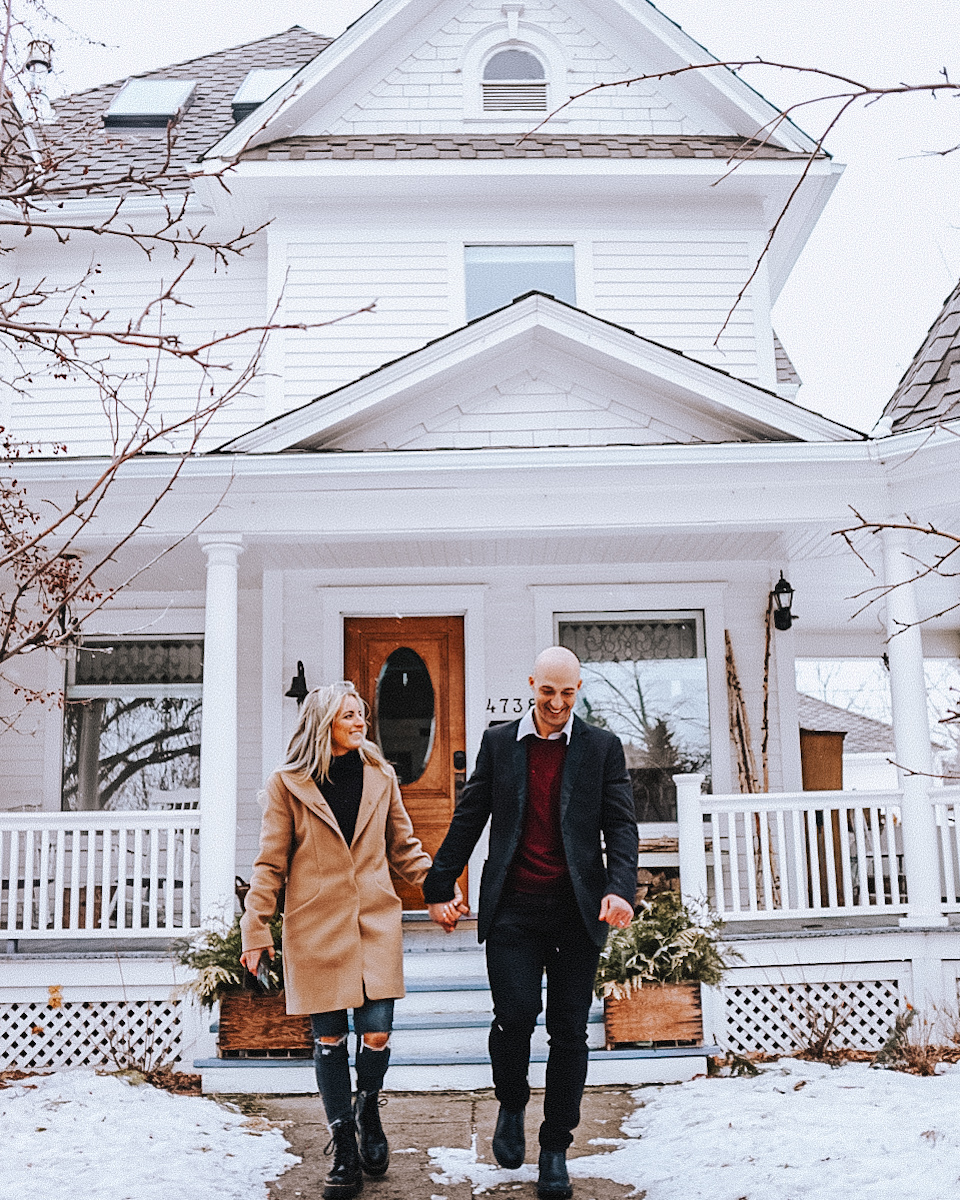
I’m always getting asked what my go-to color for the interior of my home is. I love Oxford White by Benjamin Moore, which is on the exterior and interior of my house. If you want more advice for picking out the perfect paint color, you can check out how to make the best home color selections.
Wood floors are very easy to paint, but the key is entirely in the prep! I still HIGHLY recommend getting a sample piece similar to your flooring before you fully commit to your actual floors.
You will need to remove all of your furniture from the space and be prepared not to use the room for several days while the coats dry. Again, you want to make sure you are prepared for this; otherwise, you risk chipping or scrapping your floors by using them too soon afterward!

How To Paint Wood Floors
Now that you have all the information you need, let’s dive into how to begin your floors.
Tools Used
- Paint Brush
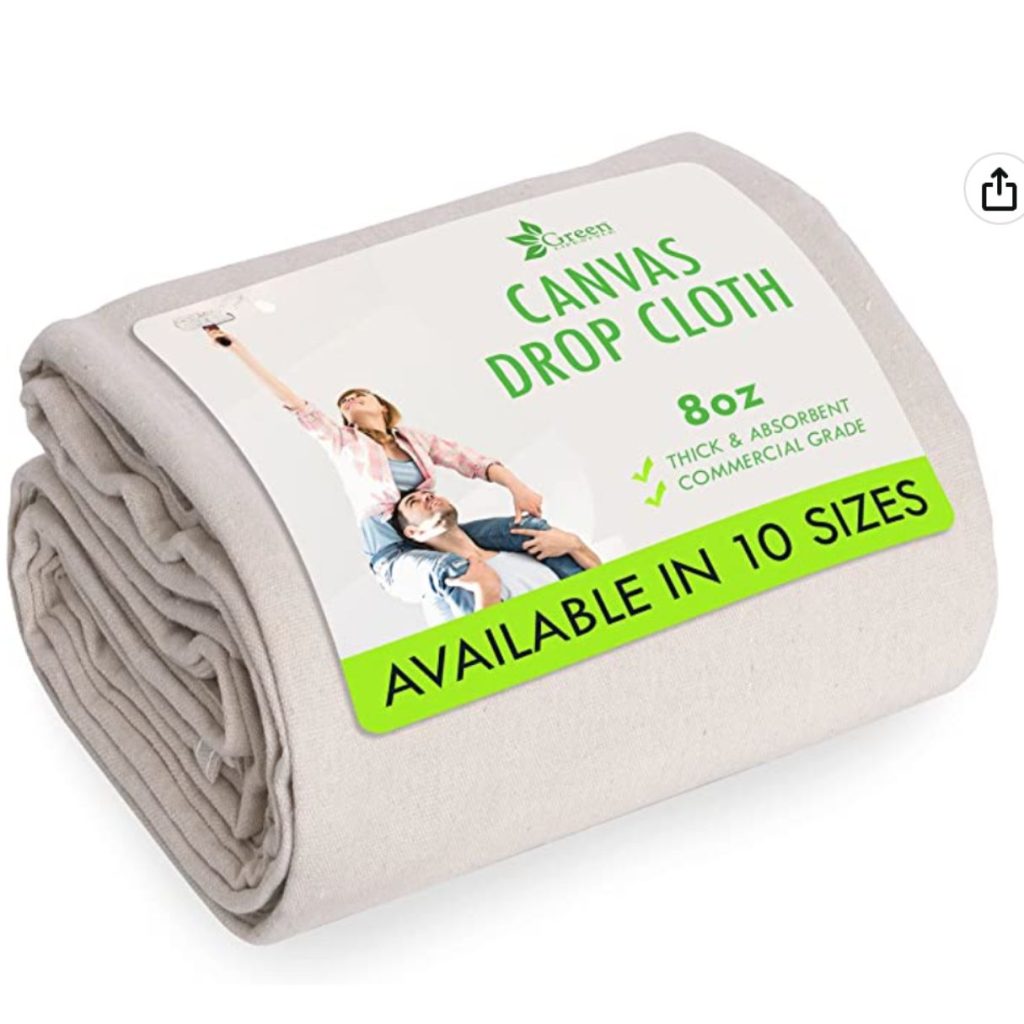
- Paint Roller set, lint-free with heavy coverage and an extender.
- Sanding Blocks, 60 grit to 120 grit.
- Vacuum Cleaner
- Floor Sander, optional
Shop Favorite Tools and Materials

Materials Required
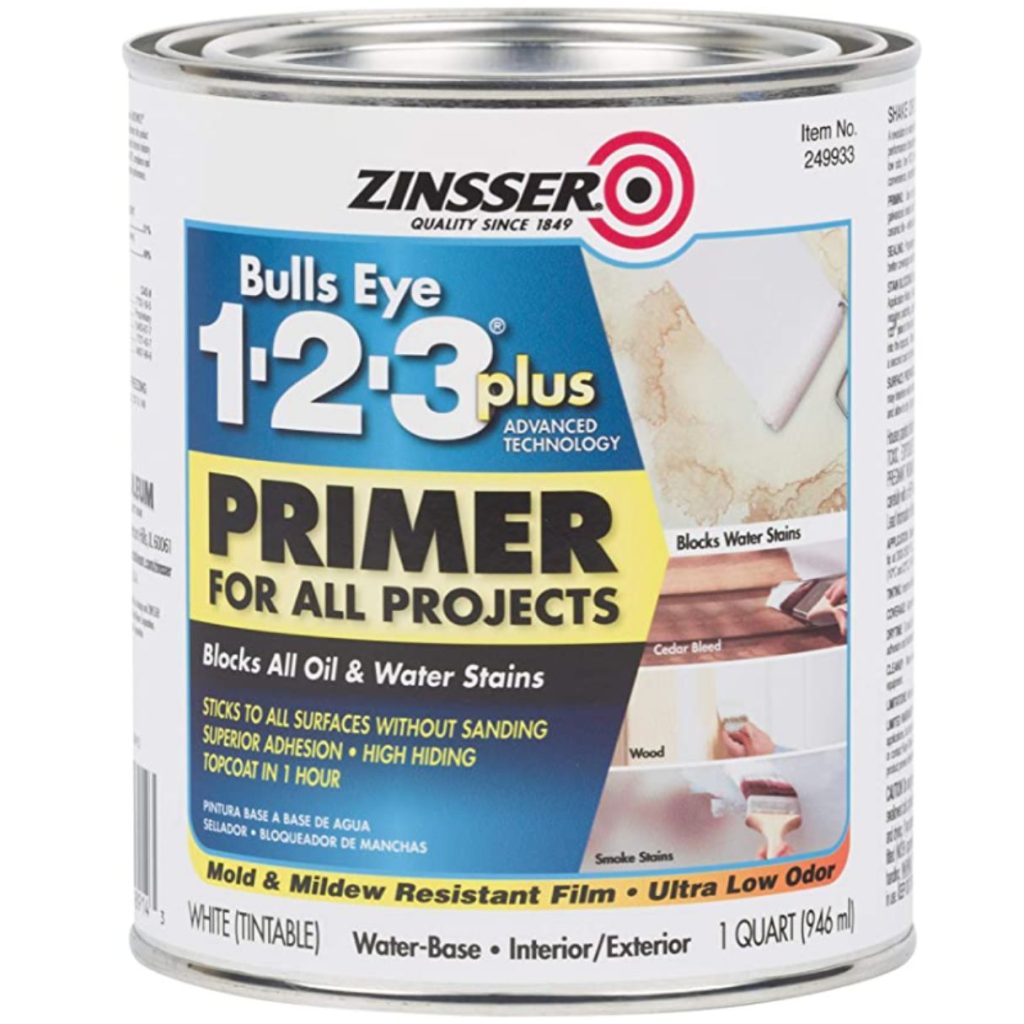
- Primer, my favorite is the shellac base from Zinsser.
- Solid Cabinet Paint with added Hardener or Floor Paint. I recommend C2 Cabinet and Trim paint!
- Polyurethane or Topcoat
Directions For Painting Wood Floors
Sand and Preparation
Lightly sand the floor using a belt or orbital sander and 60-grit sandpaper. If it is a large area, the best way to sand it is to use a drum floor sander. When painting a wood floor, it doesn’t need to be sanded down as much as a floor you are refinishing with stain and poly.
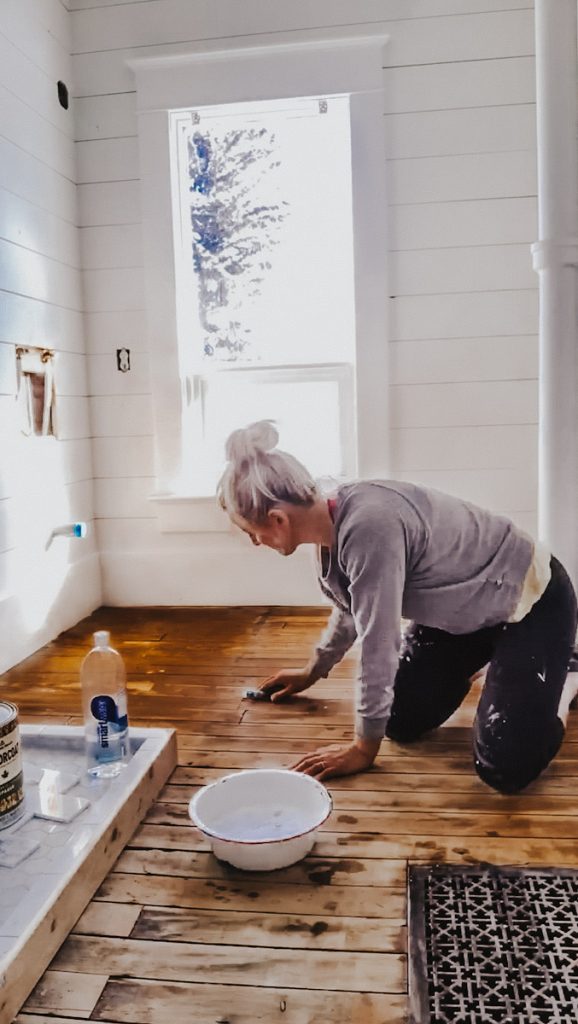
Clean, Vacuum And Repeat
Clean the area thoroughly! Vacuum the surface and wipe it with hot, soapy, clean water and a damp cloth. If you are refinishing an old floor, try to get everything out of the cracks between the boards in the existing wood floor! Otherwise, the debris will stick to your paintbrush or poly brush! Wipe with a dry towel and let the hardwood flooring dry thoroughly before you begin with the primer.
Apply The Primer
Apply a coat of primer to the surface of the wood planks. Allow the primer to dry completely.
I like to use Zinsser Shellac based Primer. Most primers require multiple coats to prevent the wood from bleeding through, but the Zinsser Shellac only requires one coat.
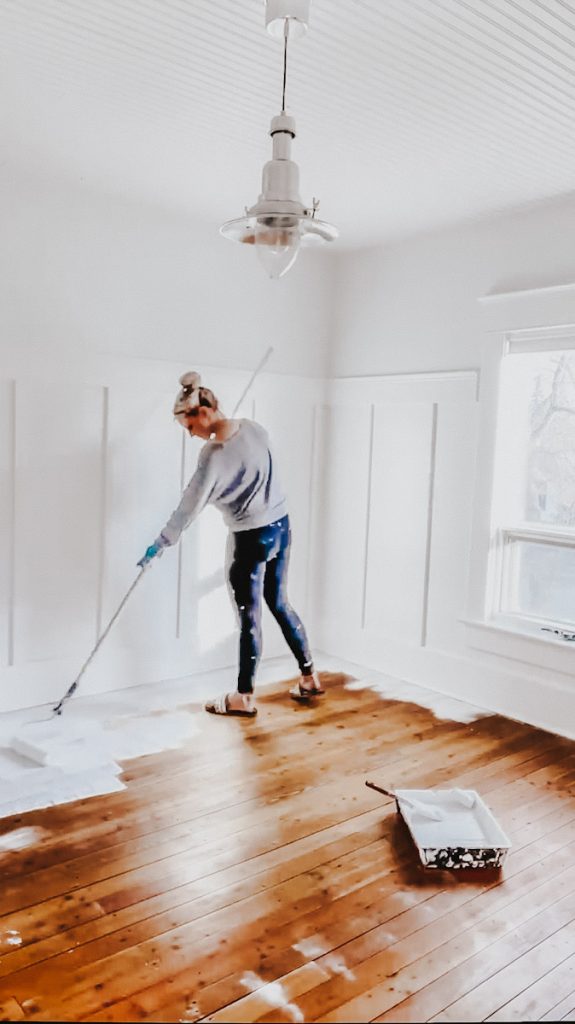
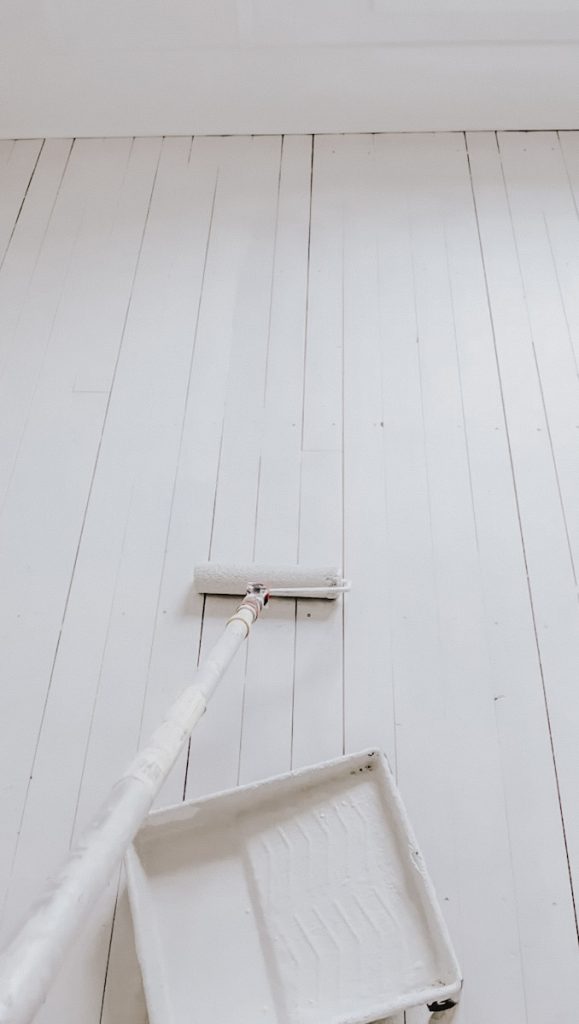
Paint Colour Application
Begin by applying the first coat of paint in the color of your choice in the direction of the wood grain. Allow the floor to fully dry before applying the second coat. For the best results, wait about 8 hours in between each coat. Use a paintbrush to cut in on the edges and corners, then a roller for the central part of the floor. Apply at least two coats of paint.
Optional if you use the C2 Cabinet Paint**
Final Coat Polyurethane
Apply a thin coat of poly to the surface. Again, let the coats of poly dry thoroughly before applying the next coat. For proper protection, apply at least two coats of poly. If you are painting a floor in a bathroom, kitchen, or laundry room, you can apply even more coats.
Curing For Painted Wood Floors
The cure time is quick when applying the product! In fact, you have to move quickly while applying it to ensure it doesn’t harden while you are still working with the paint or polyurethane. However, it is important to not walk on the floors for 8-12 hours after the final coat and to be as gentle on the floors for the next week or so. You won’t want a lot of foot traffic if possible.

Caring for Painted Wood Floors
Caring for finished floors is very simple! Most standard floor cleaning products will work on them, but I love a double-strength vinegar with essential oils and a mop to clean mine. Scuffs that appear can usually be wiped away easily with a Magic Eraser. Otherwise, these floors can be washed the same way as any other hardwood floor!
Tips and Tricks for Painting Floors
- One of the best pieces of advice is to keep a vacuum nearby. You almost vacuum as you go because pet hairs and dust appear continually throughout the process.
- Make sure to use a brush no bigger than the plank size for the best results.
- Use cabinet paint with an added hardener instead of floor paint. This saves a lot of time when you need to do touch-ups, as you don’t need to worry about a topcoat.

Removing Paint From Wood Floors
Painting your floors is not a forever or permanent commitment, contrary to what some may say!! As much as some people think it is taboo to paint over an original surface, if you don’t love it down the road, the worst-case scenario is to sand it off! (Believe me… I sanded off at least seven layers of old paint on different floors in this historic house.)
I hope this has answered all of your questions about painted wood floors! This truly is a DIY that even a beginner can take on and be proud of. Let me know what kind of flooring you want to paint! Feel free to leave a comment if you have any questions about the painted floors below!
Frequently Asked Questions
A question I used to ask myself all the time was… Can You Just Paint a Floor? The answer is ABSOLUTELY! Almost any wood, stone, cork, laminate, concrete, or any other type of flooring you can think of can be painted, BUT it’s very important to do the proper steps and preparation before you apply any paint! Make sure you have done your research and have the right products so that all your hard work isn’t peeling or flaking away after just a short period of time!
Sometimes, wood floors are painted due to their poor condition, and the planks are too thin to be refinished. Painting floors will not only help brighten a dark space, but it is also much more affordable and much easier for a homeowner to do than refinishing them. Perhaps you are short on time, or you just love the look. The reason you choose this style of floor is a decision that you need to make for yourself.
Over the years, I have tried many different types of products for painting floors! In the past, I have also finished my floors off by using a clear polyurethane or Harding top coat! I have recently found a cabinet paint product that includes a hardening agent, and that works much better! As a bonus, it also elements the time it takes to apply these last top coats!

want to save this recipe?
Enter your email & I’ll send it to your inbox. Plus, get great new recipes from me every week!
By submitting this form, you consent to receive emails from B Vintage Style.
How To Paint Wood Floors
Equipment
- Paint Brush
- Sanding Blocks 60 grit to 120 grit.Vacuum CleanerFloor Sander, optional
- Vacuum Cleaner
- Floor Sander optional
Materials
- 1 gal Primer shellac is best
- 1 gal Floor Paint any color
- 1 gal Polyurethane or Topcoat waterbased
Instructions
Sand and Preparation
- Lightly sand the entire floor using a belt or orbital sander and 60-grit sandpaper. If it is a very large area, the best way to sand the area is using a drum floor sander.
Clean, Vacuum And Repeat
- Clean the area thoroughly! Vacuum the surface and wipe it down with hot soapy clean water and a damp cloth. Wipe with a dry towel and let the hardwood flooring dry completely before you begin with the primer.
Apply The Primer
- Apply a coat of primer to the surface of the wood planks. Allow the primer to dry completely.
Paint Colour Application
- Begin by applying the first coat of paint in the colour of your choice in the direction of the wood grain. Allow the floor to fully dry before applying the second coat. For the best results, wait about 8 hours in between each coat.
Final Coat Polyurethane
- Apply a thin coat of poly to the surface. Again, make sure to let the coats of poly dry thoroughly before applying the next coat. Make sure to do at least 2 coats of poly for proper protection.
Notes
-
- One of the biggest pieces of advice is to keep a vacuum nearby. You almost vacuum as you go because pet hairs and dust seem to appear throughout the entire process continually.
-
- Make sure to use a brush no bigger than the plank size for the best results.
-
- Use cabinet paint with an added hardener instead of floor paint. This saves a lot of time when you need to do touch-ups, as you don’t need to worry about a topcoat.
In your a description it says to use a topcoat but then it also says that if you use the cabinet paint you don’t need a top coat? So the stop that recommends polyurethane topcoat is only if you’re not using a cabinet paint? Also if there are scratches in the floor do i need to sand them out completely to keep them from showing through or will the primer sink in to the scratches? Thanks! I’m getting ready to paint pine floors.
Thanks so much for the comment Genny! It is very exciting that you are taking on painting your floors! Don’t worry, it is a pretty easy DIY!
So, I have done it both ways, with a top coat and with the cabinet paint that already has a hardener in it. I do prefer the cabinet paint over the top coat for a few reasons. First, it is less work as you are done after the painting coats and don’t require any further steps. The second reason and probably more importantly, it is MUCH easier to touch up the scratches with cabinet paint. It can very difficult to match the color of the floor paint when using the top coat method as it does change over time and touching up with a top coat will also add an additional layer of product.
As for the scratches, if they are deep enough to bother you, then yes you will want to buff them out. If they are not very deep, the product will do a good job of hiding most of them.
Hi, is the Benjamin Moore floor color a stain or paint? Also do you use that color match that was from Benjamin Moore with the C2 paint? So you used Benjamin Moore paint on the floors or the C2 paint with the Benjamin Moore color match?
Hi there, The floor color is a custom color from BM. I have it matched and use a solid paint from C2 on the floor now with an extra hardener. Hope that helps.
Thank you for your response! Sorry about all the questions but do I just take that color match formula that’s shown on your Benjamin Moore can to Benjamin moore and they can match it with that same formula?
I ended up getting a sample of the custom color at Benjamin Moore but if I want to do my floors in that same color but In the c2 cabinet and trim paint, C2 can match the color from BM? I haven’t used them before but if That product would be better for painted floors then I want to try it but I like the custom light grey color.
Thank you so much for suggesting the C2 cabinet paint with added hardener. I have plywood plank flooring, and years ago I finished it with paint and topcoat, but that tended to yellow and also chip easily. I just redid it with C2 paint. Looks beautiful and it seems to be a much stronger finish.
I’m so glad that you found it and love it as much as I do. It is a wonderful, durable product that is so easy to work with.
Hi! Does all the c2 cabinet paint have the added hardener? Or do you have to especially ask for it to be added? Are there any other similar cabinet paints you recommend? (My closest c2 retailer is quite far away )
Thanks so much for the comment. Yes the C2 paint does have a hardener and I actually requested them to add the highest amount for my floors to help with durability even more! I hope that helps!
Love your blog!!
We are in the process of building a weekend getaway bunkie in Ontario.
Can I ask what the material/ wood you used for your wood floors in your cabin?
I love the look and thinking of doing the same as you with painted wood floors.
Huge thanks ?
Thank you so much for the comment. That’s is very exciting about your new build. I used a pine C-Groove floor at the cabin. It was very affordable however, it does have some pretty big grooves so it can collect some dust and debris. I have more about the floors over in this post.
https://www.bvintagestyle.com/tiny-house-living-off-grid/
Good luck and let me know if you have any other questions.
What finish is your paint-satin?
Hi there, I went with a semi gloss finish as it doesn’t show as much for scratches and marks etc.
You mention adding an extra hardener to the c2 paint but you don’t specify what kind and if you added it yourself or got the people where you bought the c2 paint from to do it.
Hi there. Yes, the C2 specialist will add it for you at the paint location. :0