This post may contain affiliate links. Please read our full Disclosure Policy.
Are you thinking of adding shiplap to a bathroom? Shiplap is a popular design element that has been used for years in home interior design. It is a type of wooden board that is often used to create rustic, farmhouse looks in homes. However, shiplap has become increasingly popular in bathroom designs in recent years.
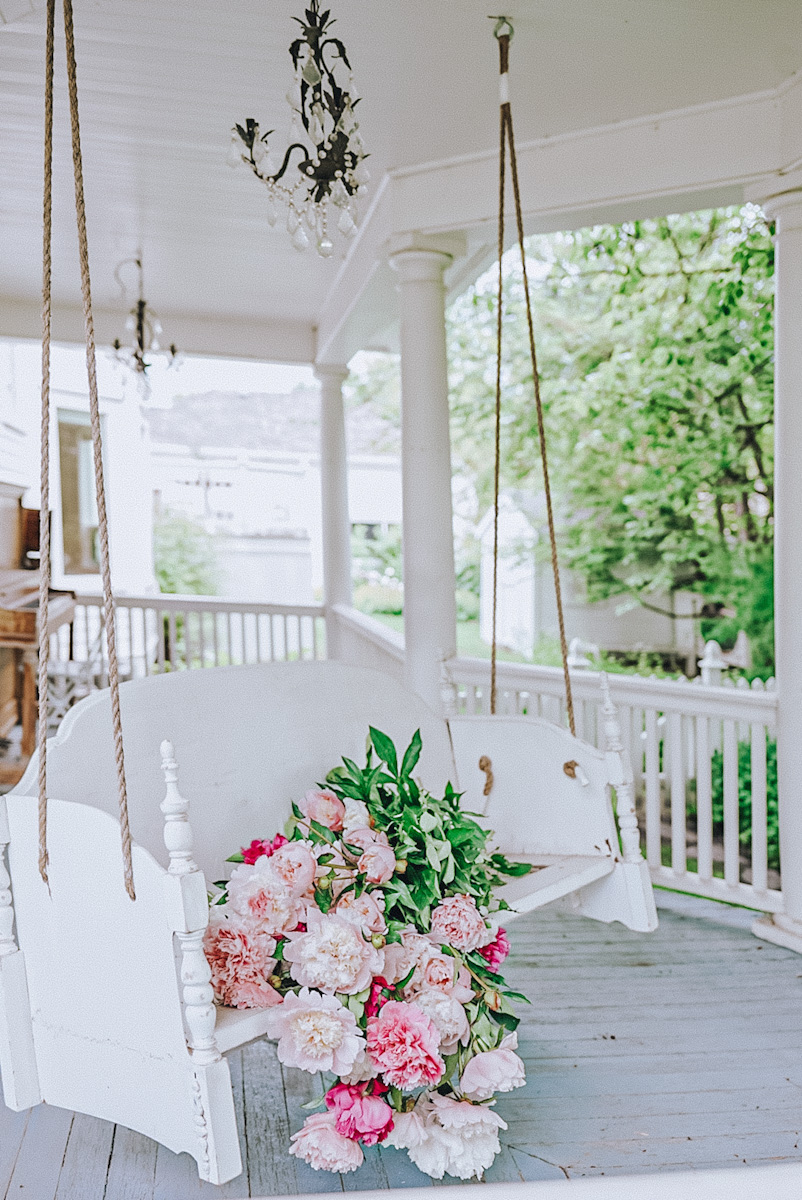
If you are new around here, in the last ten years, I have slowly renovated our Victorian home that was built in 1903. It is a big, beautiful house with great bones, but it needed some major TLC in the aesthetics department. I wanted to stay true to the home’s style and age, and the classic white shiplap look fit that completely.
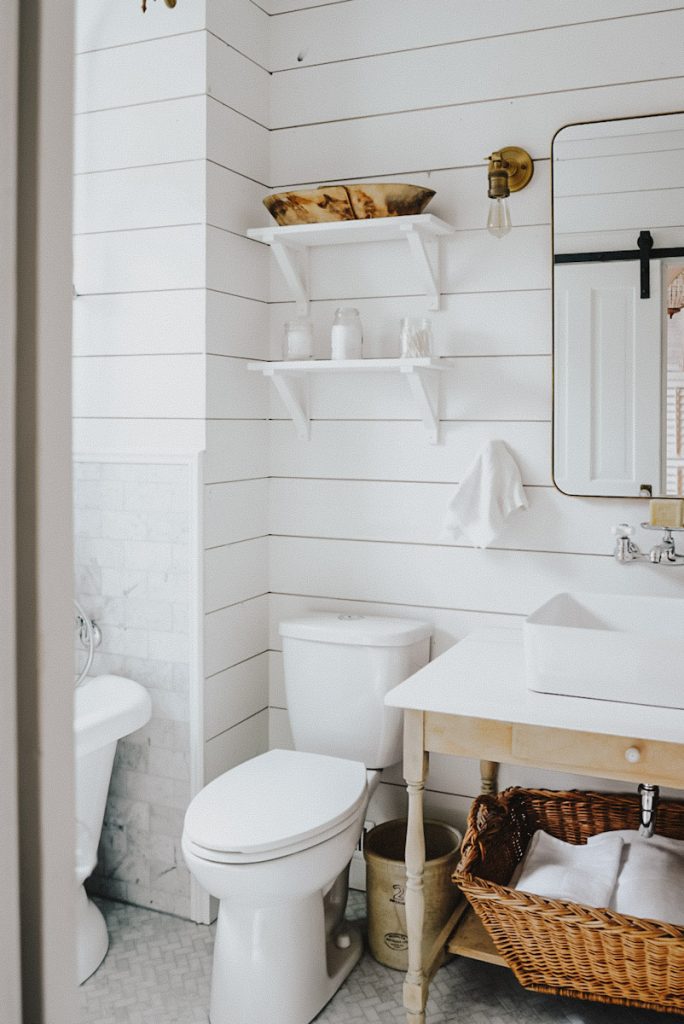
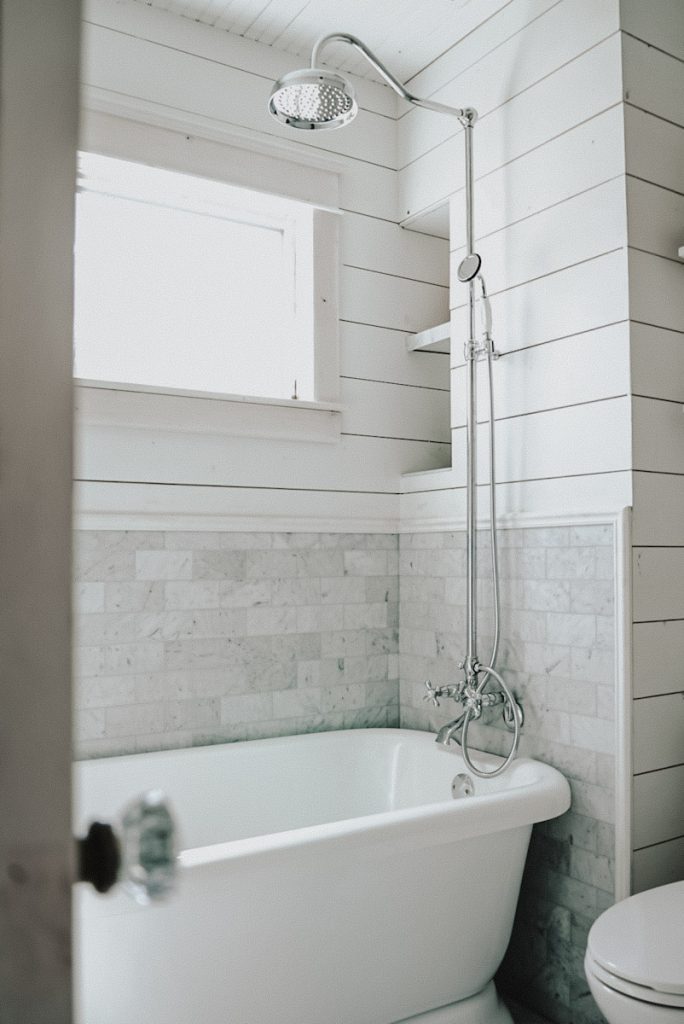
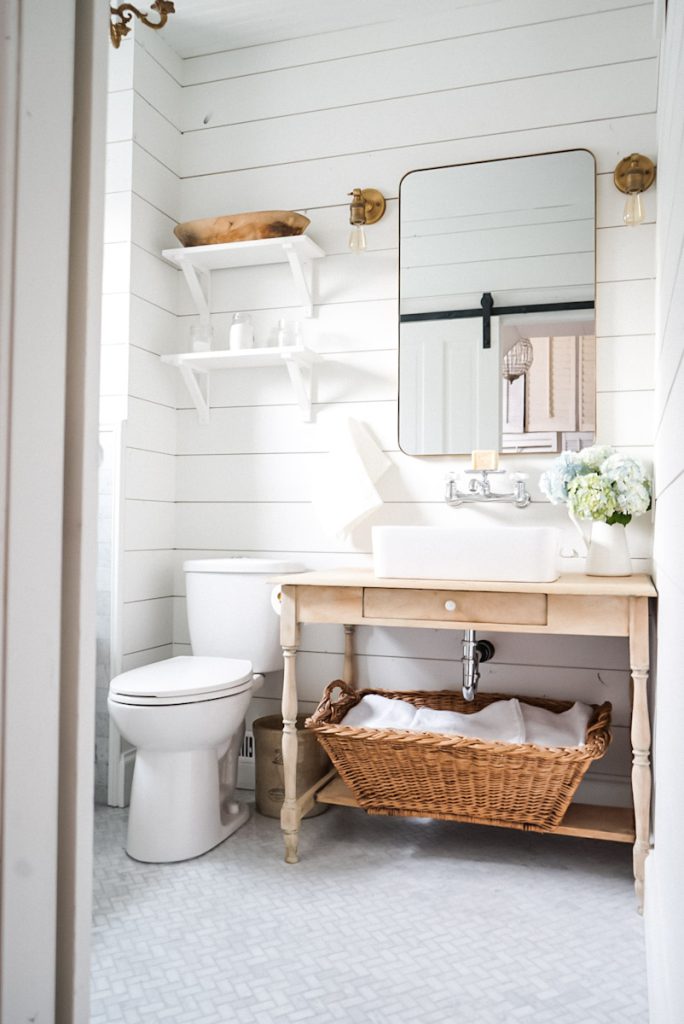
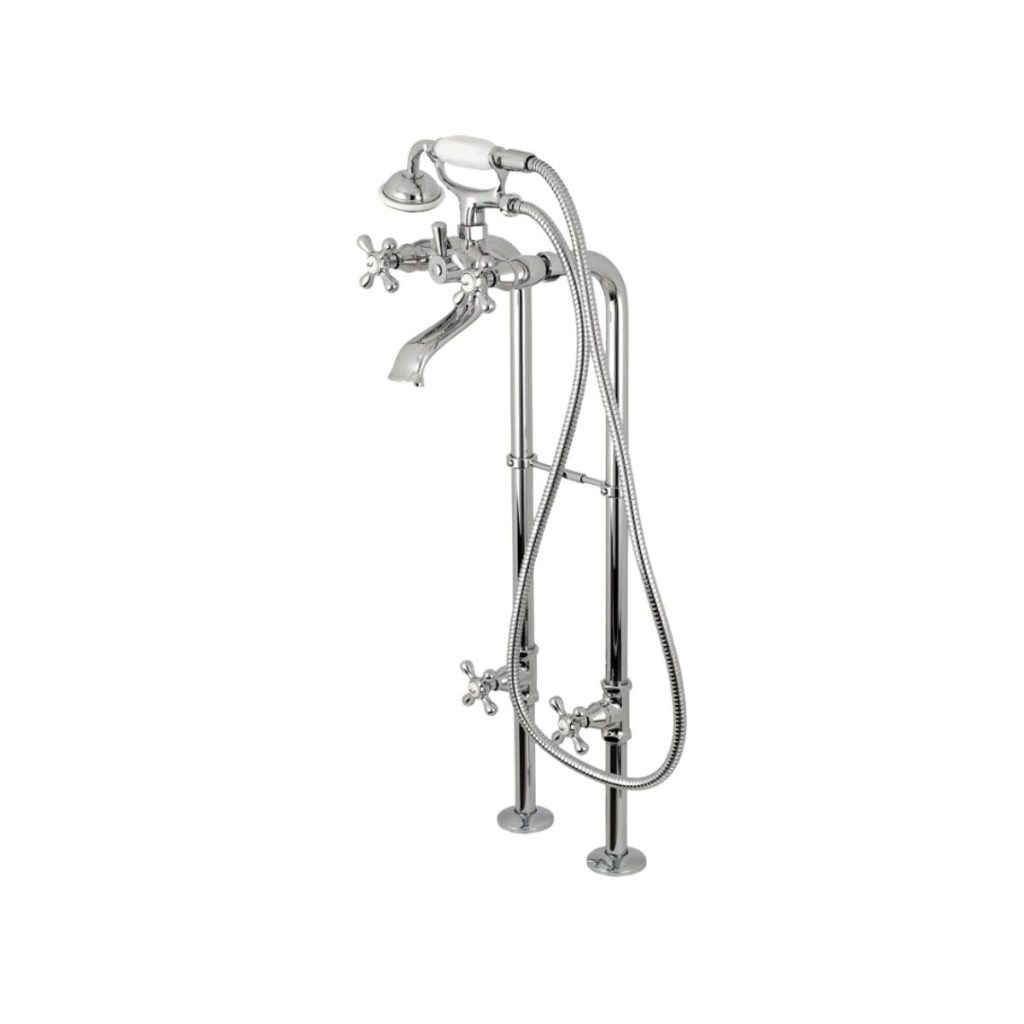
We have added it to many of the spaces, and the main floor bathroom makeover was among those areas. The horizontal shiplap look was perfect for our small space, and we added white shiplap boards to the entire bathroom. I love the clean lines of the shiplap next to our freestanding tub.
What is Shiplap?
Shiplap is a type of wooden board that has grooves cut into the top and bottom of its long sides. These grooves allow the boards to fit together tightly, creating a flat surface with a recessed channel between the boards. Originally, shiplap was used as an exterior siding (clapboard siding) for construction purposes, particularly on outdoor buildings, sheds, and barns.
In recent years, shiplap has become a popular wall treatment for interior design. The look has very distinctive lines and texture, similar to wood lath found in old homes, and can add character and warmth to any room, from modern to farmhouse-style. When installed correctly, shiplap can be excellent in bathrooms, where it can protect the walls from moisture and mold issues.
Although shiplap can be purchased premade, it is straightforward to build too. We have milled our own for multiple projects, and with a bit of elbow grease and the right tools, it is a very simple DIY project.
Why Use Shiplap in a Bathroom?
When we decided to renovate the bathrooms in this house, I did a lot of research on adding shiplap to a bathroom. I loved its versatility and aesthetic appeal; however, I wanted to ensure it was a “smart” choice. Here are a few reasons why you should consider using shiplap for your bathroom remodel or project:
- Water-resistant: Bathrooms are high-moisture areas, and shiplap is an excellent choice because it is water-resistant. When properly installed, shiplap can withstand the humidity and moisture that bathrooms produce.
- Easy to clean: Shiplap is easy to clean, making it an ideal bathroom choice. A simple wipe-down with a damp cloth is all that is needed to keep shiplap looking clean and fresh.
- Enhances the overall look: Shiplap adds a touch of warmth and texture to any bathroom. It can be used as an accent wall, on the ceiling, or as wainscoting. Shiplap can be painted in any color to match your bathroom decor.
Preparing the Bathroom for Shiplap Installation
If you have read this far, hopefully, you have decided that the shiplap bathroom walls are a great addition to your space. Here are the simple steps I use to install DIY shiplap in my bathrooms:
Choosing the Right Shiplap Material
Before you begin installing shiplap in your bathroom, it’s important to choose the right material. Several options include classic pine, white-washed pine, cedar, PVC shiplap, and vinyl shiplap. Each material has advantages and disadvantages, so it’s essential to consider the specific needs of your bathroom.
Classic pine is a popular choice for shiplap, and we chose it because it is affordable and easy to work with. White-washed pine is a good option for a more modern or beachy look. Cedar is a durable and moisture-resistant material that is perfect for bathrooms but can be a more expensive option.

PVC shiplap is a great option if you want a low-maintenance and long-lasting material; however, I don’t recommend it for a bathroom. PVC shiplap will warp and swell with moisture, making it a terrible option for a bathroom. It also doesn’t give the authentic feel of old shiplap if that is important to you like it was for me. Vinyl shiplap is another low-maintenance option that is easy to clean and install but doesn’t look as authentic or attractive as wood shiplap.

If you choose to go with a wood shiplap, bring it into the space for a few weeks to acclimate and adapt to its moisture content. This will minimize the amount of ‘shrinkage’ once it has been installed on the wall.
Measuring the Bathroom
Measure twice… cut once! Before you start your shiplap project, you need to measure the walls of your bathroom. It’s a good idea to have already determined if you want vertical shiplap or horizontal and if you will add shiplap to a half wall or the entire wall. This will help you know how much shiplap you need to purchase. Be sure to measure each wall’s height and width, and consider any obstacles, such as windows or doors.

I recommend purchasing or making a bit more shiplap than you need. It is better to have too much than to run out. If you need help determining how much space you need, consult the manufacturer’s instructions or talk to a professional.
Removing Old Wall Coverings
If you have old wall coverings, such as wallpaper or tile, you must remove them before you begin the shiplap application. We had to tear down the walls in both bathrooms, which we refinished with shiplap. It seems like a lot of work, but fixing the ‘bones’ is much easier before you start installing.

Use a scraper or putty knife to remove any loose or peeling wallpaper. If you have tile, use a hammer and chisel to break it up and remove it from the wall.
Once you’ve removed the old wall coverings, you’ll need to repair any damage to the wall. Use spackle, dry compound, or joint compound to fill in any holes or cracks and smooth the wall. I know this is a lot of work, but this will ensure that your shiplap installation goes smoothly and looks great.
Best Paint for A Shiplap Bathroom
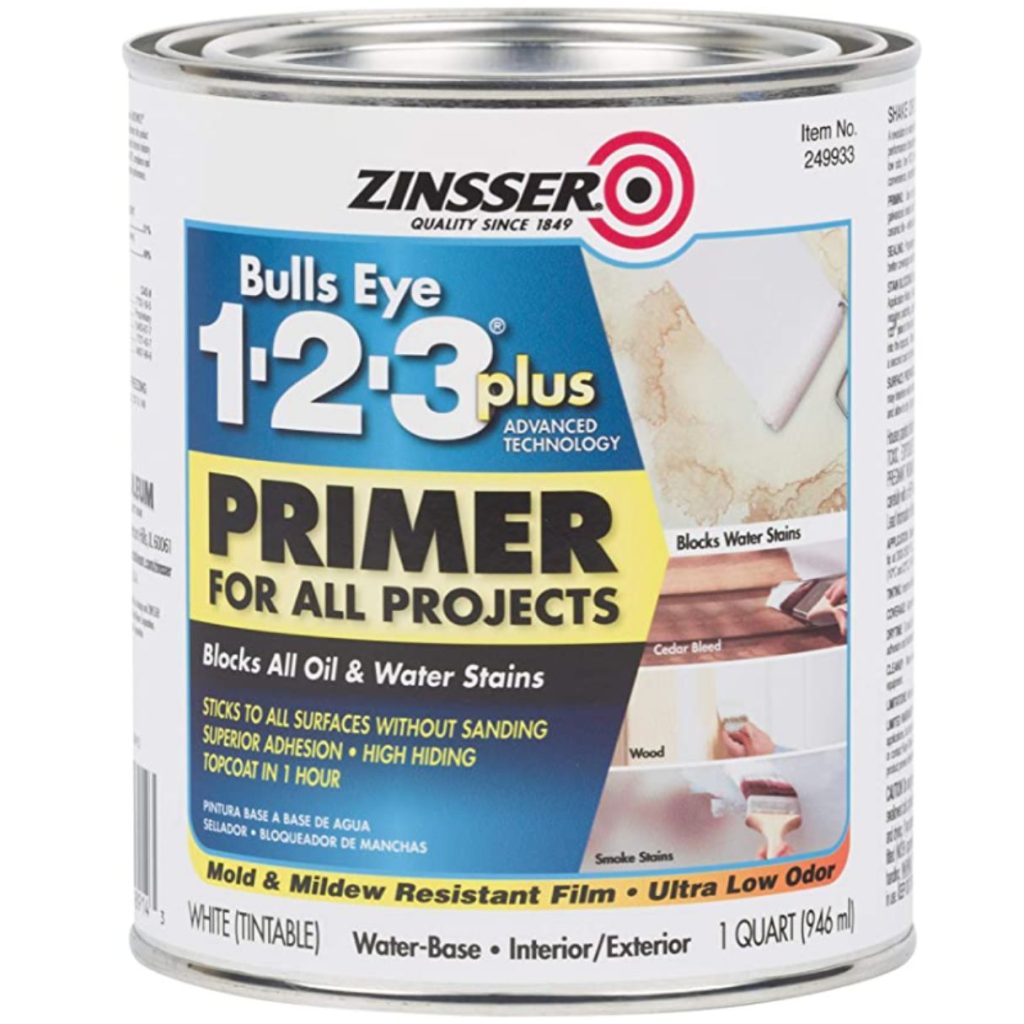
Primer
Now that you have decided on the type of shiplap and how much you need, you must decide on a paint product. I LOVE using Zinsser Shellac primer for all of my painting projects. Whether it is painting floors or walls or installing a shiplap ceiling, I always prime with this product first! It is a bit runny and not the easiest to work with, but it helps the paint products last longer!
Stain
If you are installing a wood shiplap, I strongly recommend using an outdoor solid stain instead of paint! It holds up to the humidity much better than paint. The binding resins in an outdoor stain will hold up better to a bathroom’s water and extra humidity. It will also adhere better to the wood than paint on the shiplap’s surface.

Paint
For MDF shiplap, or if you decide to use paint instead of a stain, I still recommend using an outdoor product for additional durability. Oxford White by Benjamin Moore is my “go-to” color for the white shiplap walls in our small bathroom. I used it as the color for both the trim and wall color.
Installing Shiplap in a Bathroom
Now that you have chosen the best type of material and prepared your space for installation, here is the best way to add shiplap in a bathroom.
Tools and Materials Needed
Before installing the shiplap in your bathroom, you must gather the necessary tools and materials. Here is a list of what you’ll need:
- Shiplap boards
- Nails or screws
- Drywall Compound
- Level
- Tape measure
- Saw (circular or miter)
- Paint or solid stain and primer
- Paintbrushes and rollers
- Sandpaper
- Caulk and caulk gun


Visiting from Canada, shop the DIY supplies here.
Cutting and Fitting the Shiplap
Once you have all the necessary tools and materials, it’s time to start cutting and fitting the shiplap. Here are the steps to follow:
- Measure the walls where you want to install the shiplap and calculate how much wood you need.
- Cut the shiplap boards to the appropriate length using a saw (circular or miter).
- Sand down any rough edges or splinters on the boards.
- Test fit the boards on the wall to ensure they fit correctly and make any necessary adjustments.

Installing the Shiplap on the Bathroom Walls
Now that you have the shiplap boards cut and fitted, it’s time to install them on the bathroom walls. Here are the steps to follow:
- Starting at the bottom of the wall, nail or screw the shiplap boards into place, using a level to ensure they are straight.
- Continue installing the boards, leaving a small gap between each to allow for expansion and contraction.
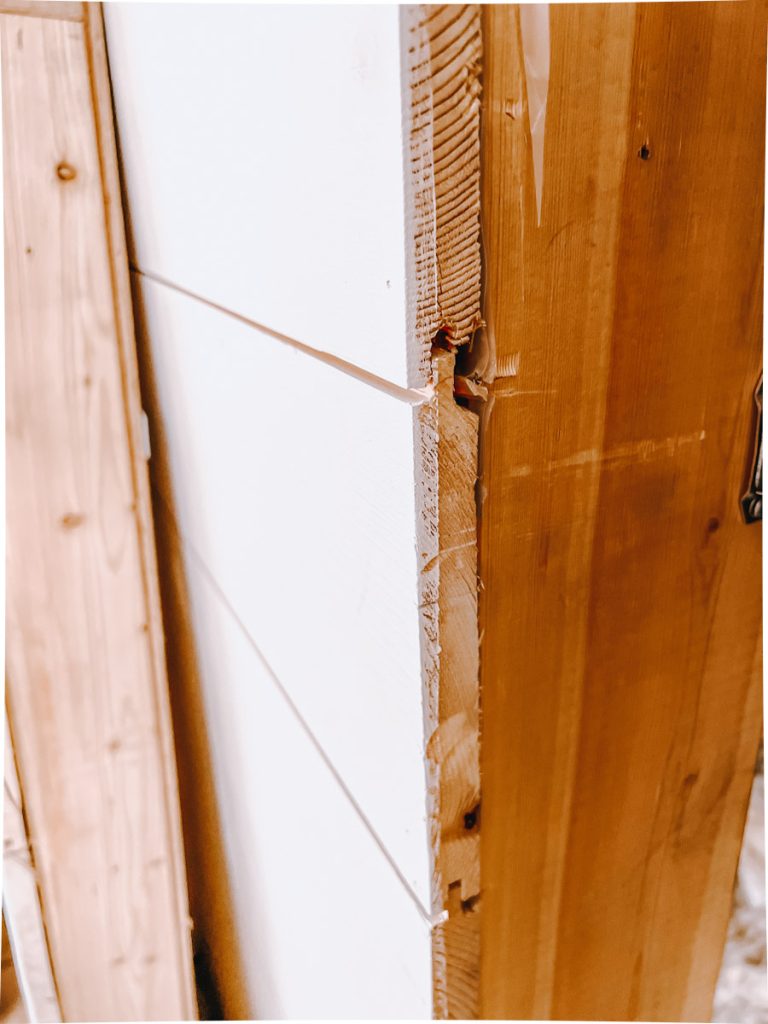
- Once all the boards are installed, use caulk to fill in any gaps between the boards and the wall.
Sanding the Shiplap
Before sanding and painting the shiplap, ensure all nail holes are filled with wood filler.
- Sand the shiplap with 220-grit sandpaper to remove any rough spots or bumps.
- After sanding, clean the shiplap with a damp cloth to remove dust or debris.

Priming and Painting Bathroom Shiplap for Moisture Resistance
Sealing or priming the shiplap is vital to prevent moisture from penetrating the wood and causing damage or mold growth. When painting the shiplap, use a high-quality interior paint with a wipeable finish specially formulated for bathrooms to prevent mold, and mildew growth, or try using an outdoor stain.
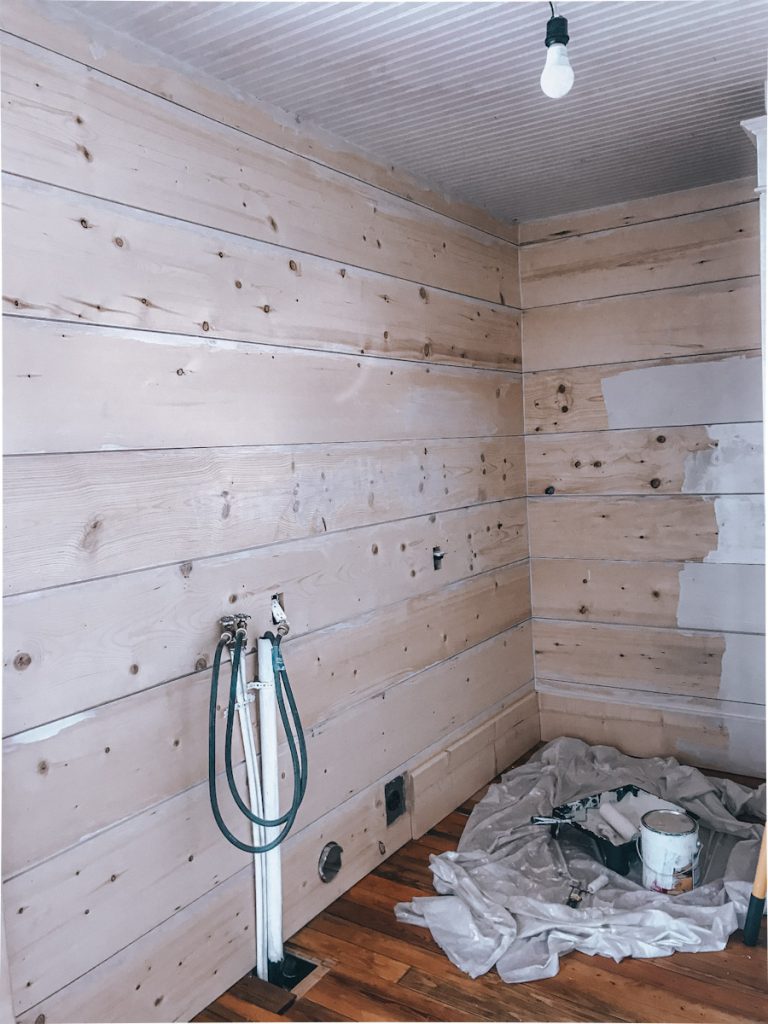
- Use a brush or roller to apply a clear sealer or primer to the shiplap to protect it from moisture and let it dry completely. I usually apply primer to all the shiplap boards before installing them. If you decide to prime and paint while the shiplap is already installed, at least take the time to paint the sides of the boards that will notch together. This can be tricky to paint once the boards are installed, so save yourself the headache and do it ahead!
- Paint the boards with your desired color and let them dry completely. I prefer using a solid outdoor stain on shiplap in the bathrooms instead of a paint product. The solid stain is more durable and holds up well to the increased humidity.
- Apply two coats of paint, allowing each coat to dry completely before applying the next one.
Maintaining proper ventilation in the bathroom is also essential to prevent moisture buildup. Use a vent fan or open a window during and after showering to allow moisture to escape.
Adding Trim and Caulk
Adding trim to the shiplap can give it a more finished look. Choose a trim that complements your bathroom style and install it around the edges of the shiplap. I matched the height of the rest of the trim in my house and used a simple trim profile.
- Use a nail gun to attach the trim to the wall.
- After installing the trim, fill gaps or seams with caulk to create a seamless finish.
- Use a caulk gun to apply it and smooth it out with a damp finger or a caulk smoothing tool.
Tips and Tricks for Maintaining Shiplap in a Bathroom
Maintaining shiplap in a bathroom can be challenging due to the space’s high humidity levels and water exposure. Here are some tips to help you keep your shiplap looking great:

- Seal the wood: Before installing shiplap in your bathroom, seal the wood with a water-resistant sealer or primer. This will help protect the wood from moisture and prevent it from warping or rotting.
- Use mold and mildew-resistant paint: Choose a paint that is specially formulated for high-humidity environments like bathrooms. These paints are designed to resist mold and mildew growth, a common bathroom problem.
- Wipe down the shiplap regularly: To prevent water damage and mold growth, it’s important to wipe down your shiplap regularly with a damp cloth. This will help remove any moisture that may have accumulated on the surface.
- Avoid harsh chemicals: When cleaning your shiplap, avoid using harsh chemicals that can damage the wood. Instead, use a mild soap and water solution to clean the surface.
- Repair any damage promptly: If you notice any damage to your shiplap, such as warping or cracking, repair it promptly. This will help prevent further damage and prolong the life of your shiplap.
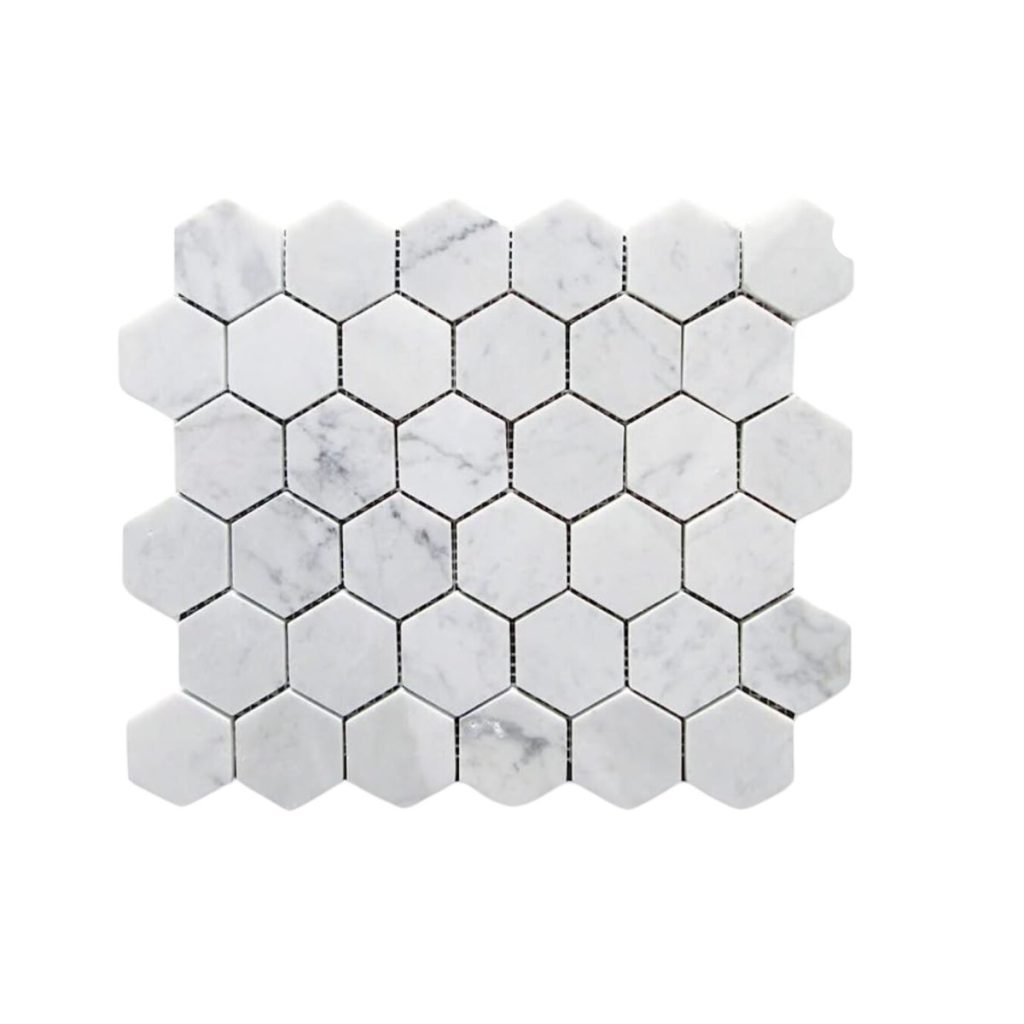
Shop The Bathroom
You can shop everything in my bathroom and more in my online Shop or by clicking the links below. If you are visiting from Canada, check out my Canadian Shop too.


More DIY Projects
That’s a wrap! I hope you found this helpful when deciding on shiplap in a bathroom. For more DIY and home renovation projects, take a look at the following:
- How to Make a DIY Ceiling Mounted Clothes Drying Rack
- How To Paint Wood Floors In 5 Steps
- How To Make A DIY Stair Runner
- Scandinavian Kitchen Design
Frequently Asked
Shiplap can be a great option for a bathroom, but it’s important to choose the right type of wood and finish to ensure that it can withstand the moisture and humidity of a bathroom environment.
I highly recommend choosing a wood that is naturally resistant to moisture, such as cedar, teak, or redwood. These woods are less likely to warp or rot in a humid environment.
Not if it is installed correctly and maintained properly! Shiplap can be a great option for a bathroom as long as you choose the right type of wood and finish, properly ventilate the bathroom, and seal any gaps or joints. With proper installation and maintenance, shiplap can add a beautiful and rustic touch to your bathroom.
want to save this recipe?
Enter your email & I’ll send it to your inbox. Plus, get great new recipes from me every week!
By submitting this form, you consent to receive emails from B Vintage Style.

Shiplap Bathroom Ideas and Install Guide
Equipment
- Saw (circular or miter)
- Paintbrushes and rollers
- Sandpaper
- Caulk and caulk gun
- Tape Measure
- Level
Materials
- Shiplap boards
- Nails or screws
- Drywall Compound
- Paint or solid stain and primer
Instructions
Cutting and Fitting the Shiplap
- Measure the walls where you want to install the shiplap and calculate how much wood you need.
- Cut the shiplap boards to the appropriate length using a saw (circular or miter).
- Sand down any rough edges or splinters on the boards.
- Test fit the boards on the wall to ensure they fit correctly and make any necessary adjustments.
Installing the Shiplap on the Bathroom Walls
- Starting at the bottom of the wall, nail or screw the shiplap boards into place, using a level to ensure they are straight.
- Continue installing the boards, leaving a small gap between each to allow for expansion and contraction.
- Once all the boards are installed, use caulk to fill in any nail holes if desired.
Sanding the Shiplap
- Sand the shiplap with 220-grit sandpaper to remove any rough spots or bumps.
- After sanding, clean the shiplap with a damp cloth to remove dust or debris.
Priming and Painting Bathroom Shiplap
- Use a brush or roller to apply a clear sealer or primer to the shiplap to protect it from moisture and let it dry completely.
- Paint the boards with your desired color and let them dry completely.
- Apply two coats of paint, allowing each coat to dry completely before applying the next one.
Adding Trim and Caulk
- Use a nail gun to attach the trim to the wall.
- After installing the trim, fill gaps or seams with caulk to create a seamless finish.
- Use a caulk gun to apply it and smooth it out with a damp finger or a caulk smoothing tool.
Notes
Tips and Tricks
- If you are using wood shiplap, it is a good idea to have the boards for your project arrive early so that you can have them adjust to the moisture content in the space prior. Have them stay in the space for 2 weeks to a month ahead.
- Pre-paint and prime the shiplap prior to installation. This will save a lot of time trying to paint in between the boards once they are installed.
- Fill the seams between the boards if desired.