This post may contain affiliate links. Please read our full Disclosure Policy.
Refinishing wood furniture is a satisfying project that enhances its beauty and prolongs its lifespan. Restoring older or worn pieces can be a budget-friendly and eco-friendly option compared to purchasing new furniture. In this step-by-step guide, you will learn how to refinish wood furniture.
I have always loved one-of-a-kind, handmade antique furniture more than modern-day mass-produced pieces. There is just something special about knowing that one person put some of themselves into that cabinet or hutch that just sits well with me.
That is why I would rather repurpose or refinish an old piece of furniture over the years than buy a new one. In fact, I used to own a small antique shop years ago where I would refinish beautiful pieces I would find at garage sales or estate sales and then sell them in my shop.
I have extensive experience refinishing furniture over the years, so I am excited to share my tips and tricks with you. Let’s explore everything you need to know about refinishing wooden furniture.
Why Refinish Wood Furniture
Refinishing wood furniture is often done to restore its appearance and functionality. Over time, wood furniture may become worn, scratched, or damaged, losing its original beauty. Refinishing allows you to repair any damage, remove old finishes, and apply new ones, revitalizing the piece and extending its lifespan.
It’s a cost-effective and sustainable alternative to replacing furniture and can result in a renewed and refreshed look for your home decor.
Different Wood Furniture Finishes
There are a few different ways to refinish wood furniture:
Painted Furniture
Painted furniture provides a colorful and opaque finish, concealing imperfections and adding a modern or vintage look. If you are taking on a painted piece, you can follow this complete guide to painting furniture.
Staining
Adding stain as a finish enhances the natural grain and color of the wood, offering a rich and warm appearance.
Varnish Or Lacquered Wood Furniture
Lacquer or varnish is a traditional type of wood furniture finish that offers durable protection against moisture, scratches, and wear, providing a glossy or matte finish. It often provides a hard and glossy finish and is often used for a sleek and modern look.
Oil Wood Finish
In this method, the oil penetrates the wood to nourish and protect it, enhancing its natural beauty with a subtle sheen.
Wax
Using wax on wood furniture adds a soft and lustrous finish, offering protection while preserving the wood’s texture and character.
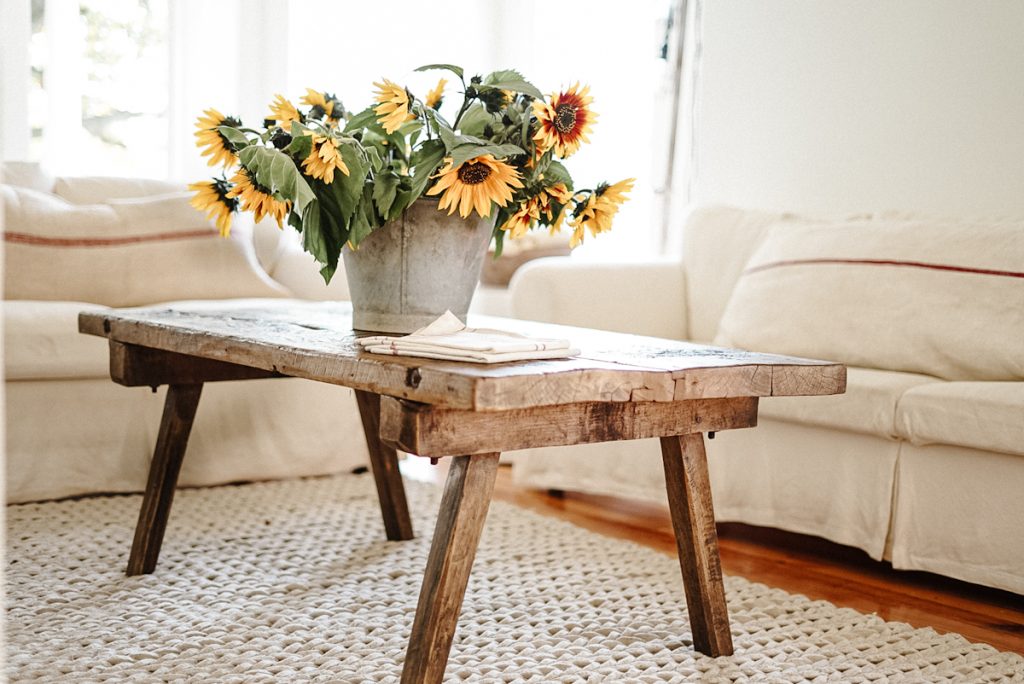
Furniture Raw Wood or Natural Wood Finish
A natural wood finish on furniture leaves the wood untreated and in its natural state, showcasing its original color and texture. Raw wood furniture can be left bare, or a clear sealant or oil can protect the wood while preserving its natural appearance, enhancing its grain and warmth.
Paint Stripping vs. Sanding Wood Furniture
Now that you know all the different furniture refinishing methods, it is important to decide how you will remove the old product, dirt, and grime from the furniture piece. Here are the pros and cons of using a paint stripper versus sanding off the old product.
Pros and Cons of Paint Stripping Wood Furniture
Paint stripping involves applying a liquid or gel chemical product to the old finish, varnish, or paint. In many cases, paint stripping is faster and safer than sanding a piece of furniture.
However, wearing the proper protective gear, such as masks, gloves, and protective eyewear, is important. If the paint stripper touches any part of your body, flush it immediately with water to prevent a chemical burn. Sometimes, it can be very difficult to remove all the products using a paint stripper alone.

Learn how to get an antique finish on galvanized metal in a few simple steps.
Pros and Cons of Sanding Wood Furniture
Sanding old varnish or paint can be extremely time-consuming, not to mention DIRTY! Sanding a piece of furniture can sometimes require multiple grits and pieces of sandpaper, resulting in quite an expense.
It is also VERY important to wear the proper protective gear, especially eyewear and masks. However, sanding is the best option to remove all the paint.

Materials & Power Tools Required
- A beautiful piece of wooden furniture, any wood will do.
- Damp Cloth or Paper Towel or Lint Free Rags (You will want something lint-free)
- Gel-Based Paint Stripper or Oven Cleaner.
- Steel Wool
- 60-Grit Sandpaper
- 120-Grit Sandpaper
- Orbital Sander
- Mouse Sander
- Stiff Bristled Brush or Dry Paint Brush
- Clear Wax
- Spray Polyurethane or Liquid Polyurethane
- Danish Oil or Linseed oil or Teak oil or Hemp Oil (Wood Conditioner)
- Protective eyewear
- Rubber gloves
Preparing Wooden Furniture for Refinishing
1) Clean the Wooden Furniture Piece
Nothing crazy; a quick once over with a damp cloth will do. Unless the piece needs more, just a quick wipe will do.
2) Paint Stripper, if Necessary
As much as I hate this stuff, it really does speed up the refinishing process! The good news is that the stripper does all the heavy lifting for you and will cut your sanding time down a lot.
PRO TIP* I prefer a gel product that you can cover with plastic wrap or cellophane and let sit for 5-10 minutes before scrapping off with a putty knife or blade, but I have also used foaming oven cleaner in the past, and it works great, too.
Step by Step Directions for Refinishing Wood Furniture
3) Sand the Body of the Piece
For the larger areas on the wooden furniture, it is best to use 60-grit sandpaper with an orbital sander. The key is ensuring the sandpaper is not overused or crammed. It might cost a bit more in sandpaper to replace it more often, but it’s totally worth it in terms of your time and elbow grease.
4) Sand the Tricky Areas of the Furniture
Again, use 60-grit sandpaper with a mouse sander. This is my favorite sander as it isn’t as easy to damage the piece with it, and it gets into those corners so much better than an orbital sander can.
Do your best to clean the corners, but I am not picky if I miss a bit. I feel like you can get away with a bit of color variation if you have an old piece. If you can’t remove it all, try using a gel stripper and a pointed tool to remove the remainder if necessary.
5) Dust and Clean the Wood
Next, use a stiff-bristled brush to dust all the leftover sand or dust off the fine dust, and use a damp cloth or rag to wipe the piece down. This is VERY important if you are going to seal the wooden piece with a product.

How to Seal and Protect Wooden Furniture
6) Wax or Spray Finish your Furniture
It is a good choice to use spray polyurethane, brush polyurethane, or clear wax on the top of the piece to seal and give a high level of protection to the furniture. This may change the coloring of the piece to a slightly darker finish, but it will still leave a natural appearance. If you are worried about water damage or any other products damaging the finish, then this step is necessary. It will give your piece a beautiful finish.
Using Wax on Raw Wood Furniture
If you decide to use clear wax, it sometimes works best when it is left in the sun to warm. You can also try heating it slightly with a hair dryer. Then, wipe it on the wooden furniture using a lint-free rag or paper towel.
Wood Conditioners and Oils
Danish oil or mineral oil is another option that works well on the surface of the wood, but it is used more to condition rather than seal the wood as a final coat. For better results, use wax finish or polyurethane instead.
The Durability of Raw Wood or Natural Wooden Furniture
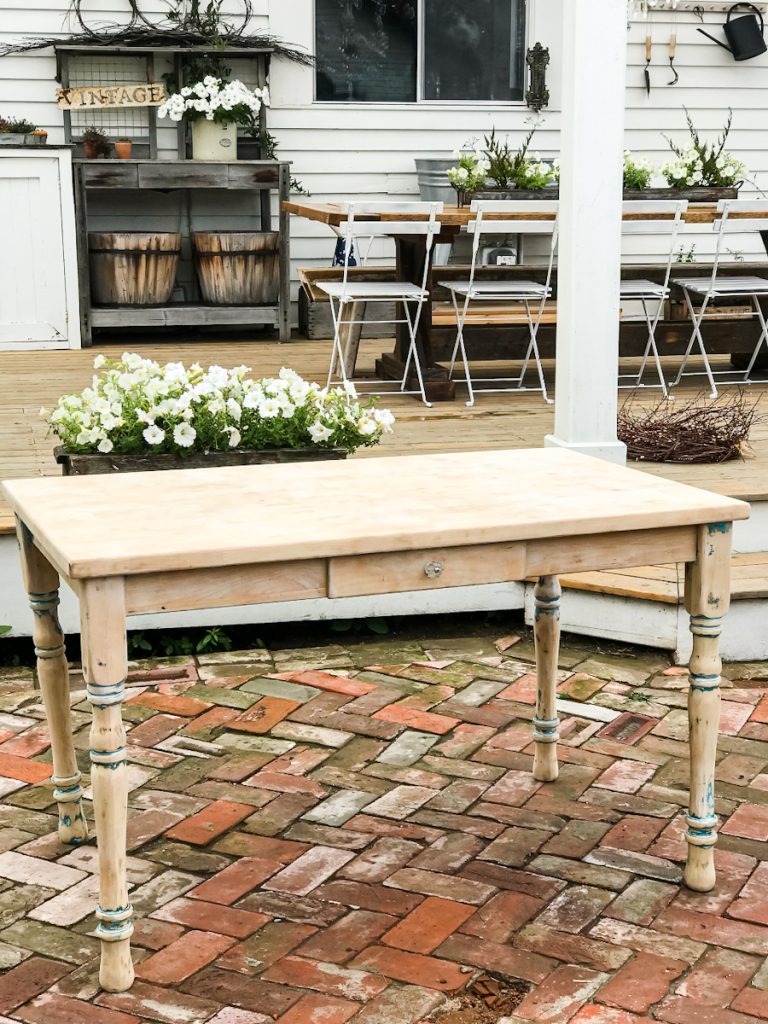
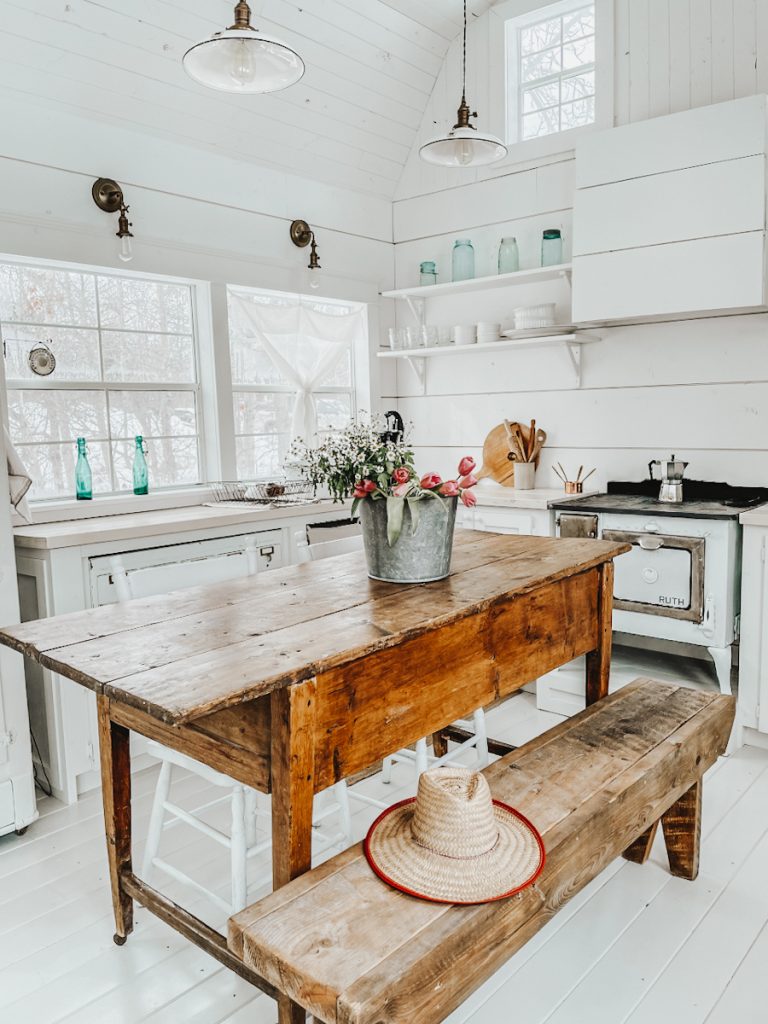
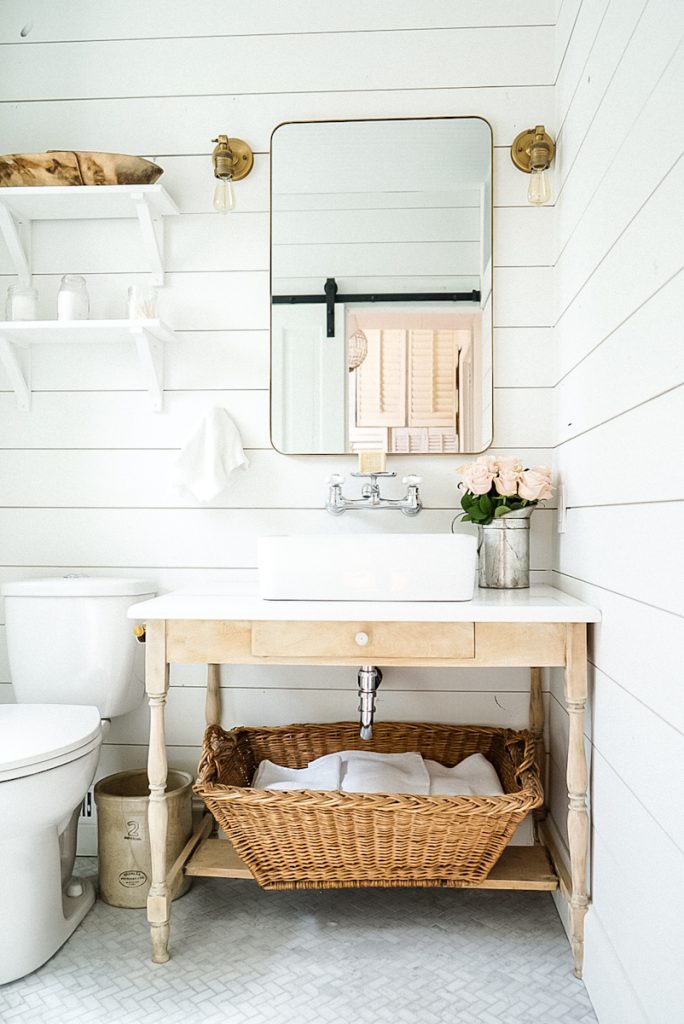
Although the raw wood or natural wood finish looks beautiful on wooden furniture, it may not be practical in high-traffic areas (e.g., a kitchen table, dining room table, or bathroom vanity) or on surfaces exposed to moisture. A better option may be to have a stone, tin, or laminate horizontal surface on top of a raw wood piece of furniture like this kitchen island or bathroom vanity.
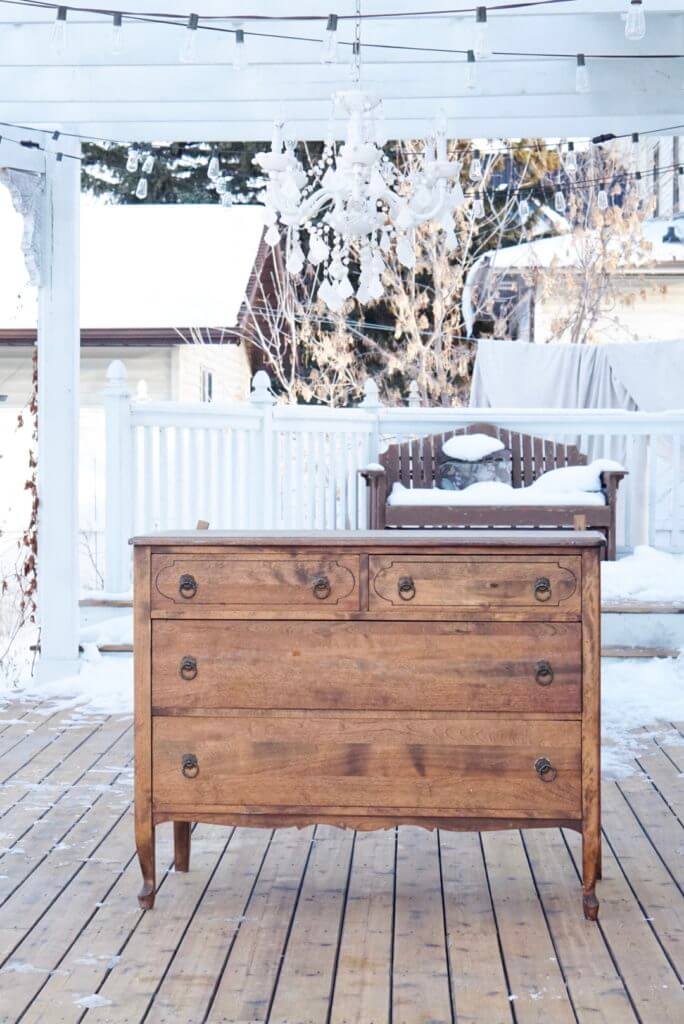
Refinishing a dresser or side table should be fine as long as you use coasters on the surface of the furniture piece. It may also be a good idea to touch up the protective wax coat or polyurethane after a period of time.
Tips for Success
- Keep your work area clean at all times, especially when you are ready to seal raw wood furniture with wax or polyurethane. Loose dust particles can easily end up on the surface of your piece, leaving it looking grainy.
- For the first round of sanding, use lower-grit sandpaper, like 60 grit. Then, go back and use a higher 120—to 220-grit sandpaper for a final smooth finish.
- Warm the wax before applying it to the natural wood surface. A thinner layer will make it more workable and easier to apply, allowing for a nicer finish.
- Be patient! Don’t rush the process of allowing the paint stripper to work! It will only cost you money and time if you have to keep re-applying the product because you haven’t given it enough time to remove the old product.
- Always have a professional look over a piece of furniture that may have historical value prior to refinishing. You don’t want to disturb the piece if it is more valuable or has historical significance as is.
- Be sure to use lint-free rags or towels when wiping down or prepping the piece of furniture. You don‘t want to have particles throughout the piece as you begin the sealing or protecting portion of your project.
Shop Natural Wood Furniture
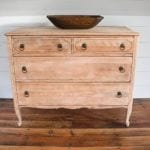
If you want the look but are not into the dirty work that comes with it, here are a few options for dressers that have already been finished to look like natural or raw wood.

More DIY Inspiration

- Beginners Guide To Painting Furniture
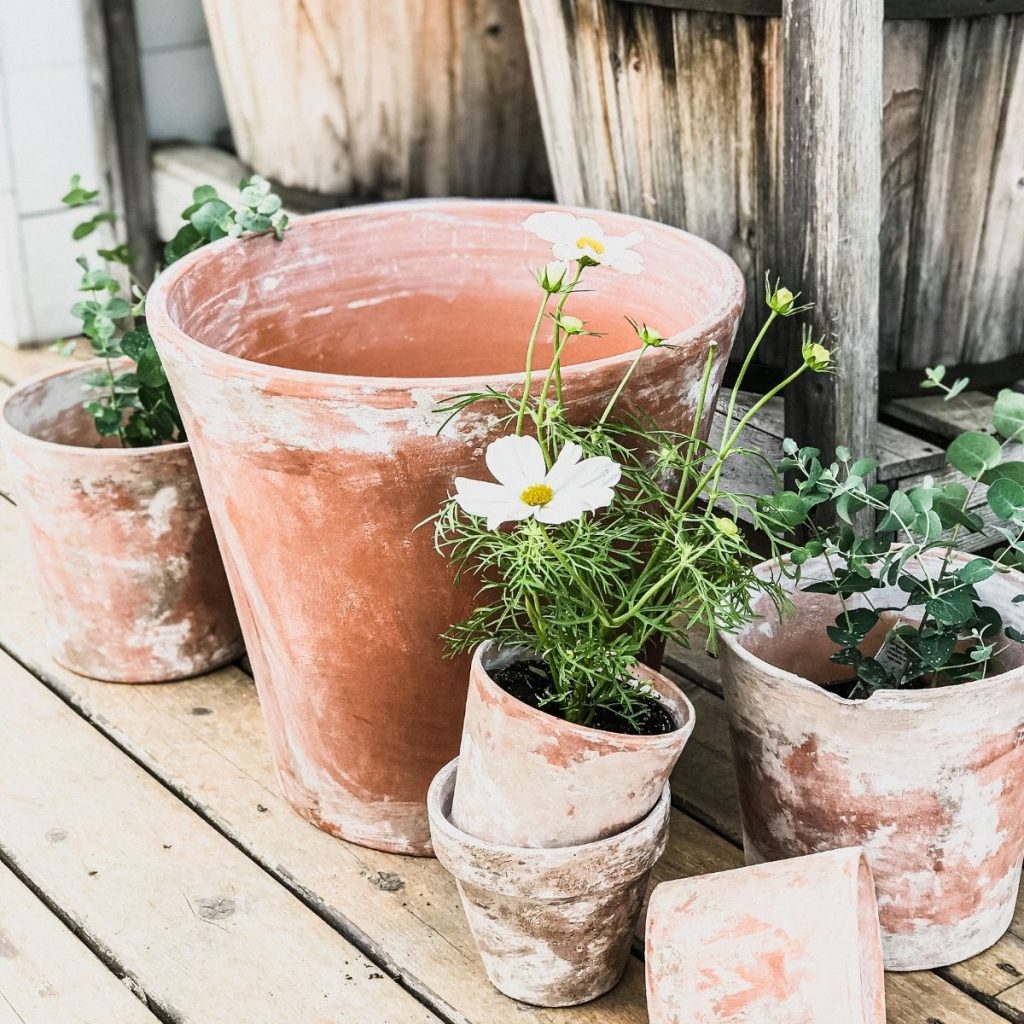
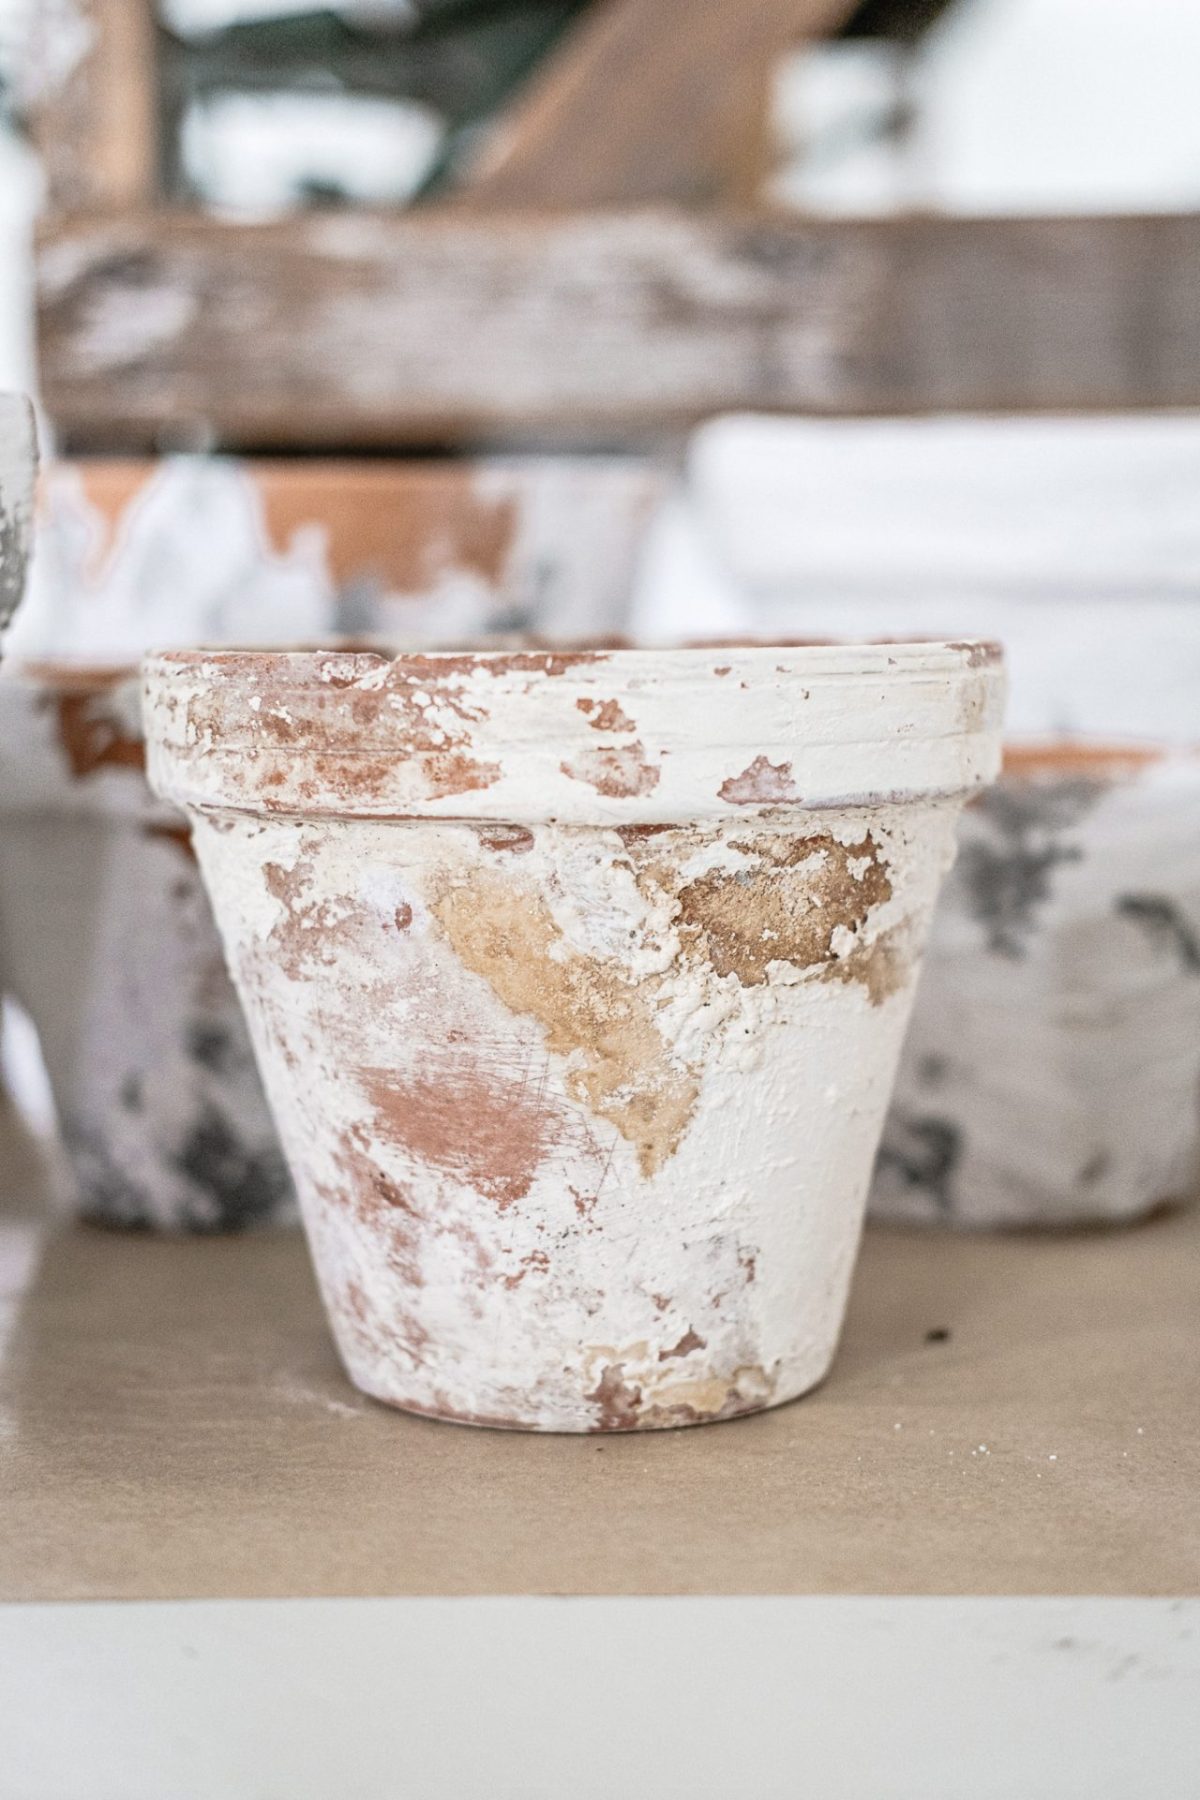
- How to Age Terra Cotta Pots
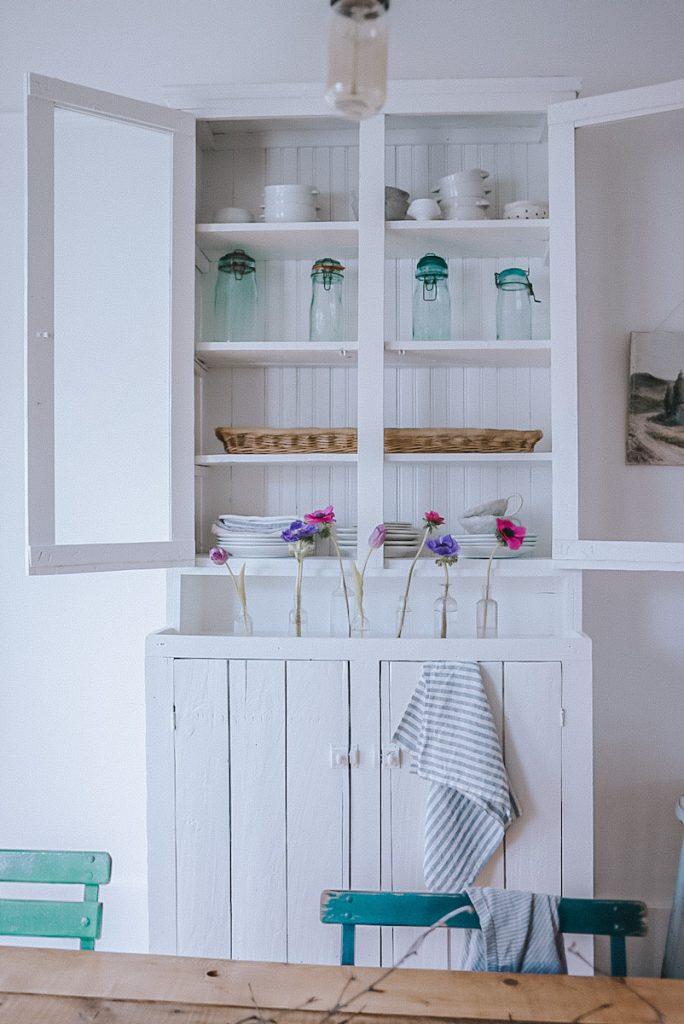
- DIY Vintage Farmhouse Kitchen Hutch
- Easiest Ways To Age Metal
Frequently Asked Questions
The best choice is to do both! Stripping wooden furniture will always be much faster and eliminate all the yucky, bad-to-breathe dust. However, getting into grooves and cracks can sometimes be very hard. Sanding a piece of wooden furniture can help with tough-to-get areas and allow for a smoother finish to the final piece of furniture.
Refinishing any wooden furniture is always going to be a process! However, the best way seems to be to start the process with a paint stripper and then sand any leftover product afterwards. Follow the steps in this tutorial, and it should work every time.
Yes! You can remove the stain by sanding, but it will produce dust and debris. Some old stains can be very bad if inhaled, so use the proper protective gear and clothing! It is always a good idea to remove as much as you can with a paint stripper first.
No. Vinegar is not able to remove paint or old varnish from a piece of wooden furniture.
Any sturdy wooden furniture in relatively good shape can be refinished; however, you need to determine whether the piece is solid wood or just a veneer. Veneer furniture can be much trickier to refinish as the wood is only on the surface layer.
It is also always a good idea to look professionally at a piece of furniture if you think it has any significant historical value. You don’t want to cover up or remove any beautiful historical elements that should be salvaged.
The short answer is YES. However, if you leave furniture unfinished or without a sealed coating, you need to understand how important it is to protect it from elements that can cause permanent damage. Water, oils, grease, bleach, and many other substances can permanently damage your wooden furniture, and an unprotected piece can also endure physical damage more easily. Your best bet is to protect at least the horizontal top or flat surfaces of your natural wooden furniture.
Alternatively, if you think you would rather paint that piece of furniture, check out this step-by-step guide on how to paint furniture.

I hope you enjoyed my steps to refinish antique furniture to a natural or raw wood finish. Like painting an antique piece with chalk paint, it can seem like a lot of work but it is so worth it when you have a beautiful timeless piece in the end. What types of finishes are you into at the moment? Painted, dark stains or natural raw wood? Would you ever refinish an antique back to a raw wood finish? Good luck on whatever project you decide to take on.
want to save this recipe?
Enter your email & I’ll send it to your inbox. Plus, get great new recipes from me every week!
By submitting this form, you consent to receive emails from B Vintage Style.
6 Steps How to Refinish Wooden Furniture to a Raw Wood or Natural Wood Finish
Equipment
- 1 Piece of Furniture
- 1 Orbital Sander
- 1 Mouse Sander
- 1 Protective eyewear
- 1 Rubber gloves
Materials
- 5 piece Damp Cloth or Paper Towel or Lint Free Rags (You will want something lint-free)
- 1 Gel-Based Paint Stripper or Oven Cleaner.Steel Wool
- 10 60-Grit Sandpaper
- 10 120-Grit Sandpaper
- 1 Stiff Bristled Brush or Dry Paint Brush
- 1 Clear Wax
- 1 Spray Polyurethane or Liquid Polyurethane
- 1 Danish Oil or Linseed oil or Teak oil or Hemp Oil (Wood Conditioner)
Instructions
- Clean the Wooden Furniture Piece
- Paint Stripper if Necessary
- Sand the Body of the Piece
- Sand the Tricky Areas of the Furniture
- Dust and Clean the Wood
- Wax or Spray Finish your Furniture
- Using Wax on Raw Wood Furniture
- Wood Conditioners and Oils
Notes
Tips for Success
- Keep your work area clean at all times! Especially when you are ready to seal your raw wood furniture with wax or polyurethane! The loose dust particles can easily end up on the surface of your piece, leaving it looking grainy.
- Use lower-grit sandpaper, like 60 grit for the first round of sanding. Then go back and use a higher 120 to 220-grit sandpaper for a final smooth finish.
- Warm the wax prior to applying it to the natural wood surface. It will become more workable and apply easier with a thinner layer allowing for a nicer finish.
- Be patient! Don’t rush the process of allowing the paint stripper to work! It will only end up costing you money and time if you have to keep re-applying the product because you haven’t given it enough time to remove the old product.
- Always have a professional look over a piece of furniture that may have historical value prior to refinishing. You don’t want to disturb the piece if it is more valuable or has historical significance as is.
- Be sure to use lint-free rags or towels when wiping down or prepping the piece of furniture. You don‘t want to have particles throughout the piece as you begin the sealing or protecting portion of your project.
If you want to create an aged affect check out Pine and Prospects Post on how to age wood!
Pin For Later


did you only seal or wax the top and not the sides or fronts? I love the natural look, but I find that as soon as I apply the polyurethane, it looks glossy, more orange, and not natural.
Hi Alyssa, for me it totally depends on what the piece is going to be used for. If it is something that will have a lot of water or risk of damage on the top, I always use a sealant like a spray poly or wax. If it’s just a dresser in a room that is not going to get high traffic, then I leave it totally raw. Same with the sides and front. The one in my bedroom is completely raw and it still looks amazing 6 years later. Hope this helps.
Hello! I love the raw wood look! If the piece has dents, scratches or chunks gone, how do you do the repairs with filler if it will remain raw look as the finished result? Do you use wood filler before sanding down? If yes, will this leave different colors ?
Thanks so much, and keep inspiring us! Teresa
Hi there Teresa, Thanks for the message. It totally depends on the look you are after! I love a great patina so, for the most part, I don’t fill with anything on any of my pieces however that said, I have used wood filler before and unless you can get an exact match, it will be a different colour. Even if you try a stain afterwards, it is very hard to match the colour perfectly.